|
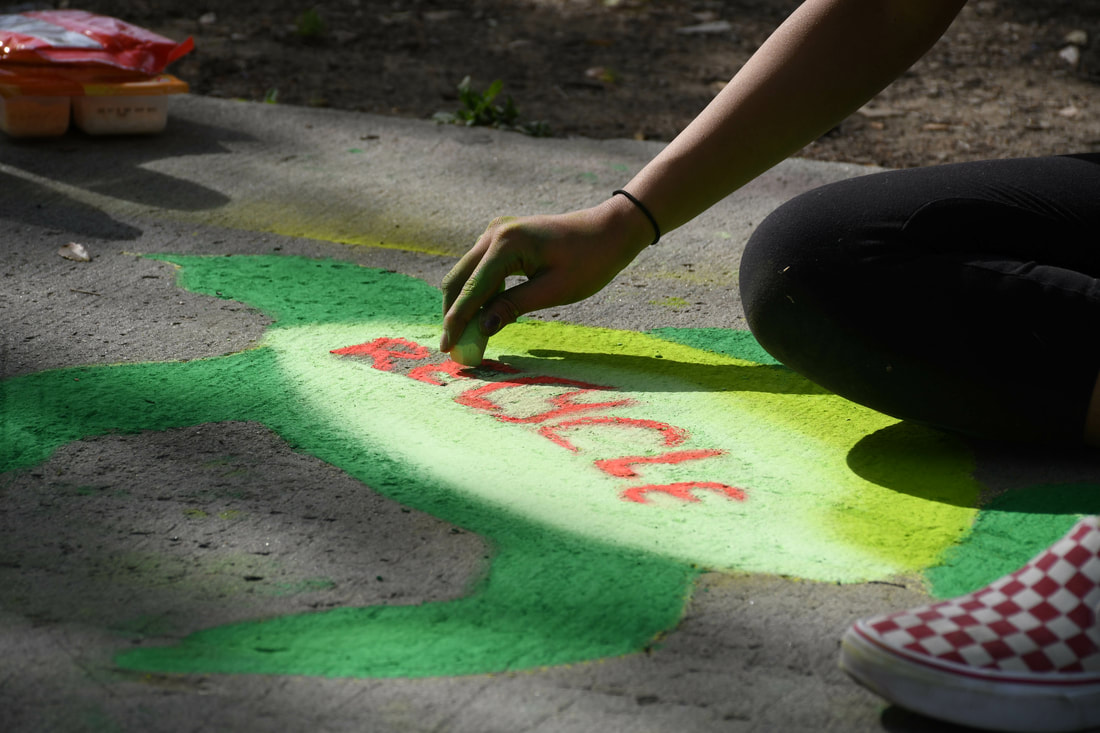
Putting color gels on the flashes for portraits was a game changer. The color gels make the photos look like they have a color filter- even though we all know they don't- and changes the color of the background. It's best to experiment with color gels of dark colors so they can stand out, such as pink, red, purple, and blue. I mostly experimented with pink and purple. When I used the pink gel, it looks fairly red in front of the red backdrop I used. My favorite color gel I used was, of course, the pink color gel. It made my models- aka my fellow classmates- figures and skin tones more vibrant and beautiful. You can do anything with the positions of the color gel covered flashes: put the flash behind the model, two color gels on both sides of the model, using the color gels as props, putting the color gels directly in front of the camera lens. Experiment with the color gels and see what portraits can be resulted from them.  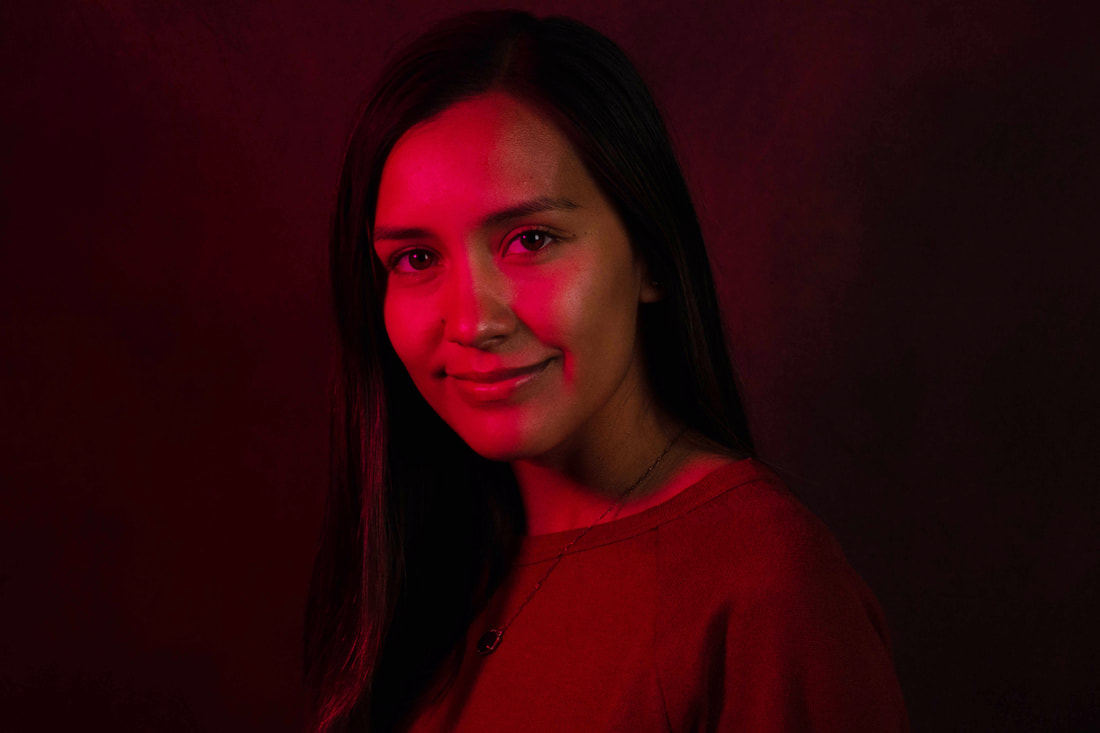 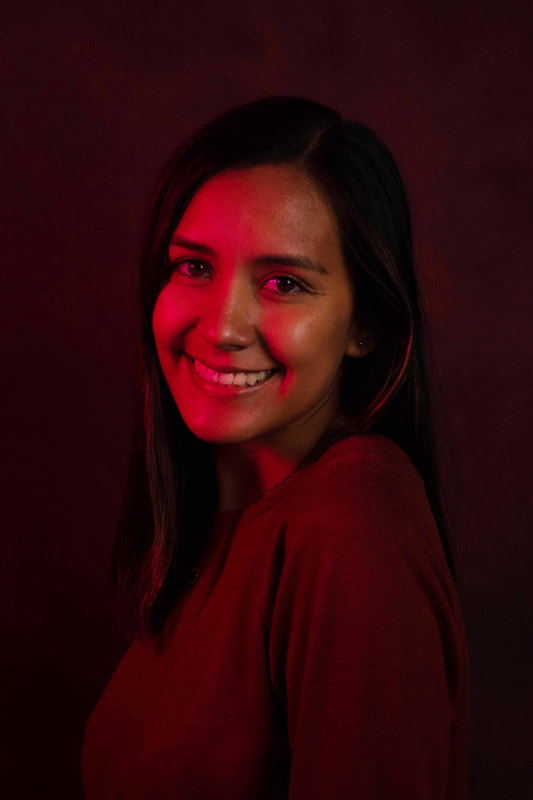 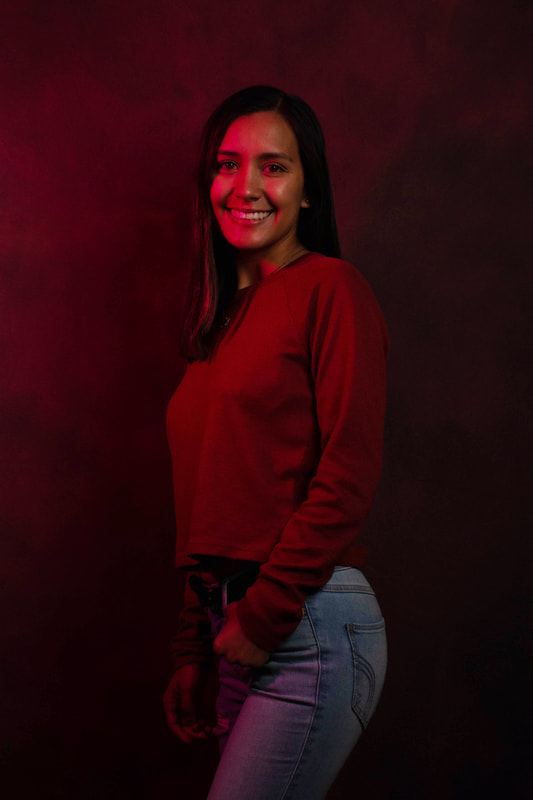 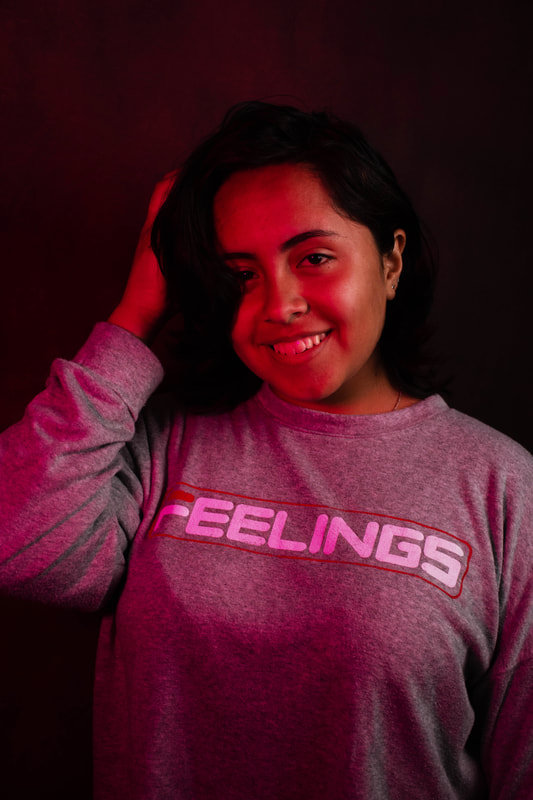 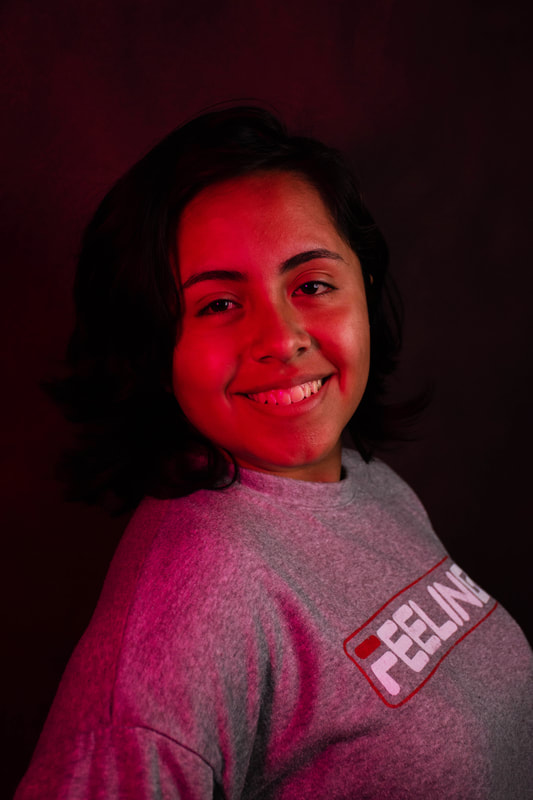 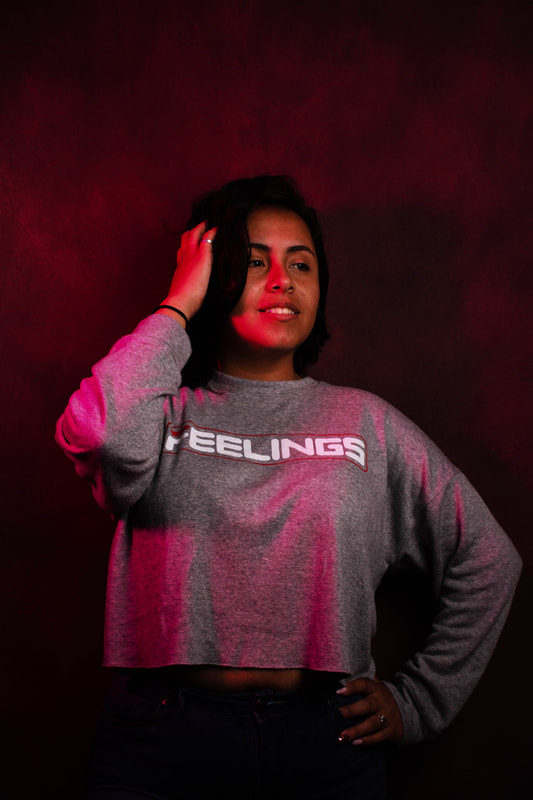 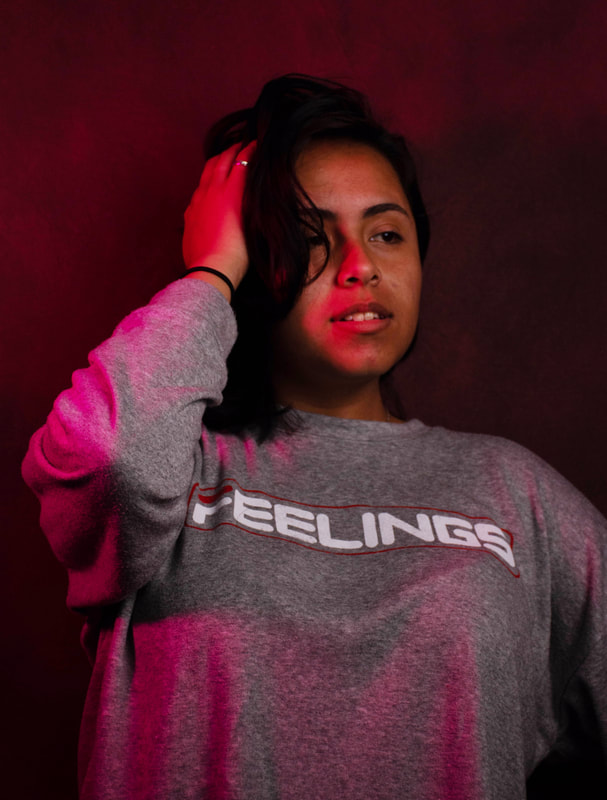 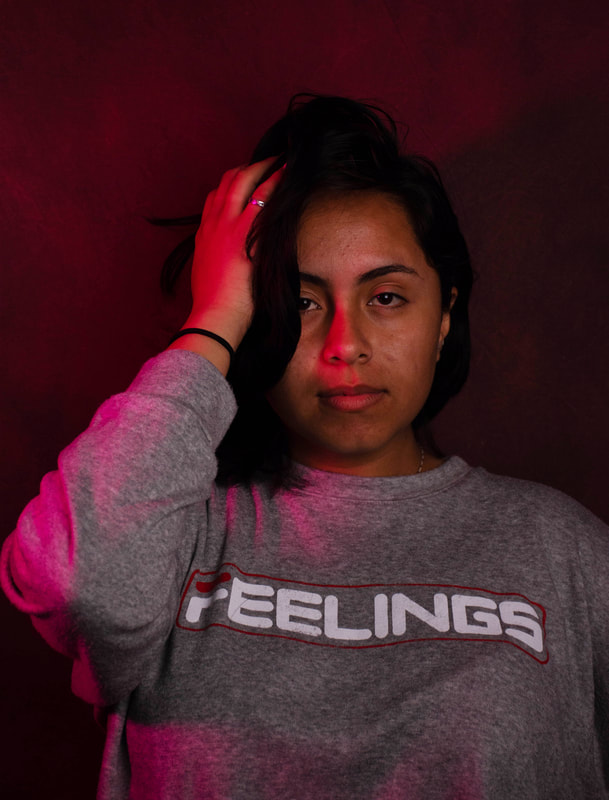
0 Comments
Cyanotype was created by John Herschel in 1842. He was an astronomer who was trying to find a way to print his notes. He not only introduced cyanotypes but also words such as negative, photography, positive, and snapshot. The chemicals he used to create cyanotypes are potassium ferricyanide and ferric ammonium citrate, as well as water with the chemicals. Cyanotype is mostly used for printing photographs but Herschel used it for making copies of notes and diagrams, like blueprints. Anna Atkins was the first person who truly used it for photographs, in which she made a book full of cyanotype prints of various photographs of plants. To create my negative, I picked/took a photo of anything full of color contrast. When I have my chosen photograph, I opened it up in photoshop and cropped it into the size of the paper I will print it on (8"x5"). Then, I went to image and auto contrasted my photo so the various colors would stand out amongst one another. Going back to the image tab, I changed the photo to black and white and adjusted the colors as needed. After that, I went to the image tab for the last time and clicked on invert. Inverting the image will make your cyanotype look like an actual cyanotype. Lastly, I saved my photo as a JPEG and printed it on clear, glossy paper. To create my cyanotype, I took a blank, thick white stock paper and spread the solution with potassium ferricyanide and ferric ammonium citrate combined on it with a cotton ball. Make sure you do it in a dark room because the solution is sensitive to light. If you get any on your hands, it will turn blue but it's washable. Use a blowdryer, another piece of paper, anything thick, your hands, or just wave the paper to dry the chemicals. The paper has to be completely dry before you move on to the next step. After the chemicals on the paper are dry, put the printed negative on top, making sure the darker side is face down on the chemicals. Then, on top of that put down a clear glass piece, like from a photo frame. That will keep the paper and negative from flying anywhere and getting too much light while in the sun. With that being said, put the stack in the sun or any high beamed light (preferably the sun). Keep it there for about 10 minutes or until the paper starts turning a darker color. Back in the dark room, put the white paper only in water for a few minutes to wash off the chemicals. Use your hand or something not heavy to irritate the water to make sure the chemical is fully rinsed of. A blue color will be seen as the photo comes alive on the paper. Then put it in a peroxide solution for a minute or two. After that, let it dry for a few minutes. The results shows a blue color but still looks exactly like the original photo. You can do this for anything: other photographs, plants, jewelry, etc. Playing around with cyanotype will more ideas come your way to create various cyanotypes. This wasn't an easy process in the 1800s and 1900s, but they made the best of it. 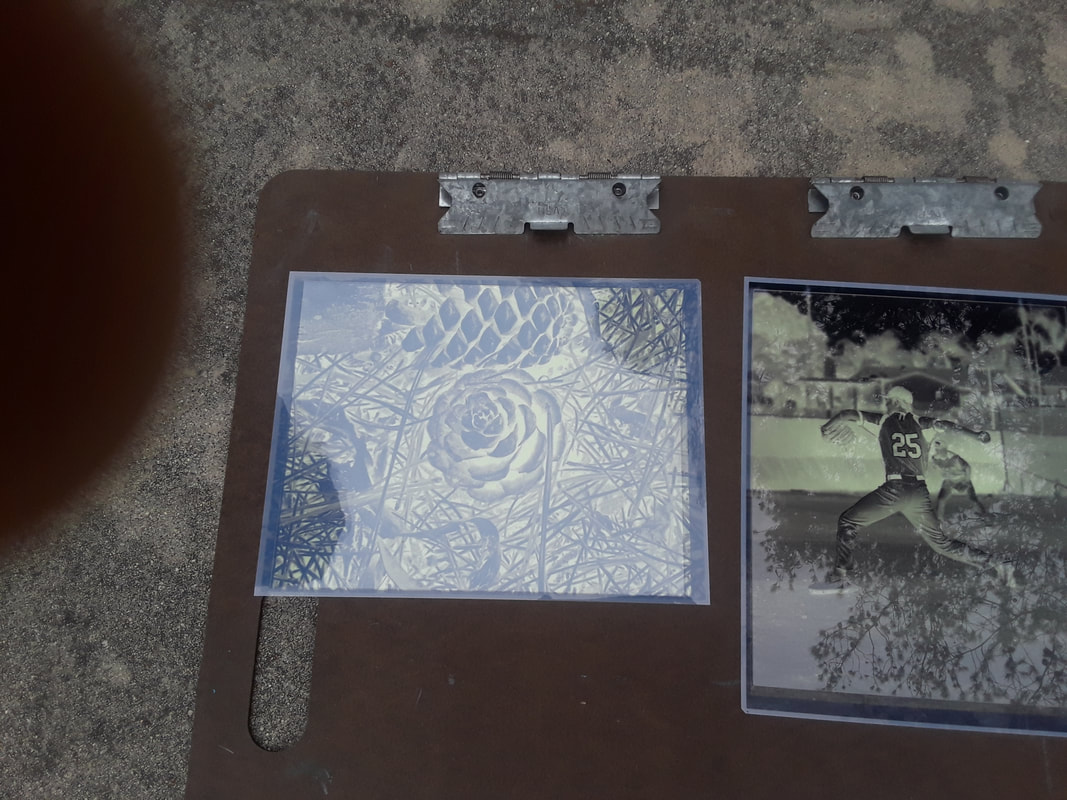 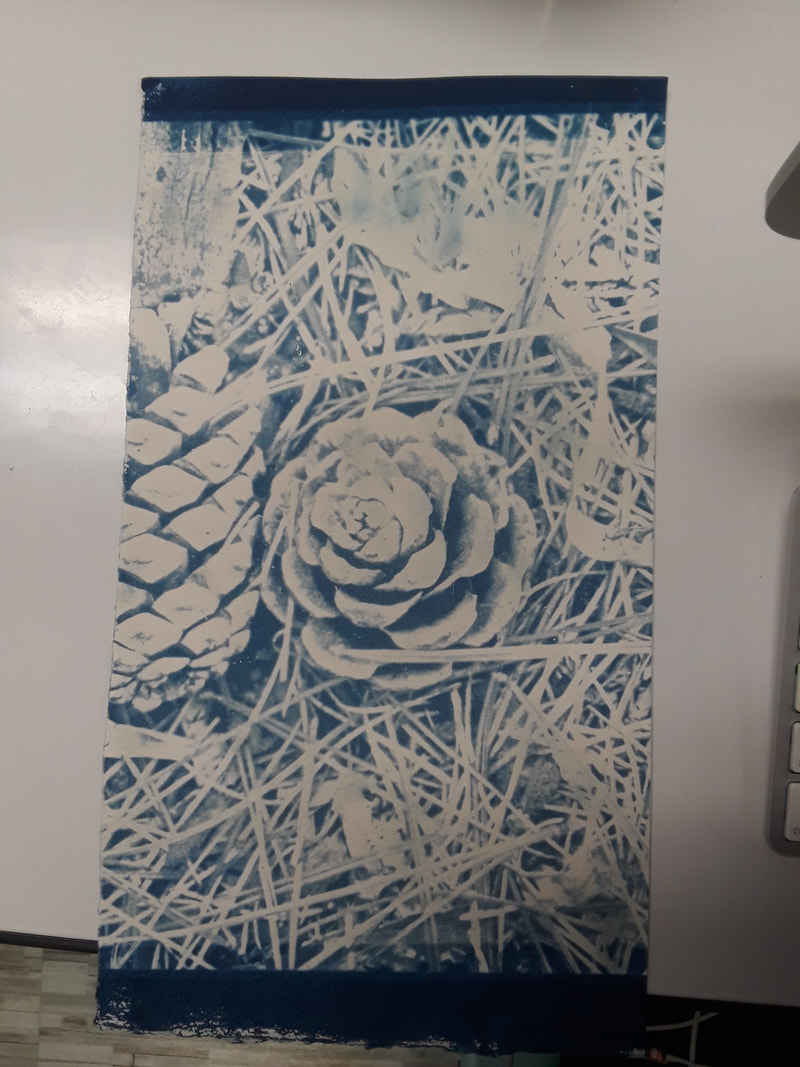 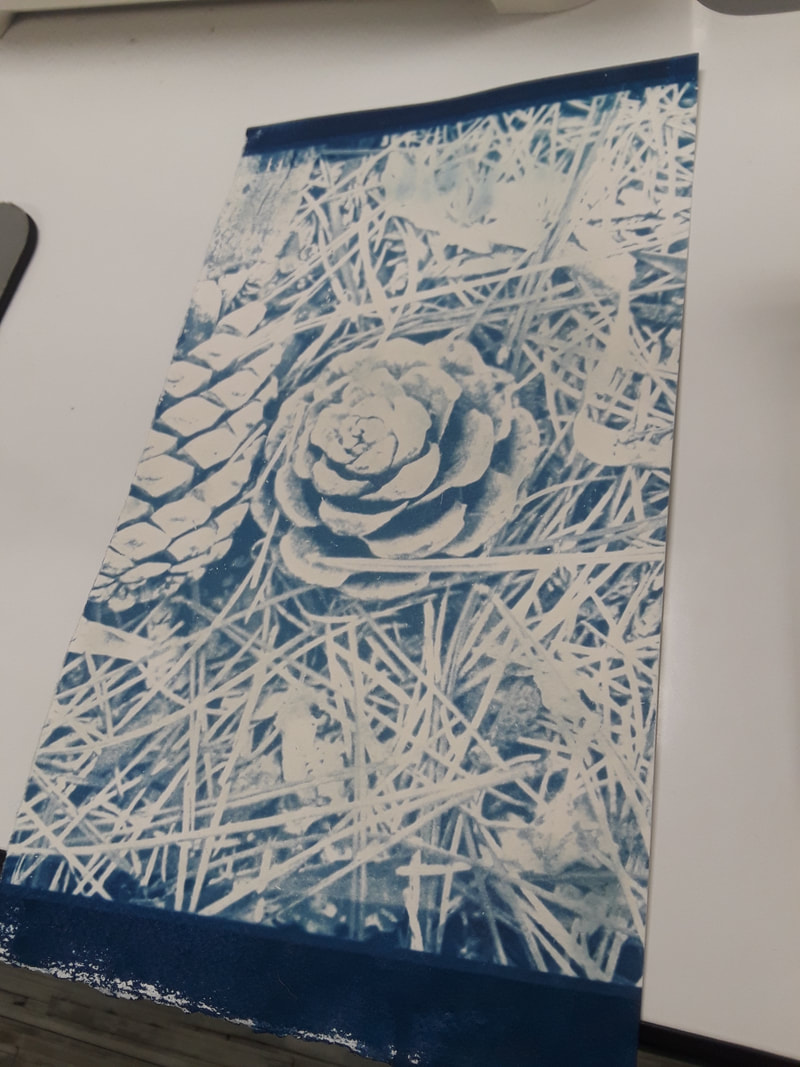 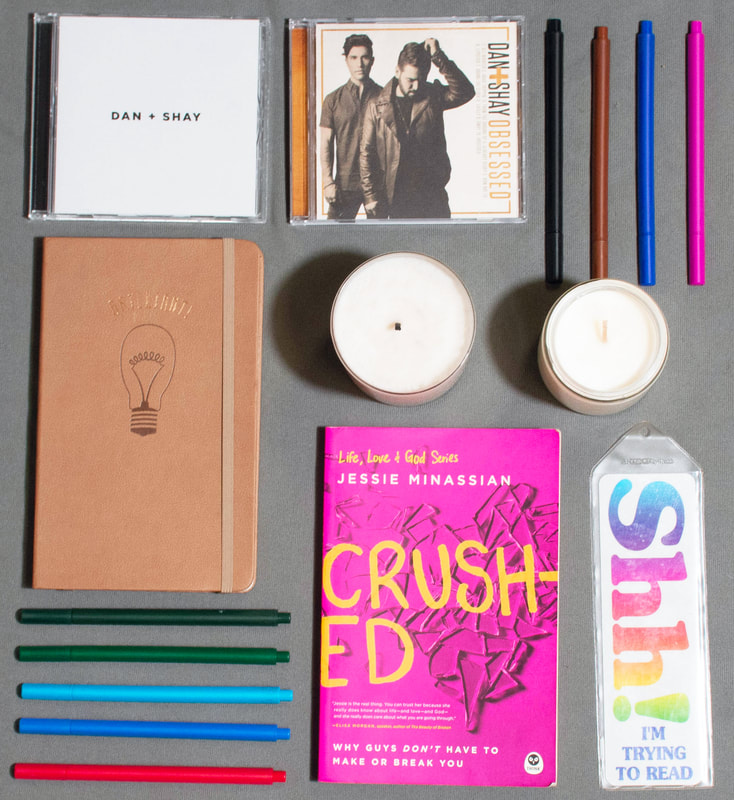   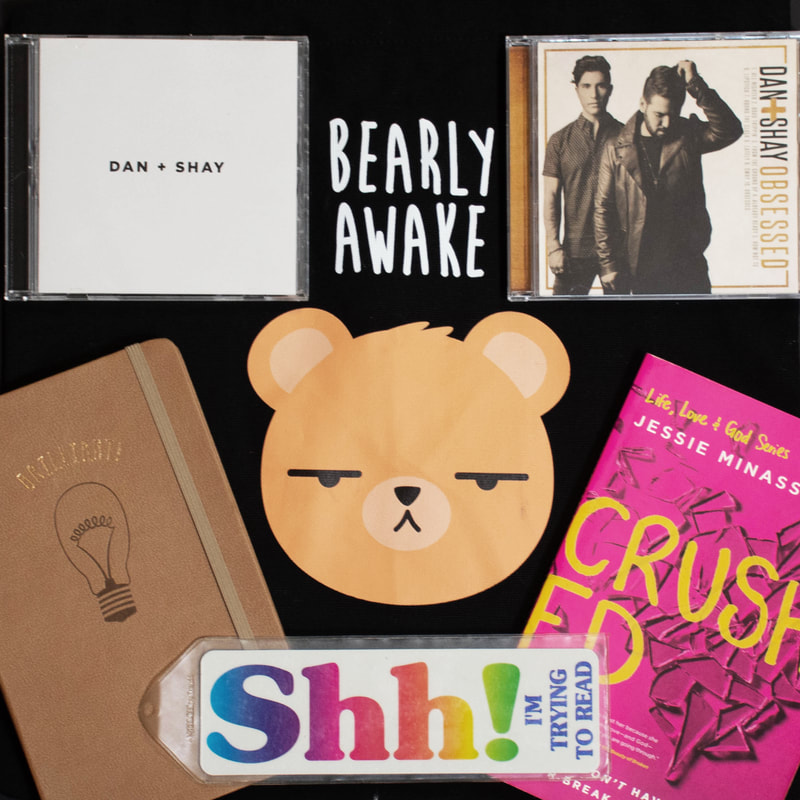 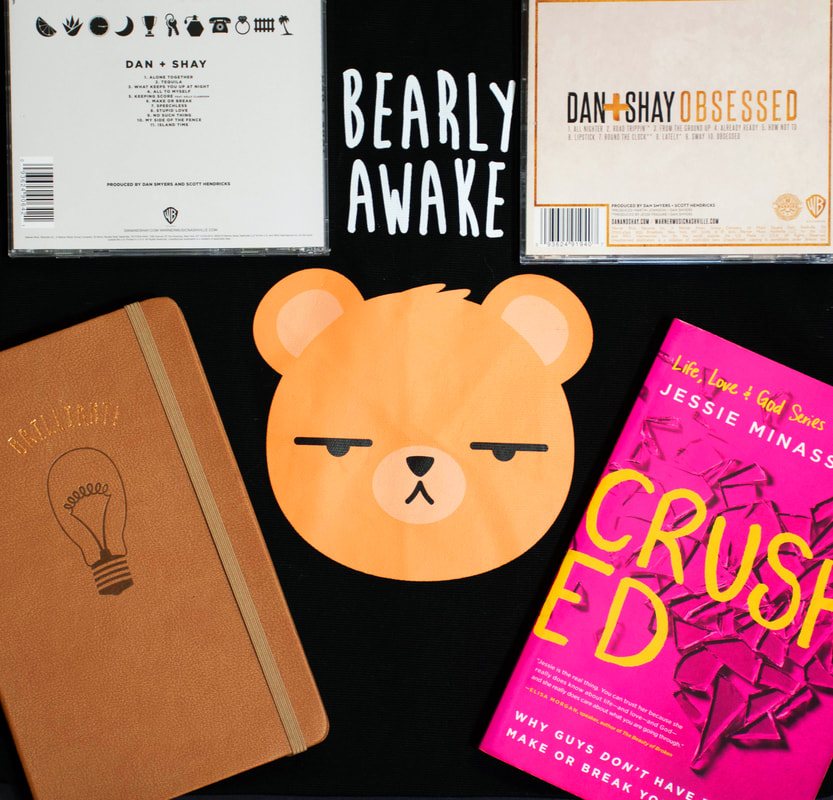 Knolling photography is what you see on pinterest and instagram. They are used for advertisements and organization. You can anything of the similar color, size, shape, structure, nature, etc. Grab anything and everything you can find to knoll: makeup, clothes, art supplies, photographs, books, accessories, food, etc. When you start, you don't want to stop because inspiration keep flowing out of your brain and into the photographs. What I like about knolling is the organization that it provides. I'm a little OCD so looking at various knolling photographs puts me at ease and makes me appreciate that there is such a thing as knolling photography.
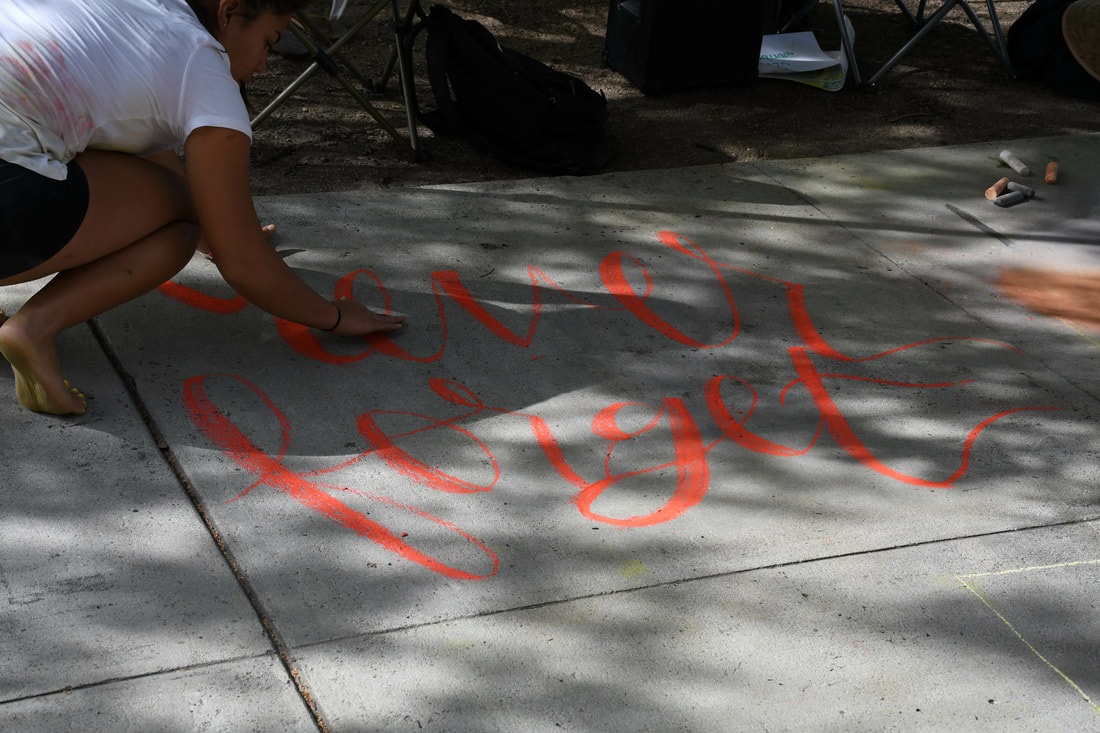
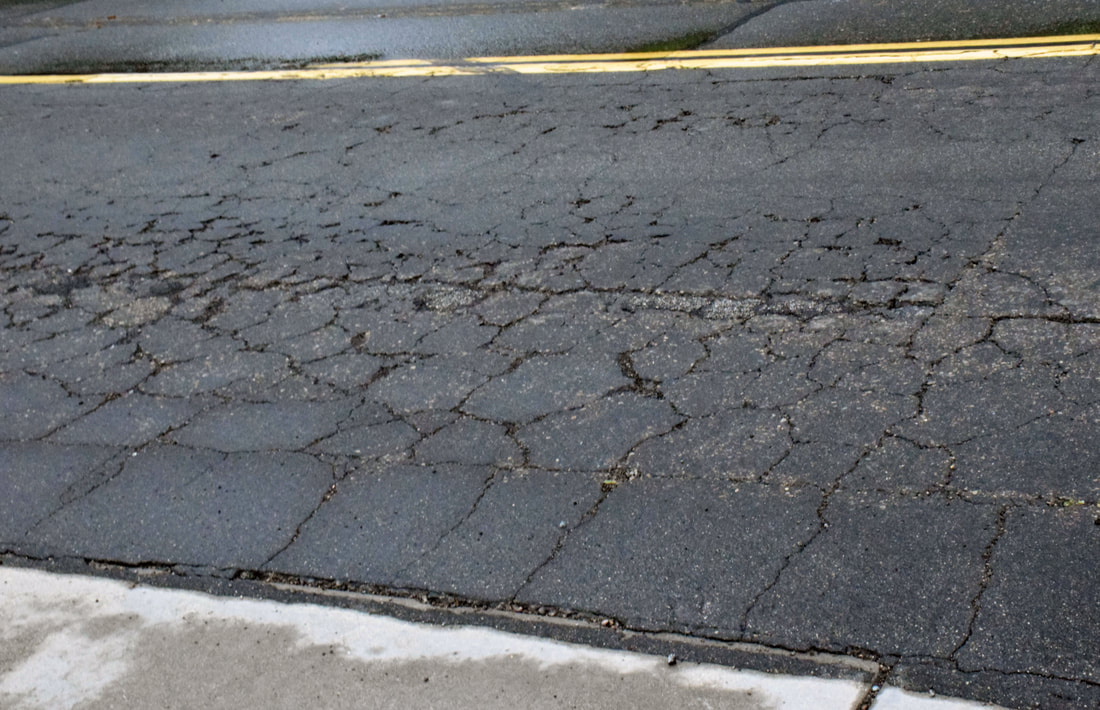 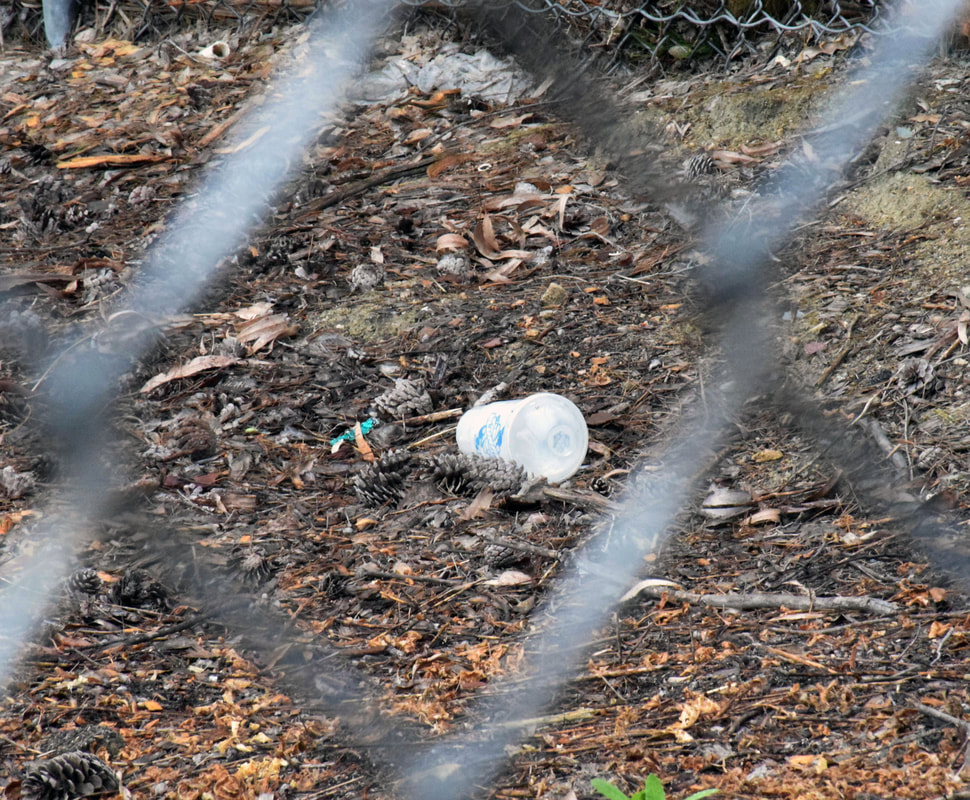 For my photojournalism editorial shooting, I decided to take photographs around my community of road ruins and trash. I have taken notice of how much my community has not been taken care of the roads and picking up trash. These problems effect pollution, nature, and everyone's car. 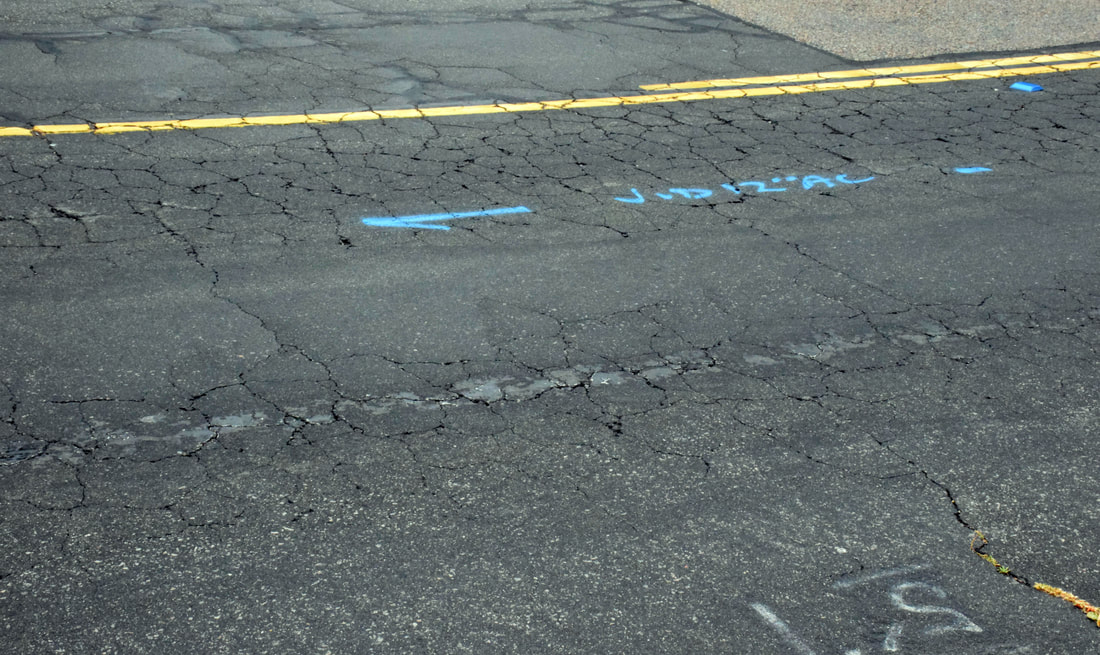  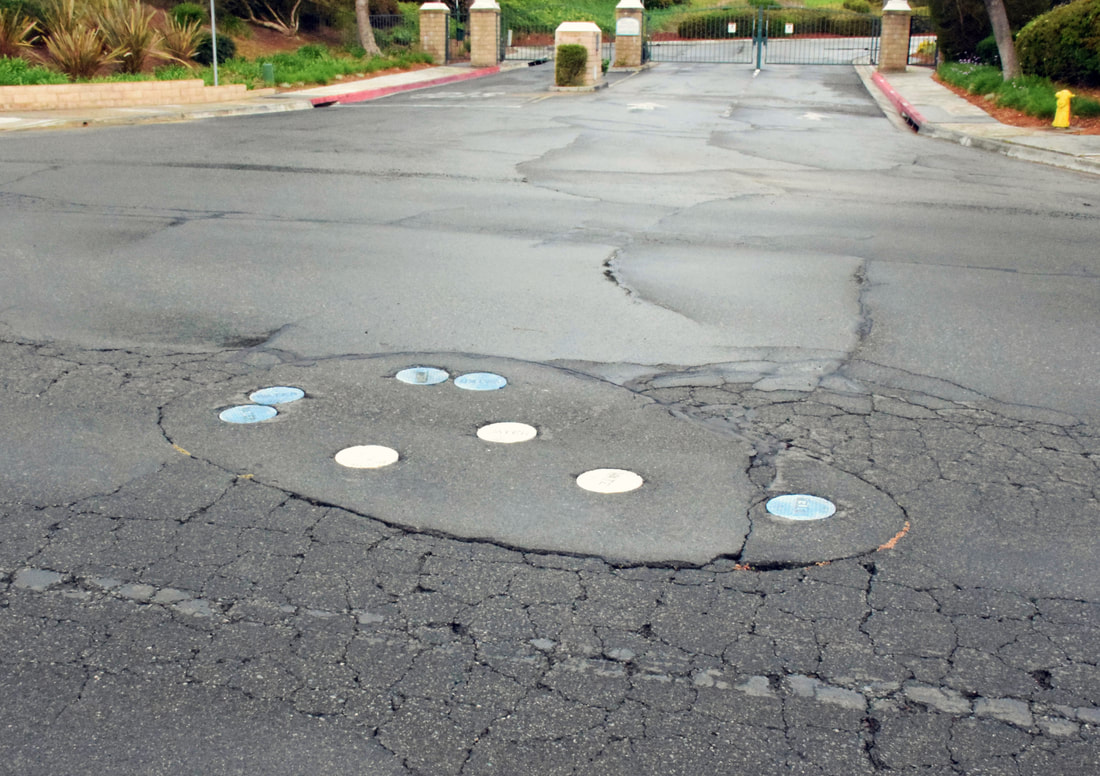 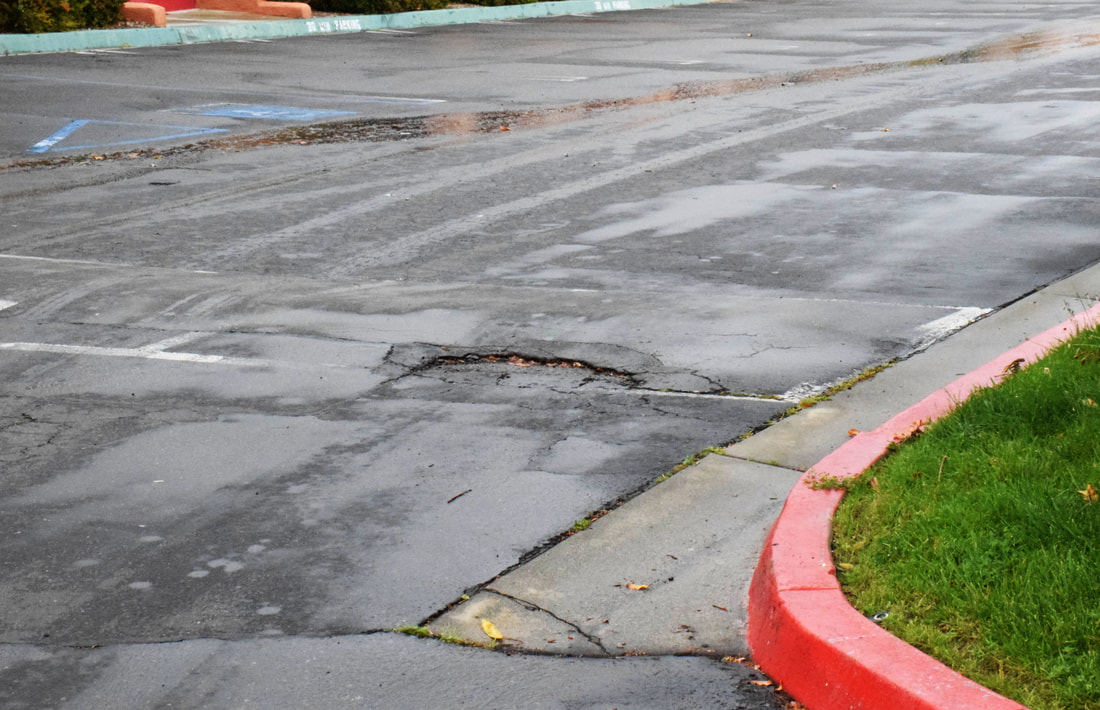 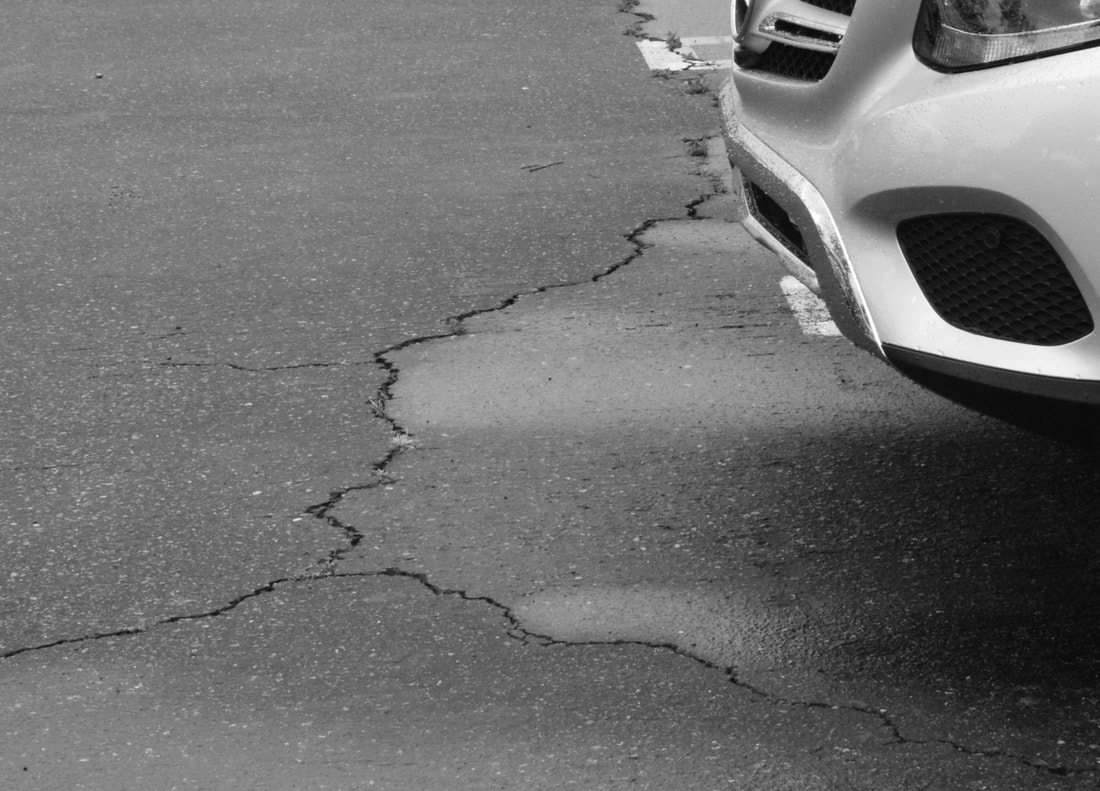 These cracked and damaged roads are a danger to cars and people's safety. A car could get stuck in badly damaged cracked road with a low probability of getting out. Children also run on these roads and they could trip and seriously injure themselves. The parents would sue the city to better furnish the roads; their children 's safety is dependent on the city. Taking care of these roads are expensive, but they are worth the money and time if safety is considered the main priority. Over time, the more the roads are drove on with no fixer-uppers, the worse the road and the more unsafe it will become. 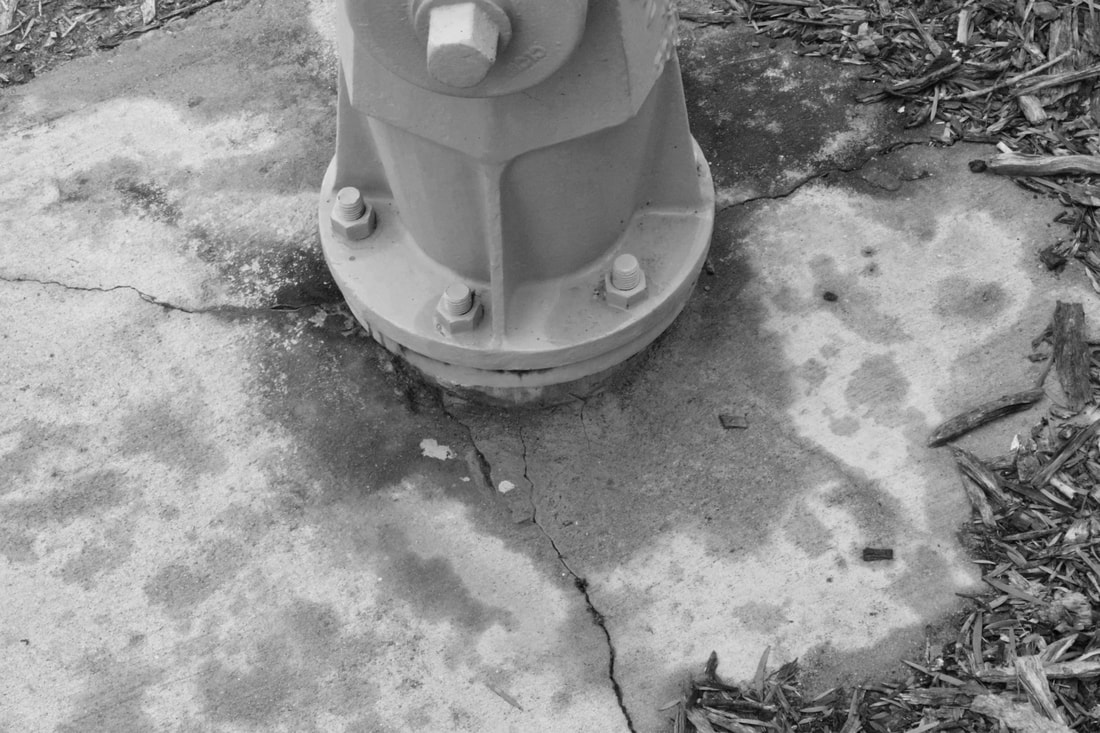 The area around a fire hydrant should be kept safe and clean. With cracks near and/or surrounding a fire hydrant could cause burst when excessively used. It's unsafe to not have a working fire hydrant in an area when a fire is inflamed. More damage could be done and time is wasted in saving people and their belongings. 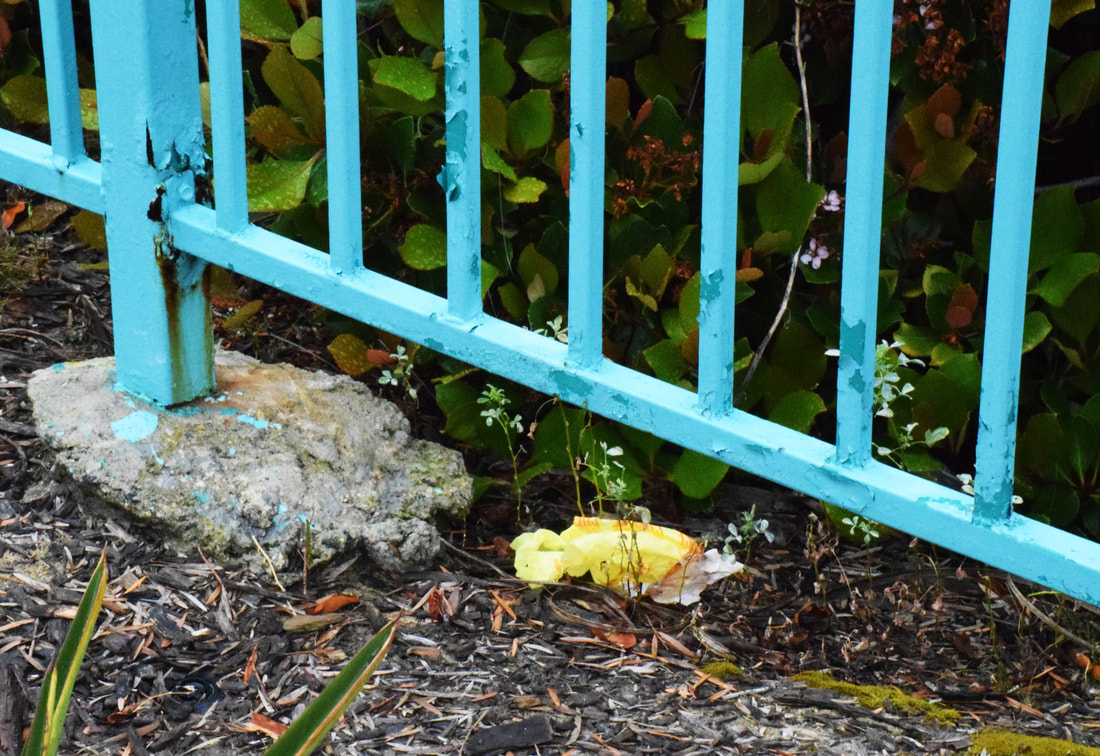 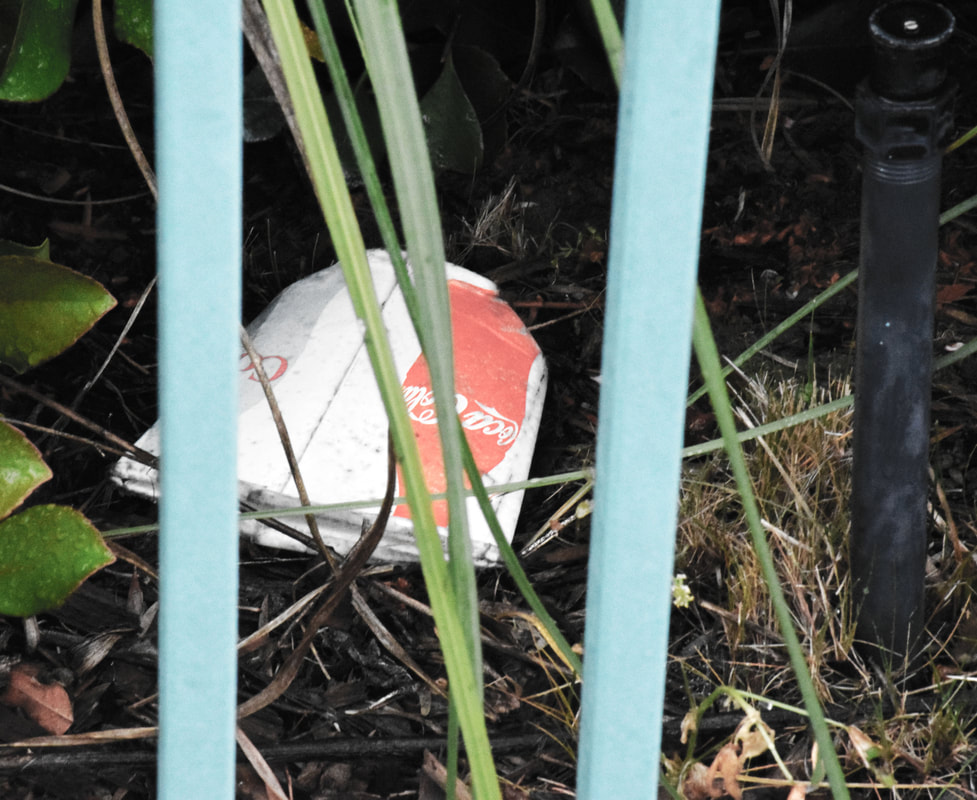 Littering is a huge conflict in the world alone. There is more trash in the oceans and lying around on the ground than in our waste locations. There are people who dump their trash anywhere and everywhere; they don't think that dumping their trash ruins the pollution and nature. There are many solutions to this conflict, so why doesn't anyone do anything about it?
I enjoyed learning dance photography from Holly Ireland. She was a dancer herself and now she's a dance photographer, which is inspiring. When it comes to shooting dancers, it's all about timing and techniques. When a dancer jumps, the photographer has to know the best time to capture the jump at the perfect time. It comes in handy when the photographer knows dance- that will be more enjoyable for both the photographer and the dancer. When it comes to techniques, Ireland recommended that shooting from below makes the dancer's legs look longer. Long legs for a dancer are very important. I am a dancer myself- not professional, just as a hobby- and everything she said made total sense to me. Dancers are huge critics of themselves, they want everything they do to be perfect. It's best for photographers not to show every photo they've taken to the dancer because they will critique it and see it as not good enough; however, it's ok to show them a few photos so they can get a better sense of what the photographer was looking for. For props, anything can be used to make the dancer look graceful, aggressive, and full of action. When a dancer dances, it's all about movement so the photographs should have some sort of action done by the dancer; a dancer is not a model, they prefer moving over posing any time of day. In conclusion, photographing dancers is fun and the end results become beautiful with the right techniques, timing, and knowledge. 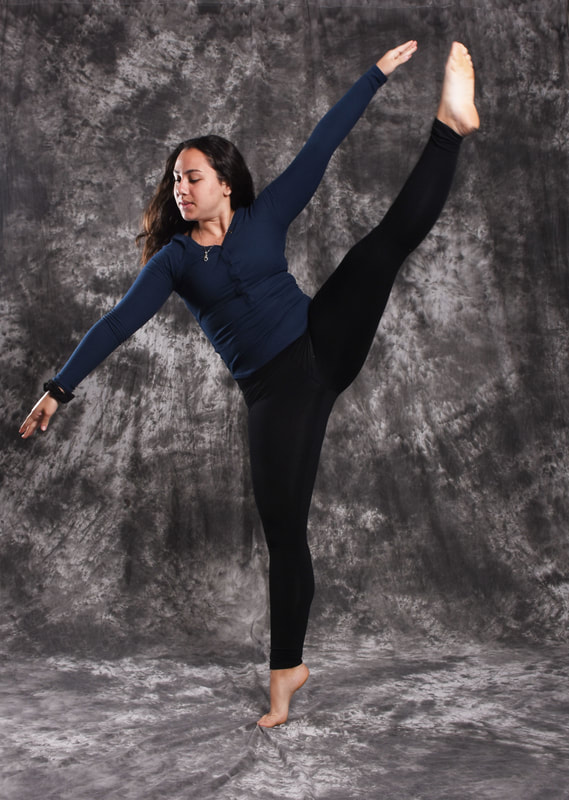 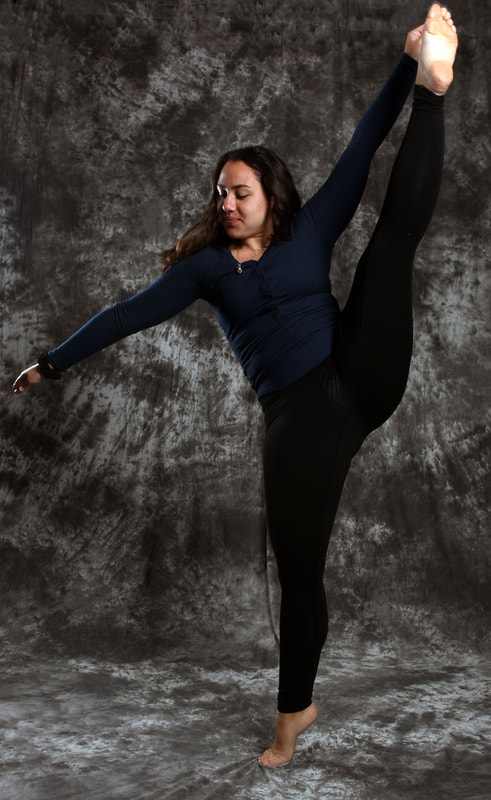 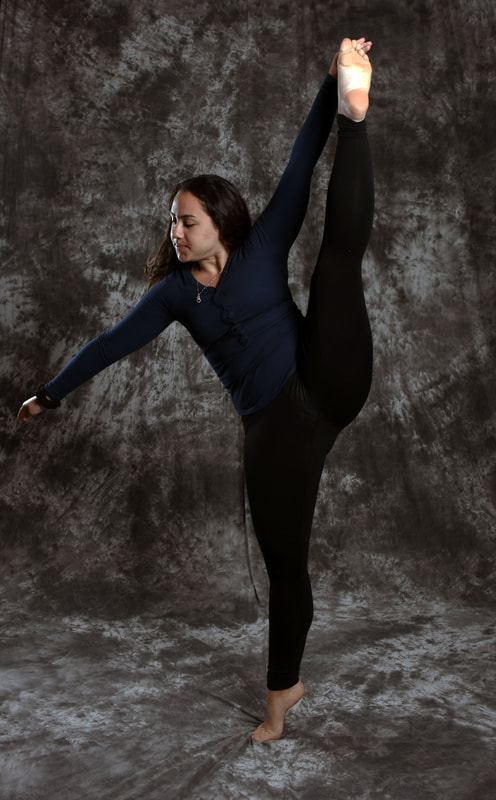 Sandy Huffaker is a freelance photojournalist. If you checked out his website in the link above, you can see that he spreads his range and captures life as it is. He has been training in photojournalism for 20 years, so he is very experienced in the field. His photographs can be described as historical. Everything he photographs are seen by the world and changes people's perspectives on the issues at hand. Many of his photographs are published in newspapers and online news sites. When I did an interview with Sandy Huffaker, I understood things that one wouldn't when just reading an "All About Me" tab on his website. I had the opportunity to interview him right before his shooting at Legoland, which he said he works form 3 to 7. He's been doing professional photography for about 25 years, but started out in high school. Huffaker bought a film camera, went to a basketball game, and started shooting photographs. His photographs were used in the yearbook. These days Huffaker doesn't use film anymore, he stays up to date with the technology. From then, he was given little assignments. He had a friend whose mom was a photographer who traveled a lot. He went to a New York photography school and went to Pratt Institute to train in photographing style. He started his career at the Reader, moving to the Union Tribune and the New York Times. He originally wanted to work for a paper but he received more freelance clients, which brought in more money. A normal day for Huffaker is a 2-3 hour photoshoot as well as organizing billing, email. He actually said that there is no normal day, depending on the circumstance. The difficult part is when he works a lot but then his phone rings and he has to pick it up, so he never knows when or where the next job is coming form. When photographing, different clothing is required because it's dependent on the weather. When he was photographing the wildfires in Southern California, he was required to wear (and had to purchase) a NOMEX suit from the firefighters, which is special equipment/gear for dealing with fires, and he had to have a press pass. Press passes are a must to get into many places for information. He looked for smoke and headed straight towards it, but he also stayed with the firefighters because they know what is safe and not. To Huffaker, portraits are a challenge; it's very important to capture the model's personality in one photo. For street photography, it takes skill to be able to communicate with strangers. Over time, he learned that people love to talk as long as the photographer is honest and sincere. He said street photography is "90 percent talking and 10 percent shooting." It's very important to be careful because people are suspicious of strangers. Everyday is a different experience to Huffaker: it's full of meeting new people, telling other people's stories, learning different cultures, and is full of excitement (considering he's going into uncomfortable and dangerous situations). He enjoys that he photographs and is a part of history. His favorite experience was when he was in New Mexico and he photographed ranchers on the border. He had the opportunity to "play" cowboy and go on horseback. He also said that storm chasing was "neat" (which was a word he used quite often in the interview). Huffaker calls his clients "bread and butter clients." Finding clients is dependable on the word of mouth and business cards and a website. He advises that it's best to start with a website. If one were to ask if anyone on the street would need a photographer, Huffaker said 9 out of 10 would say they do. Charging clients is dependable: newspapers could be about $100, magazines at about $300-$400, and corporations about $1000. When negotiating prices with a client, he can work around the prices so they can agree on a final price. Overtime, one would learn the best price for clients. Huffaker's favorite photographer is Sebastião Salgado. His photographs are in black and white of workers, the environment, and global warming. Huffaker called Salgado's photography "beautiful" and "political." He believes that Salgado's photography helps change people's minds and they demonstrate lives of everyone around the world. After looking at Salgado's photographs myself, I can see why Huffaker likes his style and photographs in general. I asked him for any advice for anyone starting out. He said to get the word out that they're a photographer, make it known to others. Sharpen skills by taking portraits of families or the park; it's the best place to start. When expanding, mimic other photographer's style to understand your own unique style. Carry your camera around so people will know that you're a photographer. Be patient because it's a slow progress to get clients and expand one's business. Look at other photographer's websites and photographs to better expand one's photographic eye, about five every night; Huffaker still does this "all the time." Keep track of the technology because it's best to try new things to help expand one's knowledge. When one grows, they help another grow, so "never stop growing." Lastly, photograph what you love so you can get known for it, because that is one's proudest achievements after a long journey. 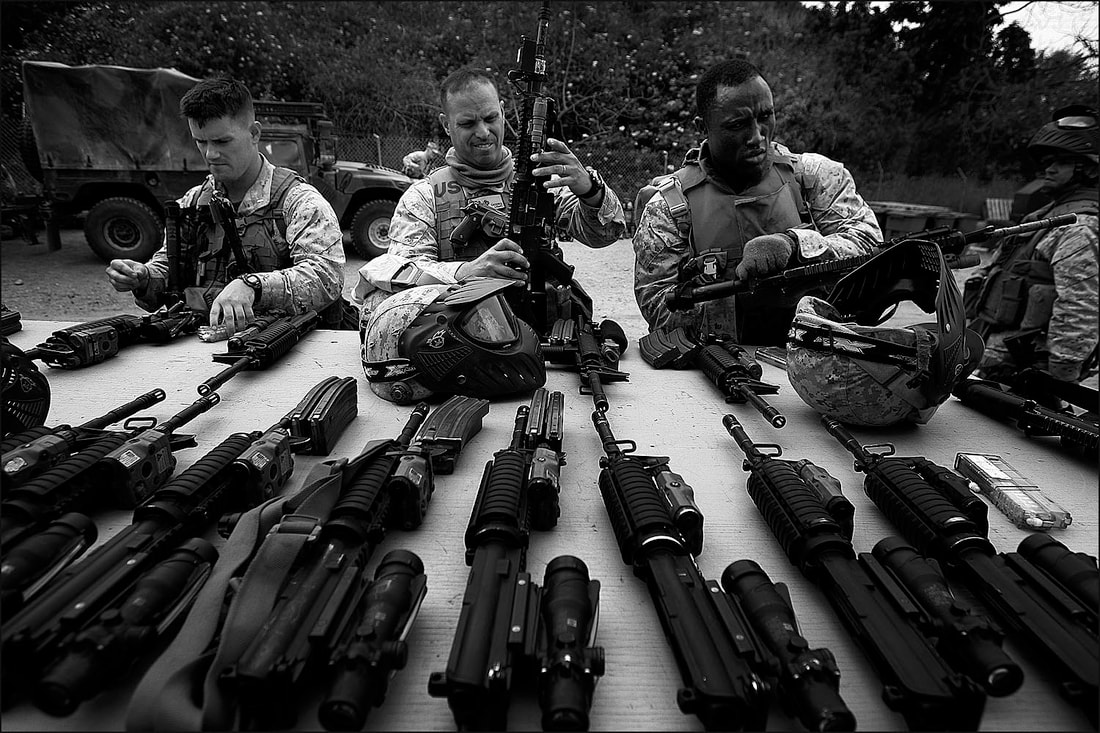 ©Sandy Huffaker I admire how much effort soldiers of the US put in to keep everyone safe: their families and people they don't even know. They understand that guns are very dangerous and deadly, but how else are we going to be protected by? I'm glad Huffaker put the photo in black and white because it shows that there is no other choice and there is no other way to show their dedication. 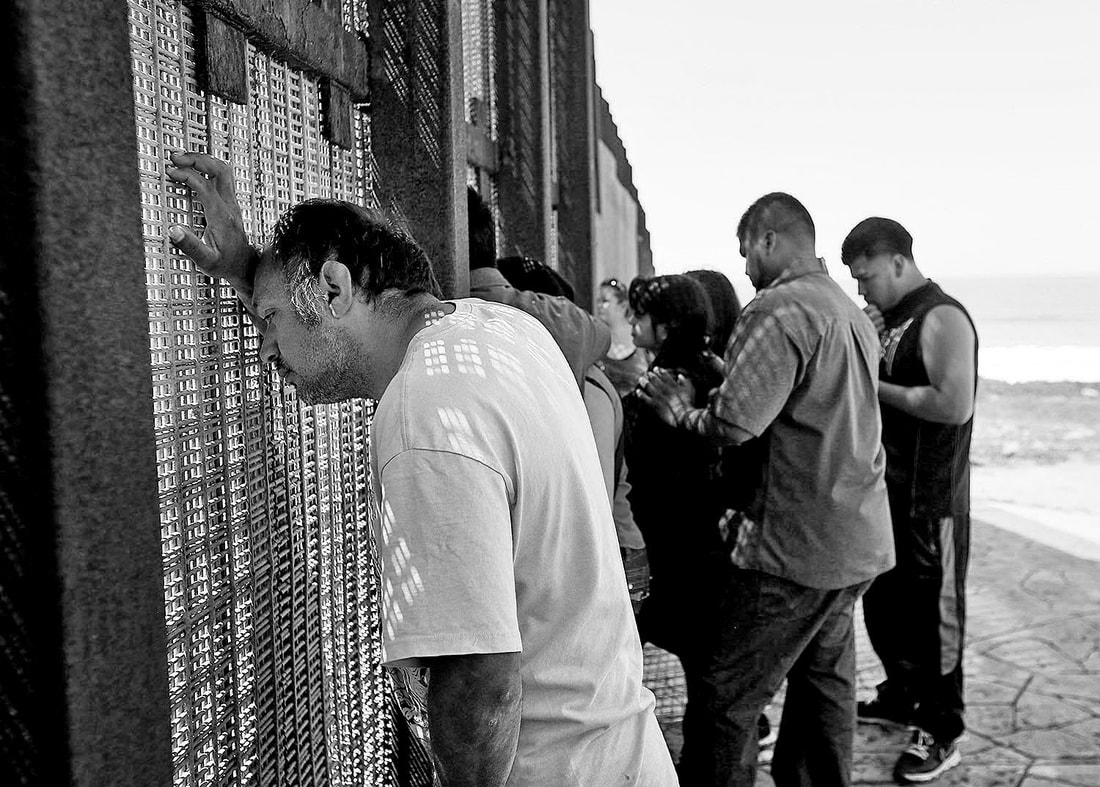 ©Sandy Huffaker It's heartbreaking seeing immigration, and immigrants themselves, being dealt with in such a horrific and ill-mannered way. I like how Huffaker captured the man in the foreground all alone while the other people in the background have someone with them, comforting and loving them. It looks like the man is thinking about how lonely he is and that there is no one there for him. Little does he know, there are so many people in the U.S. who has his back and are fighting for the most fairest and equal rights for all immigrants. 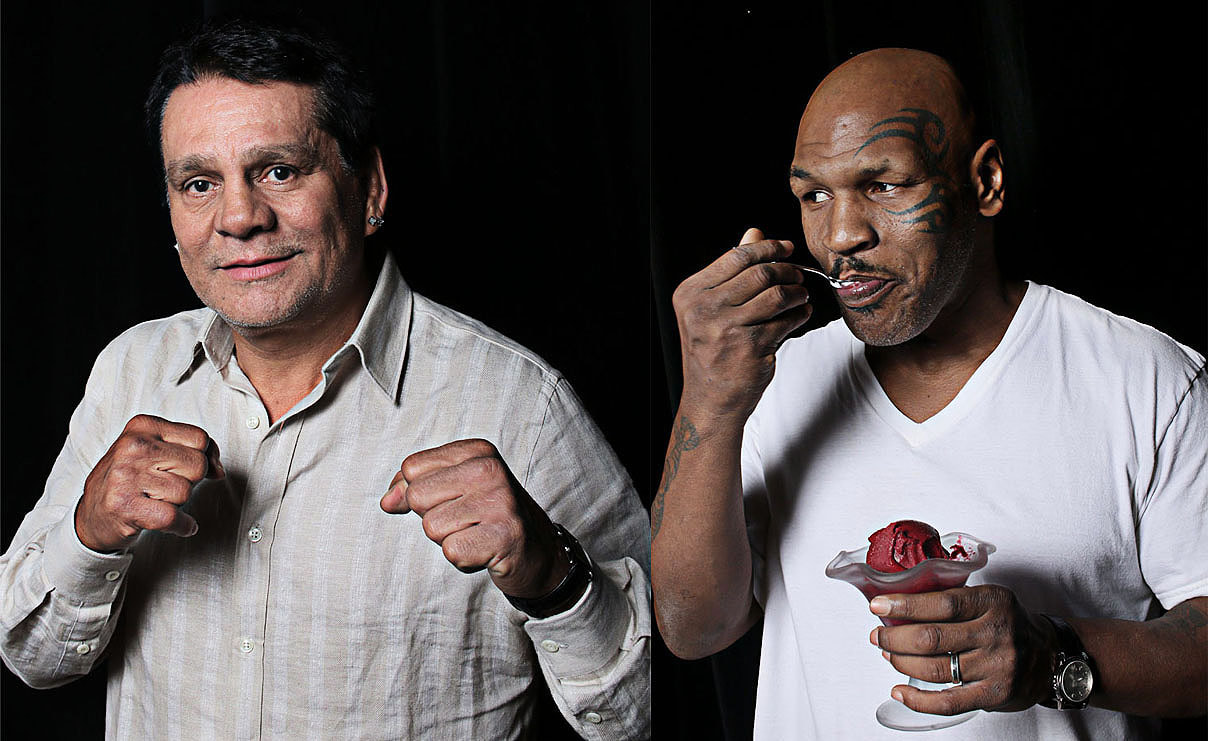 ©Sandy Huffaker This photo makes me laugh. Who wouldn't dream of eating ice cream during a photo shoot?Putting two of the greatest (in my opinion) boxers next to each other shows that legends still have the power and energy to show that they are still as young as they used to be when they fought for a title. Roberto Duran is ready to show his skills while Mike Tyson is ready for the ice cream. 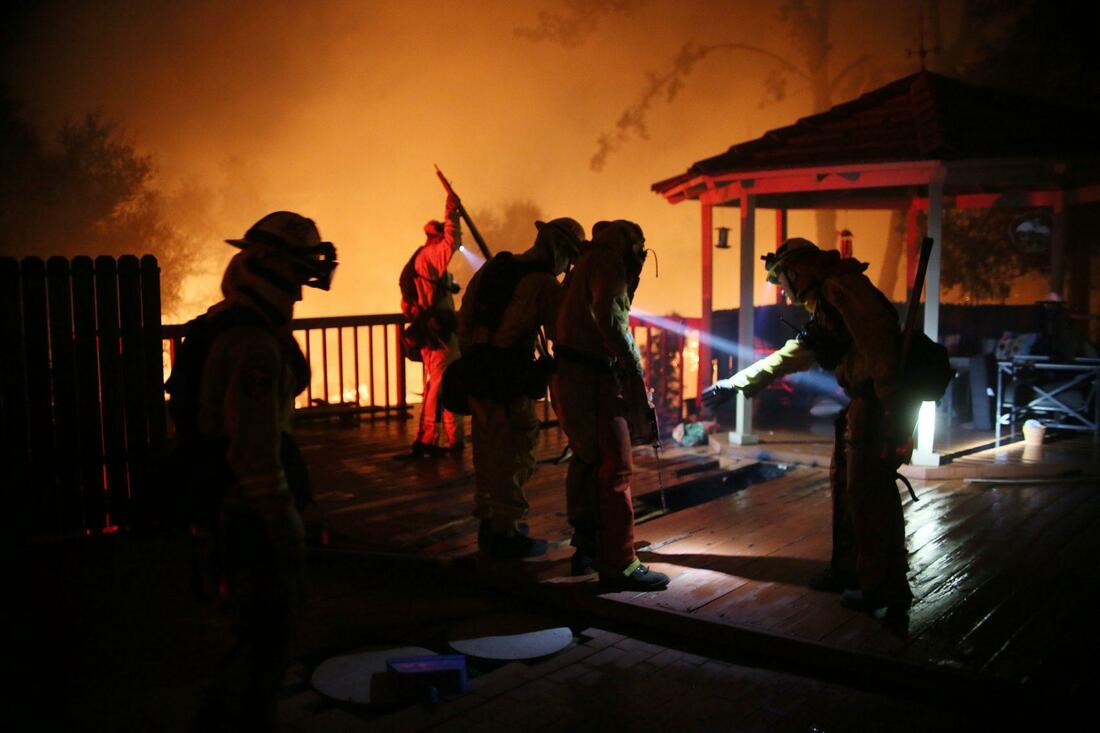 ©Sandy Huffaker This is one of the many photos Huffaker took during the Southern California fires this past year. Many people lost their homes and memories. The work of the firefighters is significant because they don't hesitate to arrive at a scene and be the heroes. Many firefighters lost their own lives saving homes and animals, but in the end they are recognized to be heroes and lifesavers. In this photograph, I noticed the danger the firefighters are surrounded by, yet they take no notice of that because they have better obligations at hand to focus on- understandable. 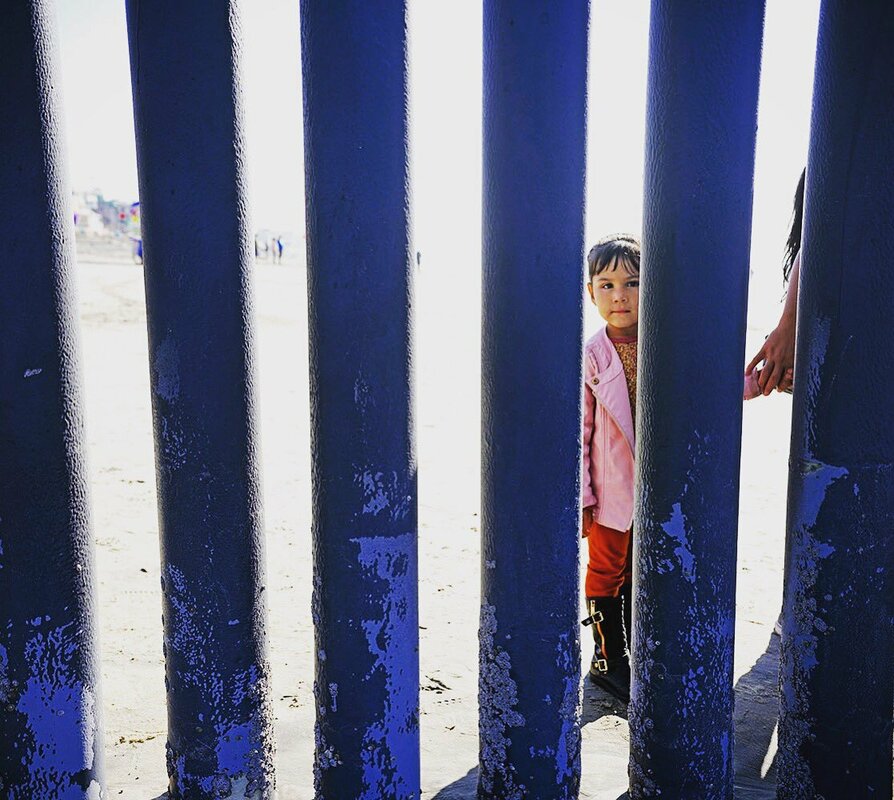 ©Sandy Huffaker Children are also being affected by the new immigration regulations. They get separated from their parents, thrown into places they've never been before, and exposed to dangers and negative actions. Children in the U.S., Mexico, and everywhere else deserve to be protected no matter what and no matter where. I appreciate the perspective Huffaker put in the photograph. The message in the photo is that children aren't seen as important but they are the most important factors in the immigration conflict. The young girl may not know, but one day her hand may not be connected to the woman's one day.
Being a photojournalist provides much professional equipment. It may not be cheap but it would totally be worth it. 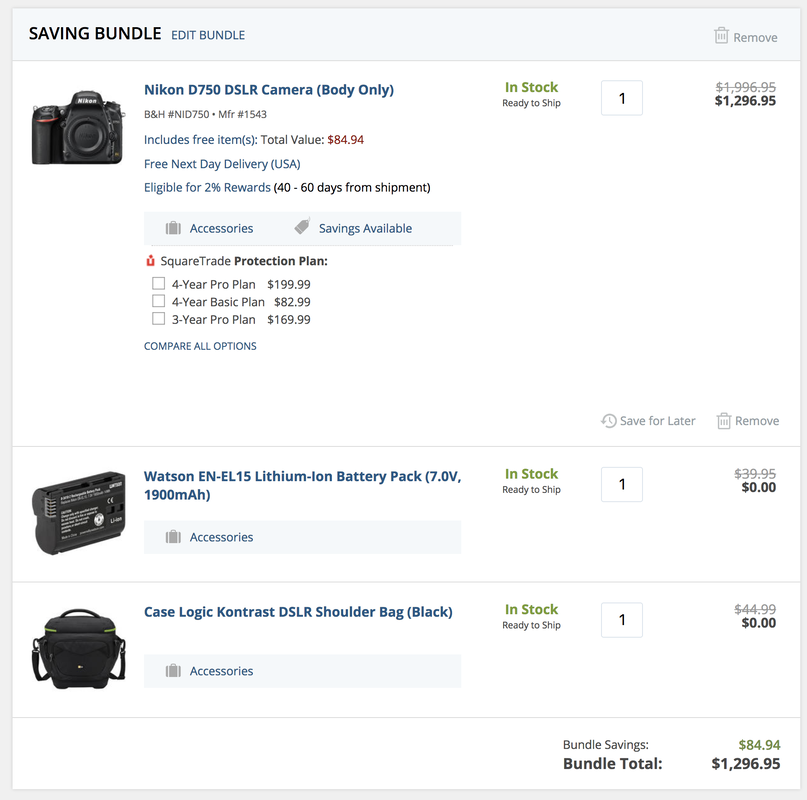 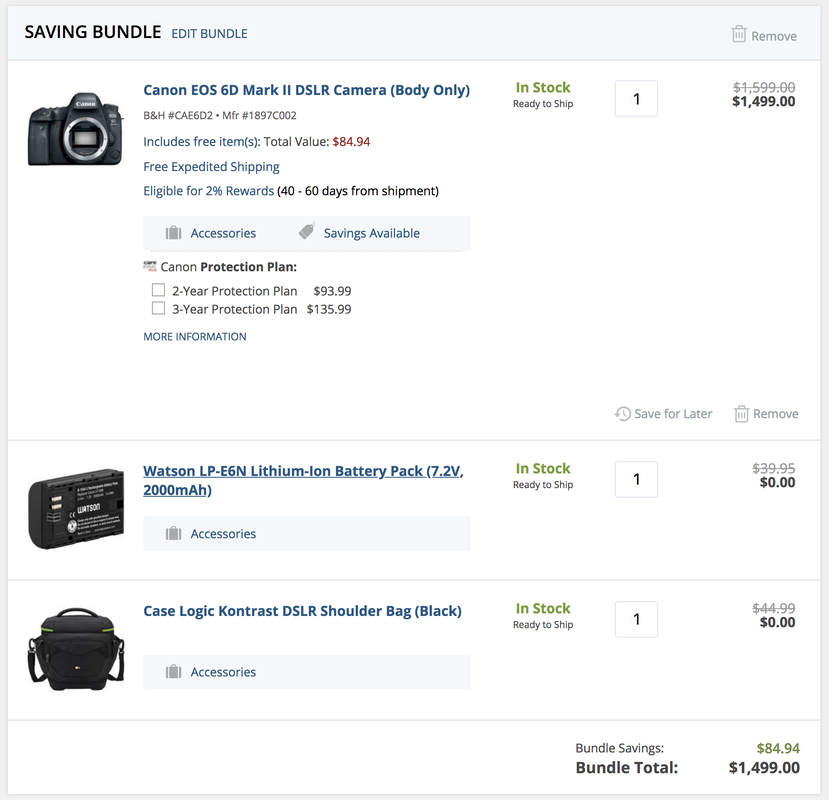 It's good to have a different cameras, especially of different types. They can be used in different situations when needed. 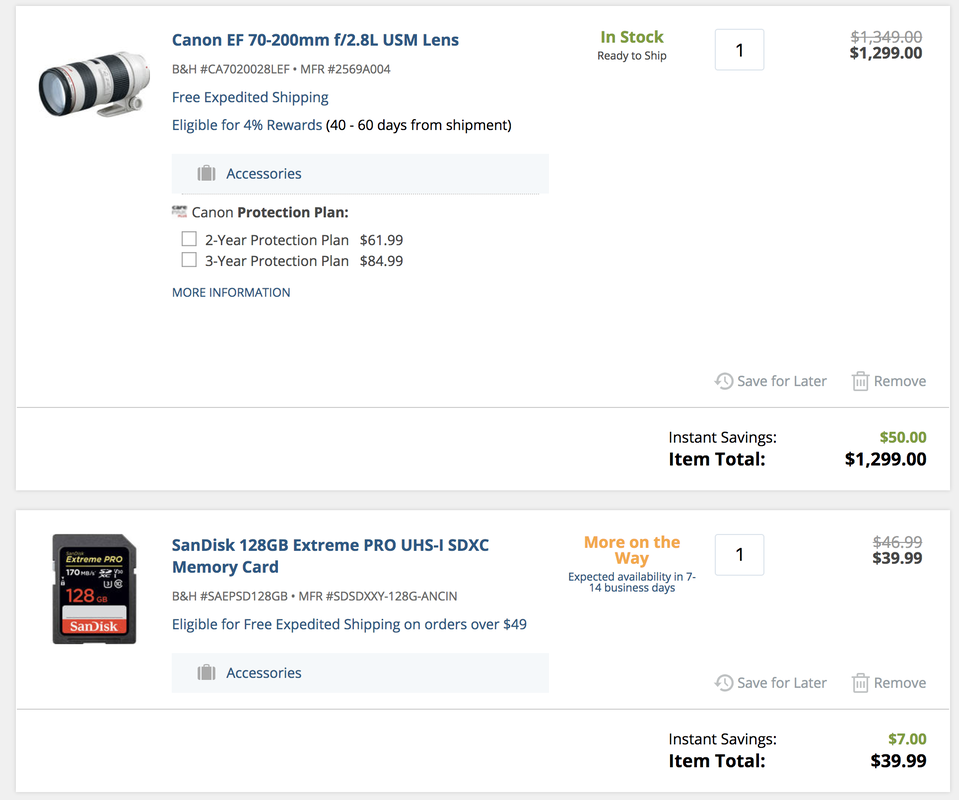 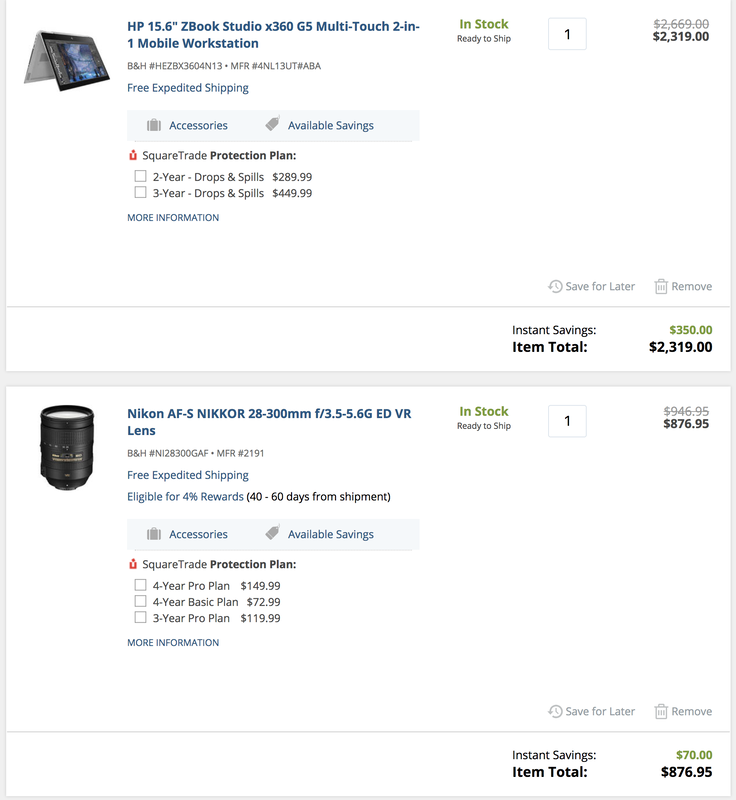 As said before, it's good to have two different kinds of equipment which is why I chose two different styled lens. It's very important to have a variety. Also, the software I chose is a laptop/tablet that's easy to use and carry around. Easy travel and access is the most important aspect when you have so much things to worry about, and the most important thing to focus on is the subject you're there for. 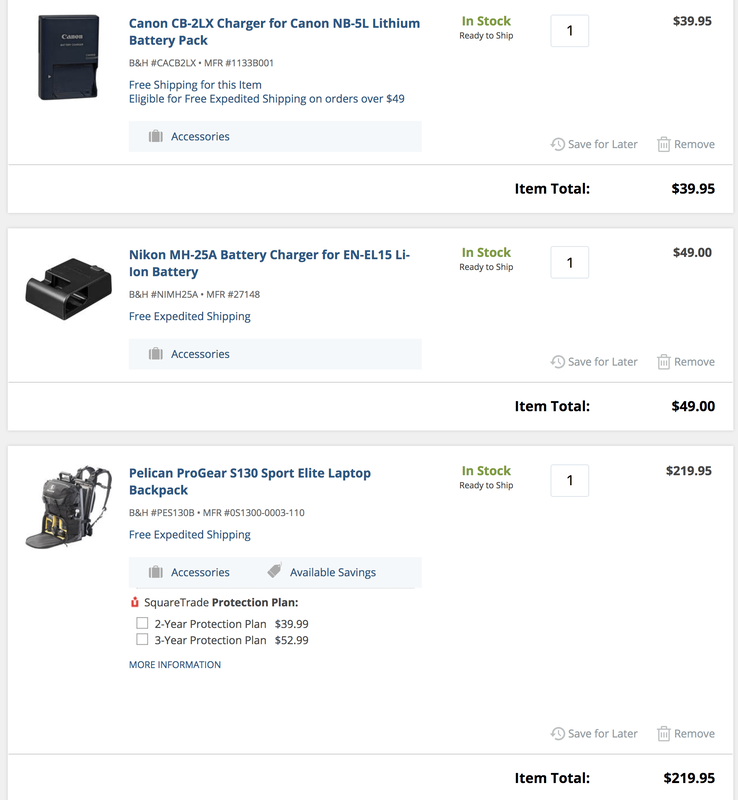 It's very important to take care of your equipment, which is why I need a backpack to hold all of my equipment and battery chargers to keep my camera batteries full of juice. What's the use of a camera if I can't use it because my battery isn't charged? 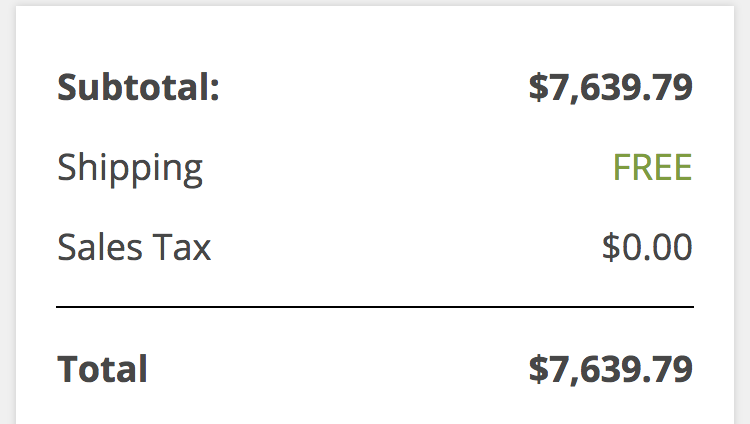 Obviously, being a photojournalist is not cheap. If only I had $8,000 with me right now. The products I have added to my cart are only essentials to being a photojournalist. There's much more that you can buy for your journeys, such as tripods, cords, lens covers, camera cleaners, and so much more. You decide.
The definition of a photojournalist: a journalist who communicates news by photographs However, they do more than that. They are risk-takers who travel to conflict zones and puts his/her life on the line. They do this to tell the truth and story about situations in the world. They not only take photographs; they learn about the situation, history, cultures, different points of view, etc. In order to tell other people about situations, they have to know and comprehend everything first. No one wants to give false facts. They cover wars, conflicts, nature, the environment, people, sports, , and sufferings. With the photographs they take and the facts they learn, photojournalists are story tellers. When they arrange their photographs in chronological order, they are telling a story and those stories include facts that are seen, not heard. However, it's not that easy. Photojournalists choose and make minor edits to photographs that best tell parts of the story or the story as a whole. I like this style of photography because knowledge is expanded. The more a person knows, the more they understand the world. A photojournalist, from my point of view, not only tell stories but they attach emotions to the photographs, either from themselves, the subjects, or the viewers. In this world, they are one of the heroes: they risk their lives for others; they inform others about what's happening in other parts of the world; they know things the rest of the world doesn't. Who wouldn't want to learn so many interesting facts in the world and become the teacher to inform about it all? Every photograph a photojournalist captures is powerful, whether they share it or not. WILDLIFE 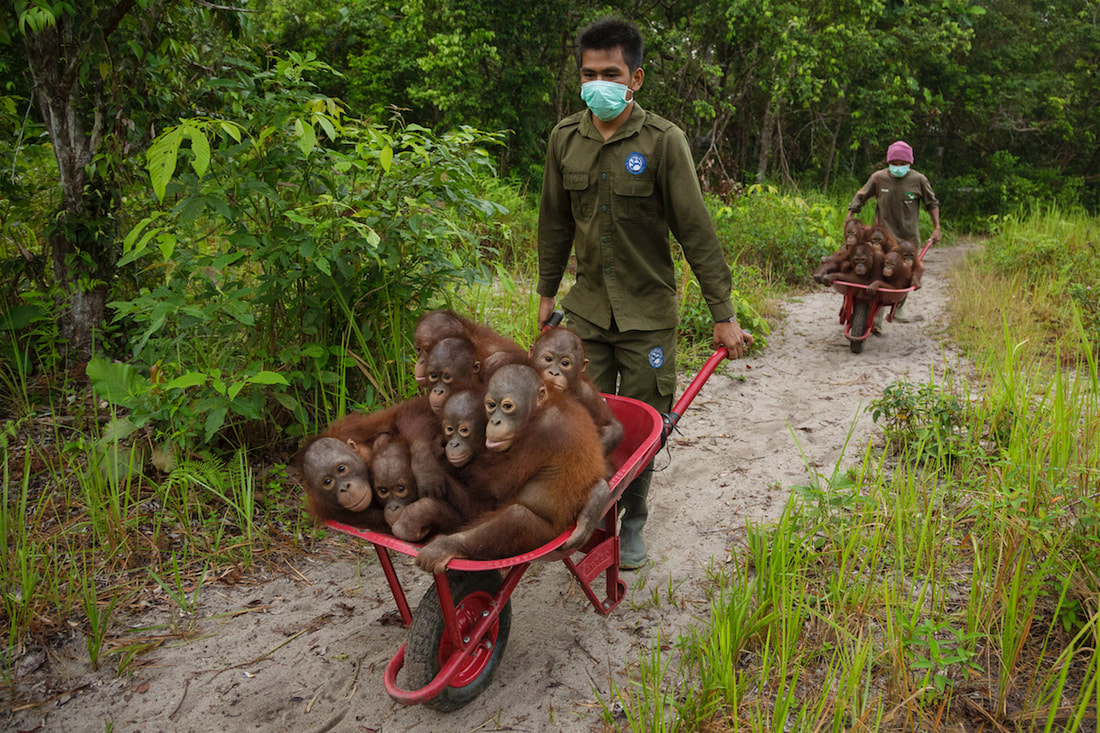 Tim Laman 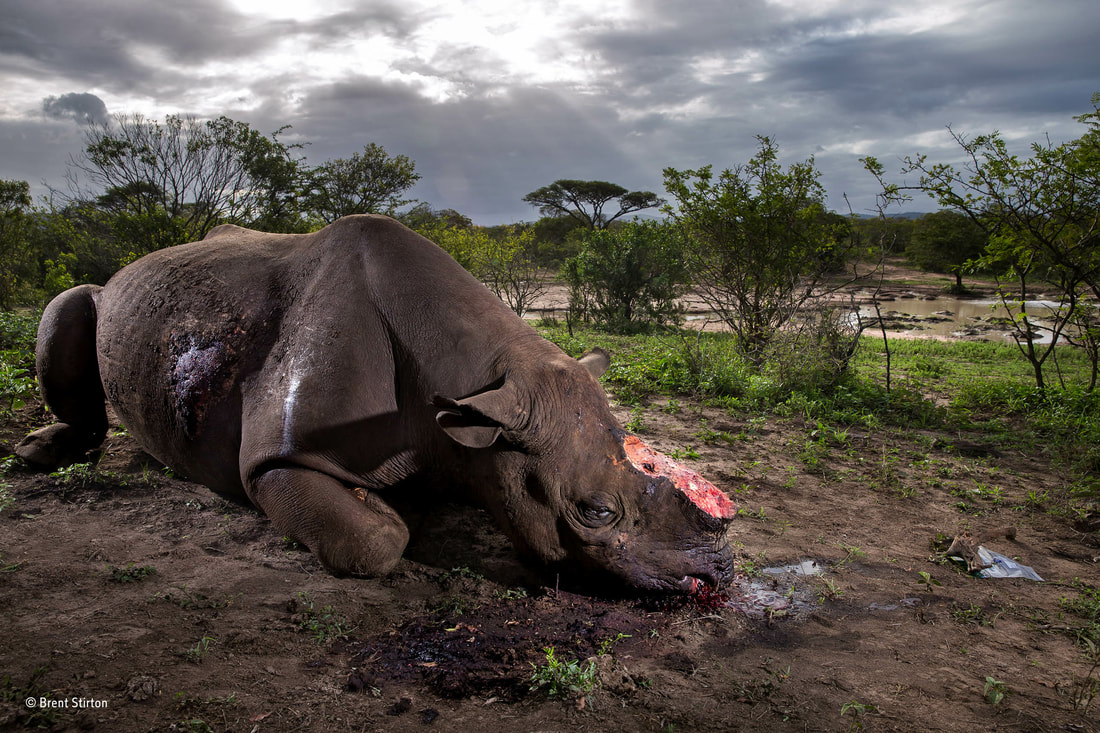 Brent Striton  David Higgins 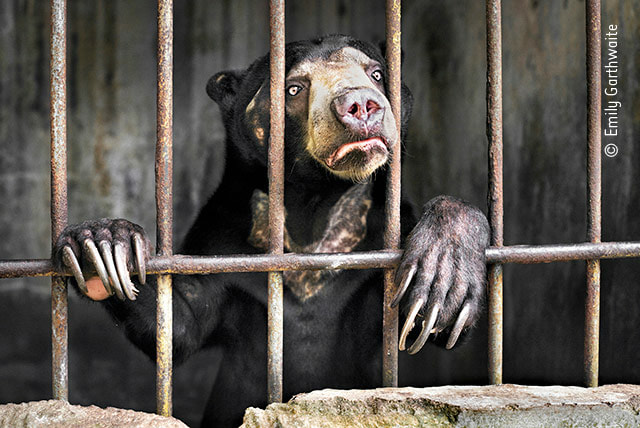 Emily Garthwaite 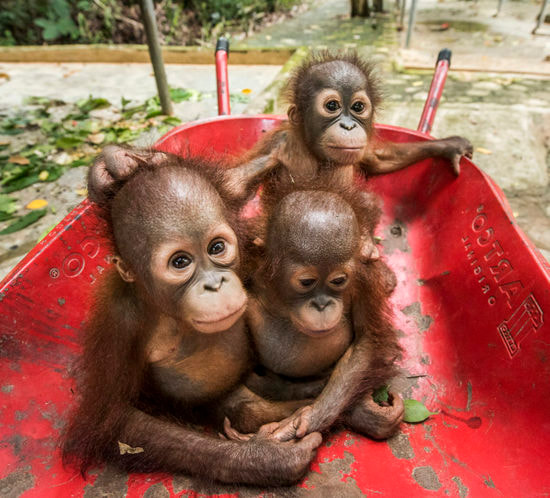 Joan de la Malla 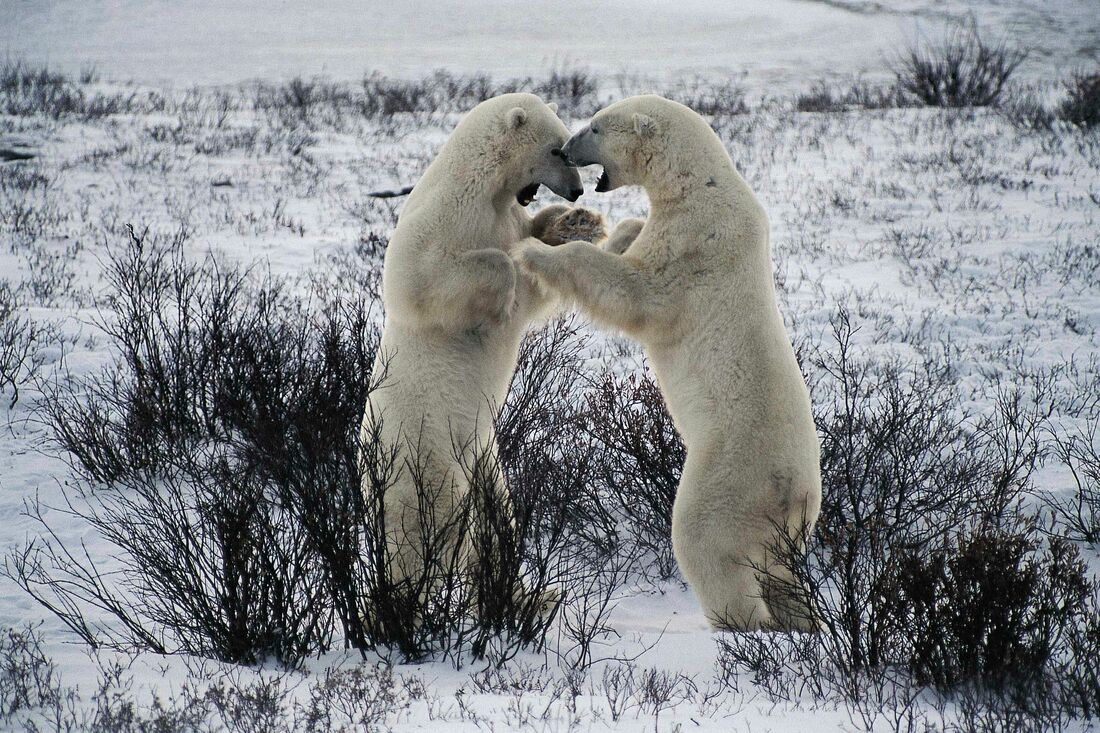 Kike Calvo 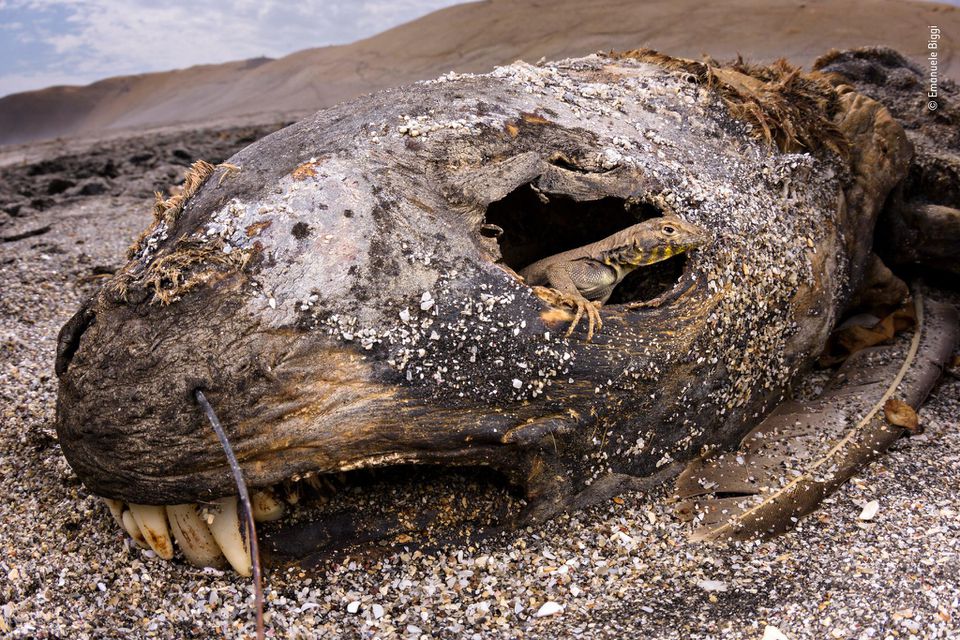 Emanuele Biggi 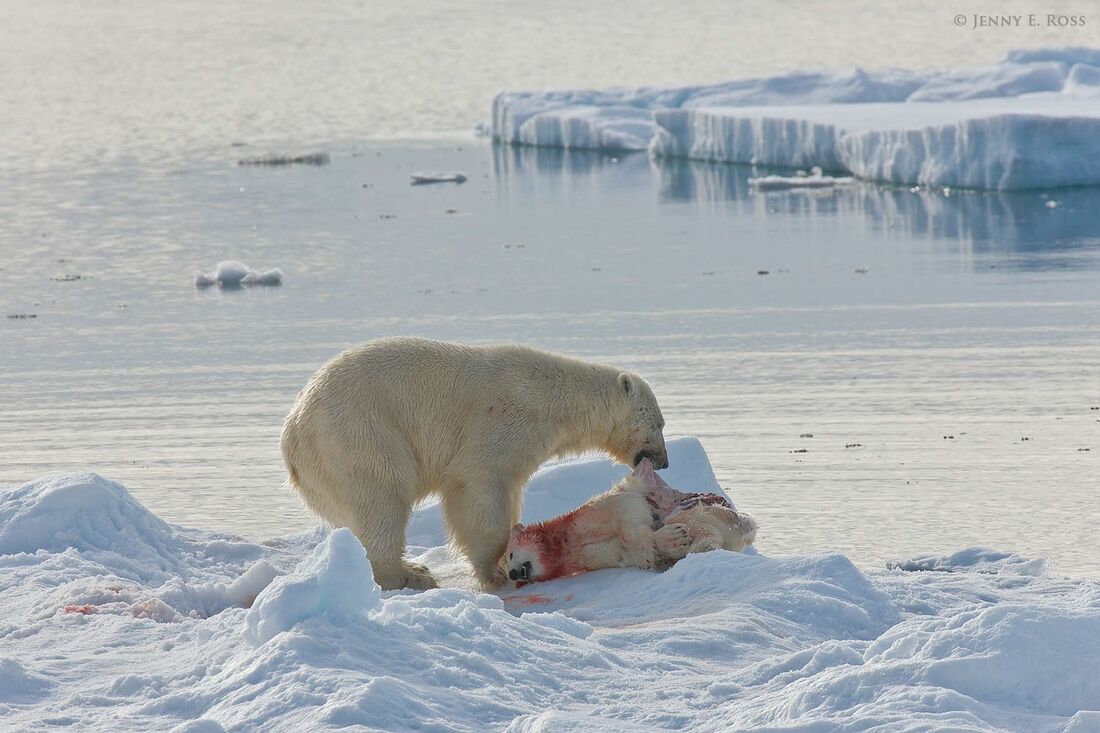 Jenny Ross SUFFERINGS/WAR 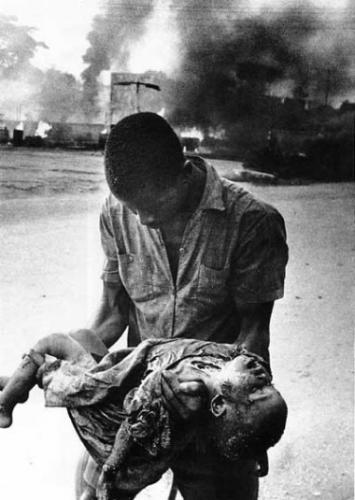 Unknown 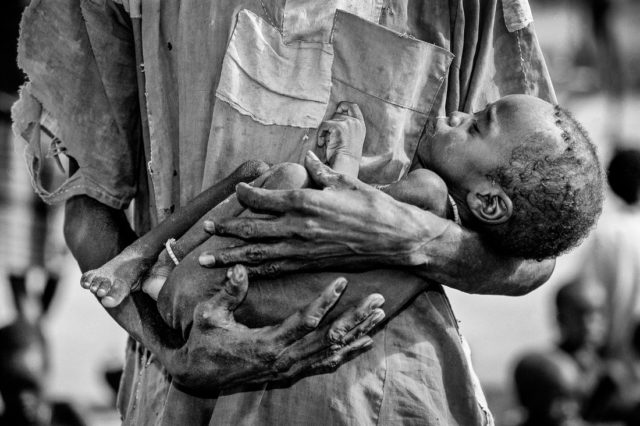 Jon Warren  John Vink  Gilles Peress 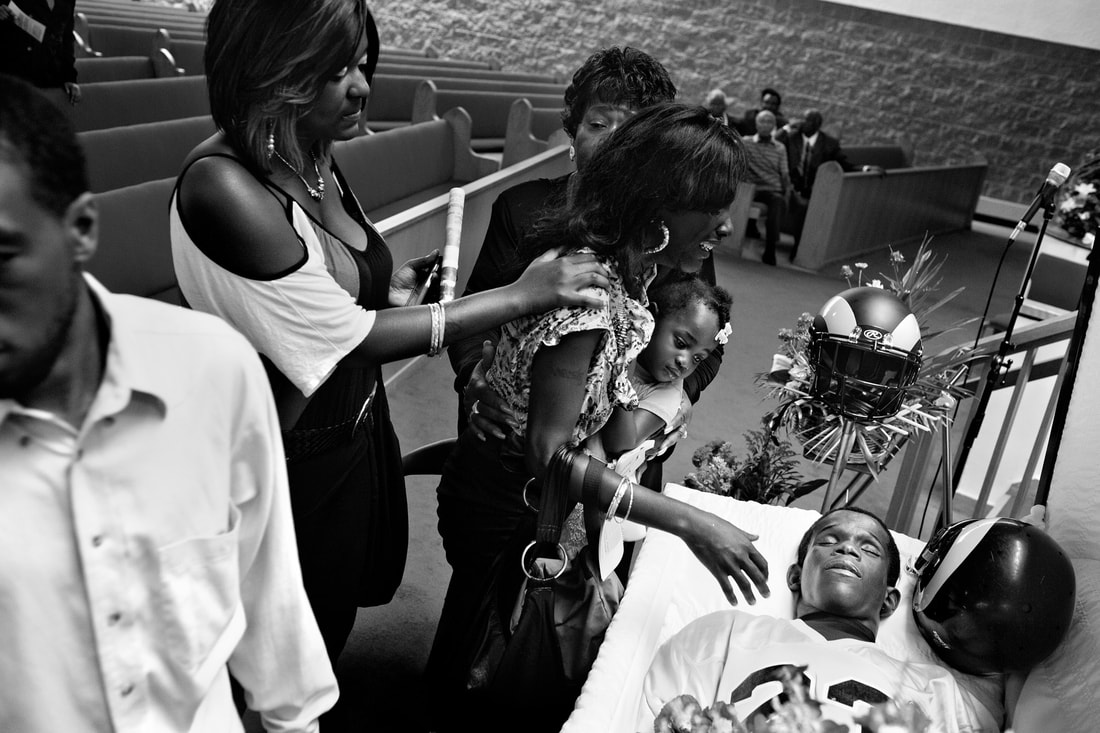 Paolo Pellegrin 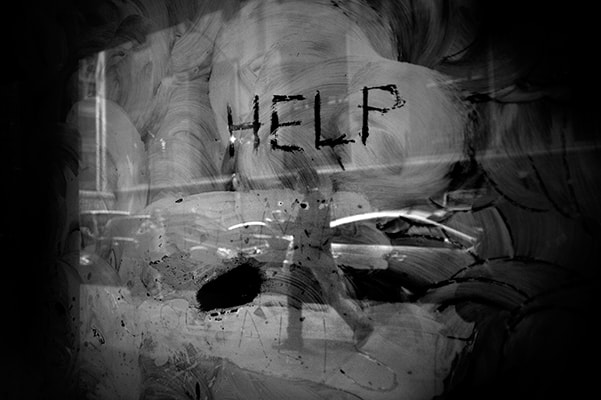 Darcy Padilla ENVIRONMENT 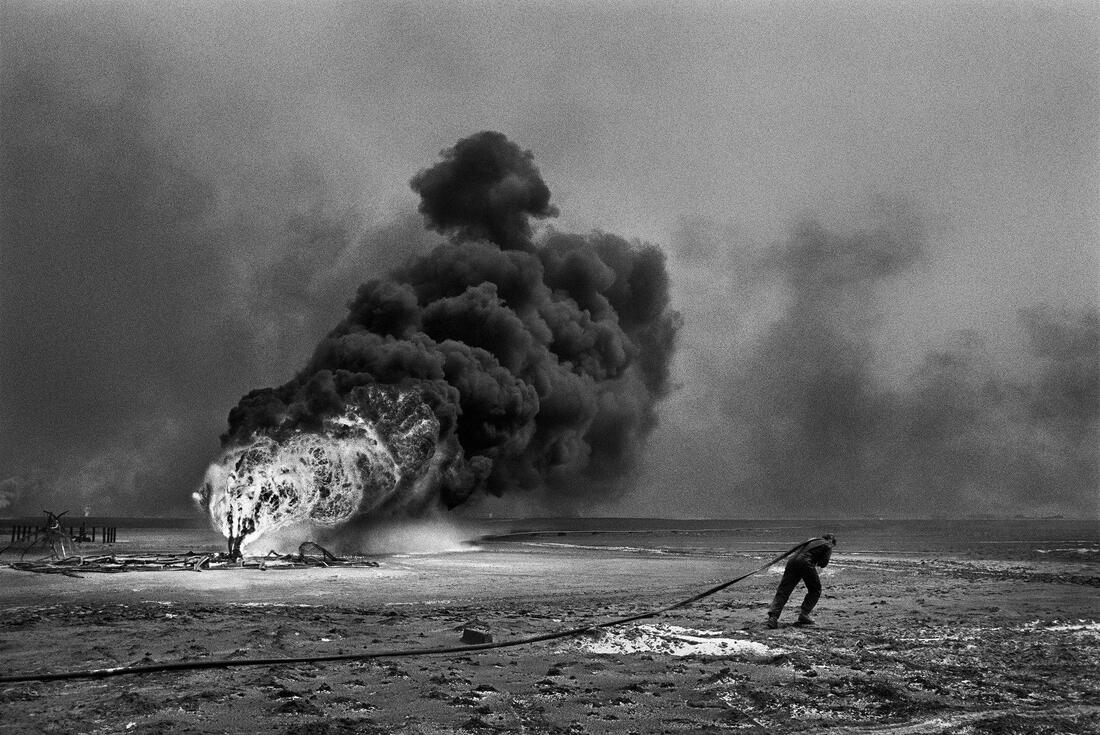 Sebastião Salgado  Glenn Lockitch  Peter Essick  Ashley Crowther  Erika Blumenfeld 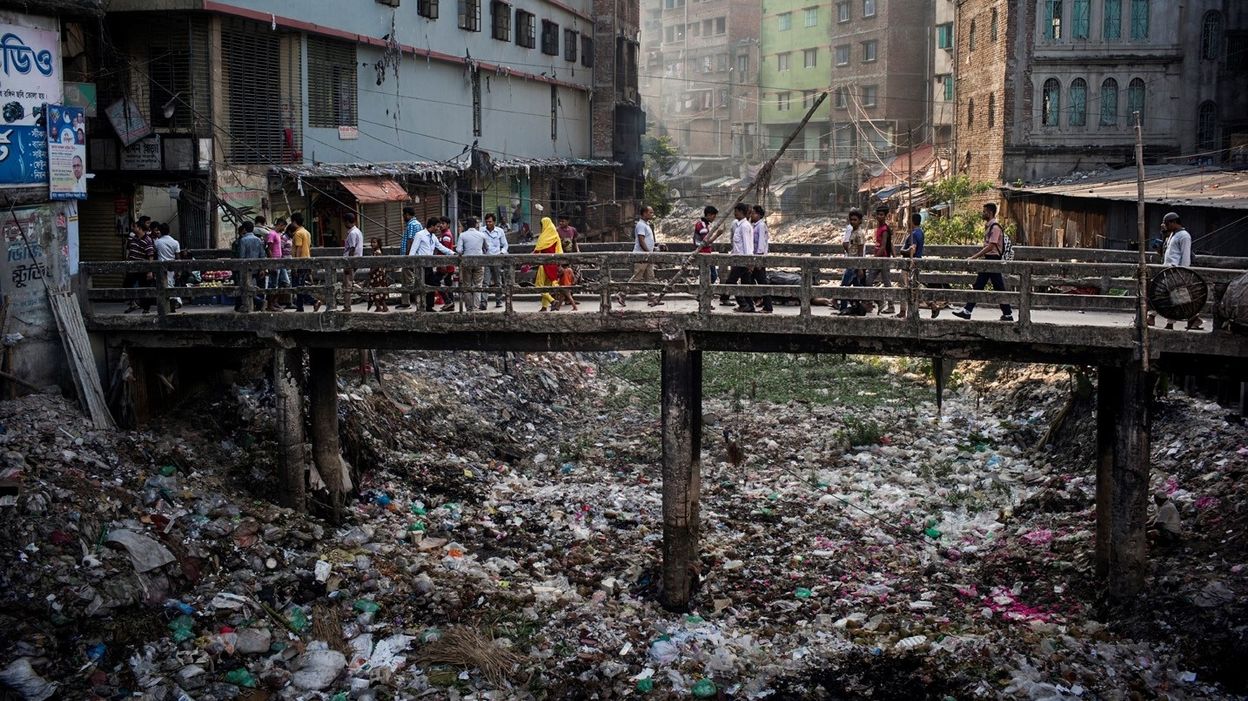 Gaël Turine 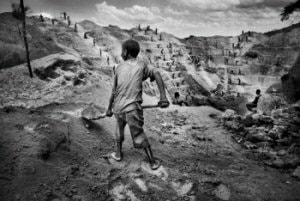 Marcus Bleasdale
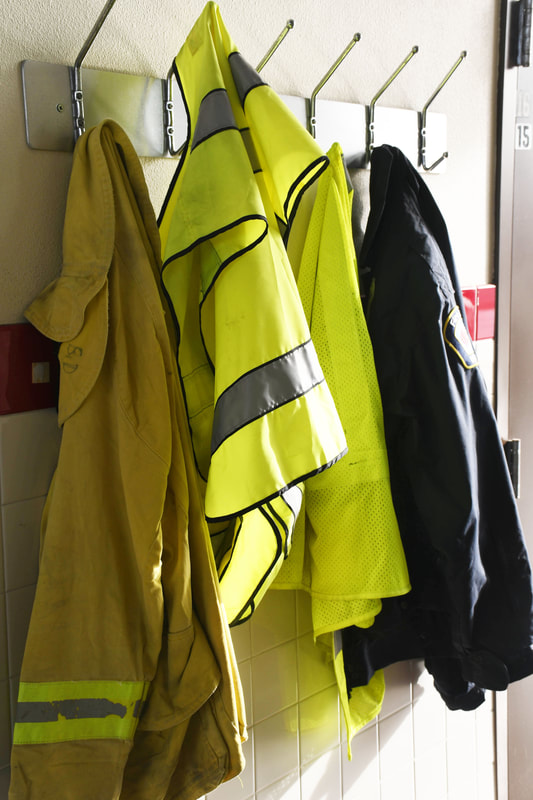 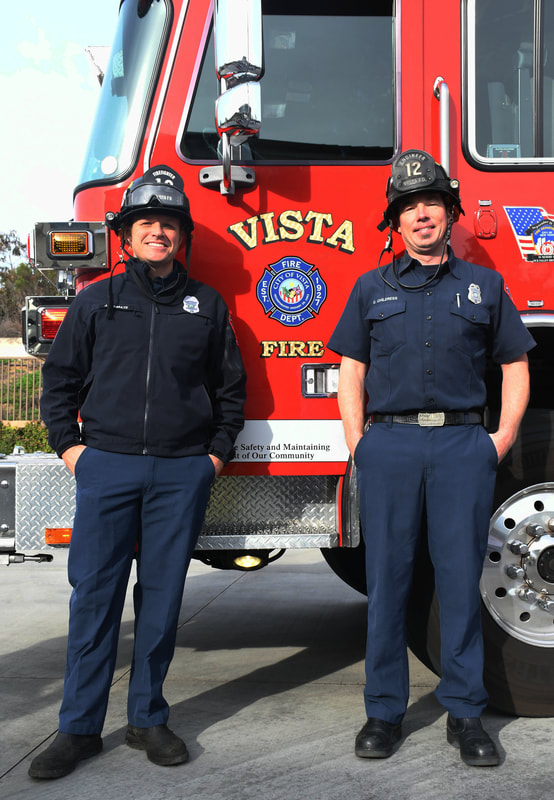 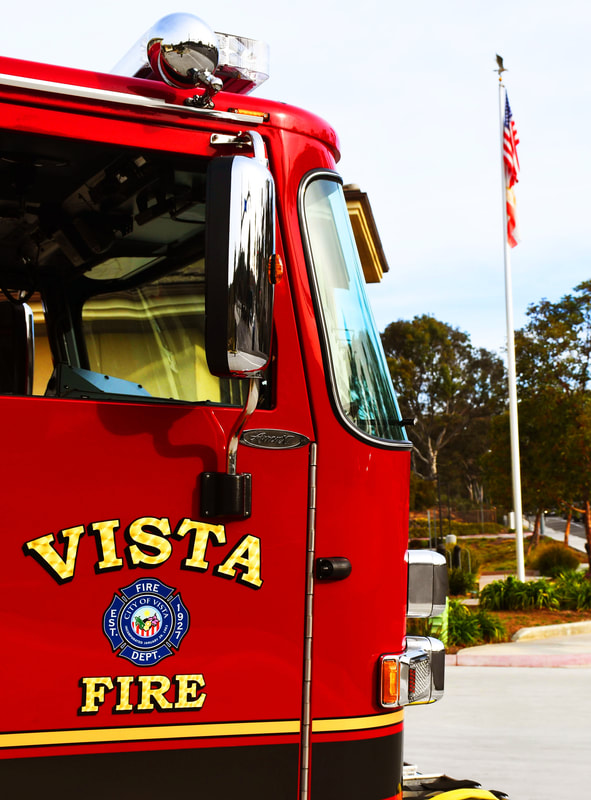 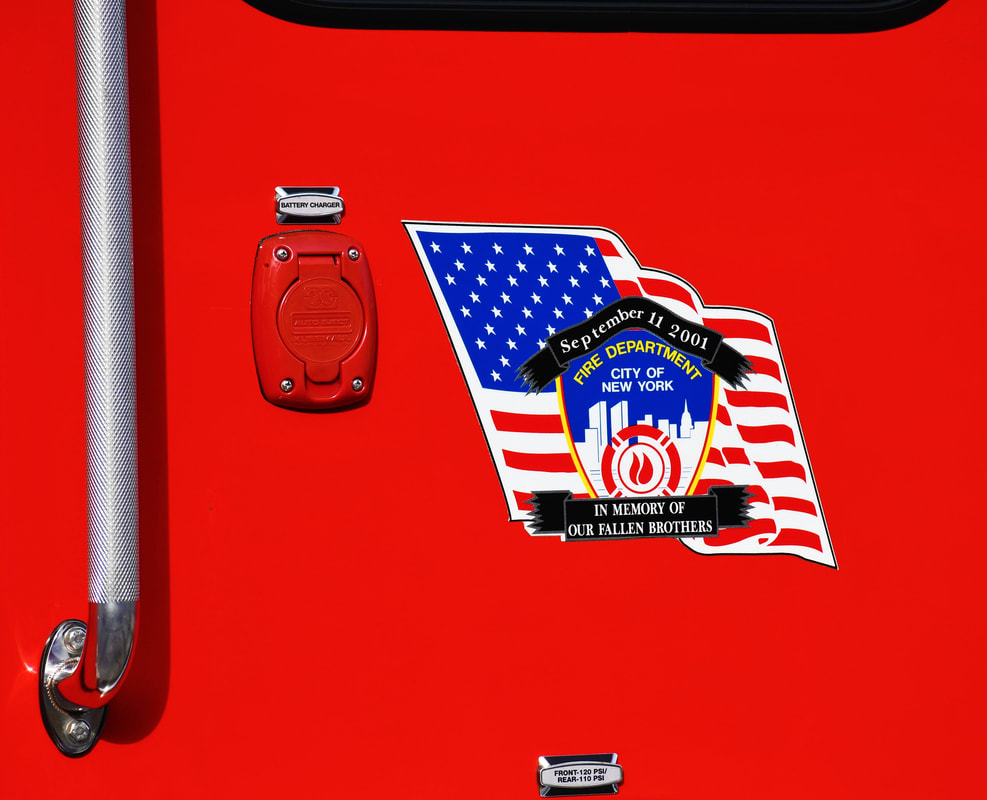 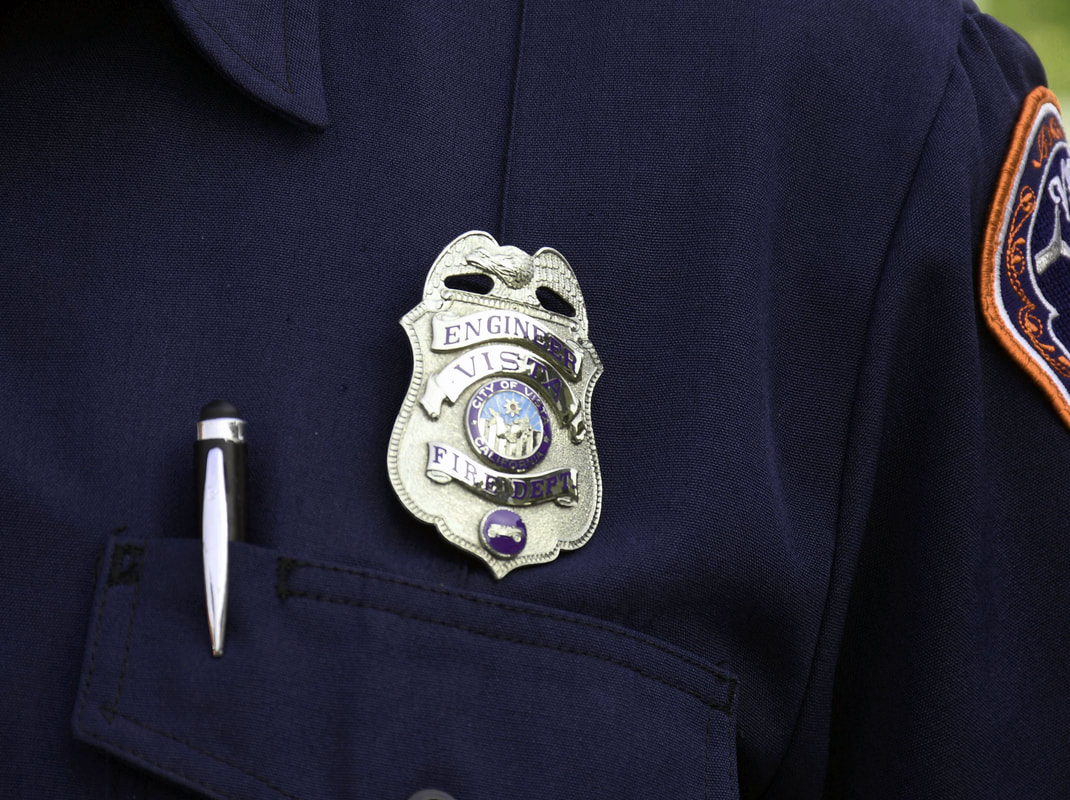 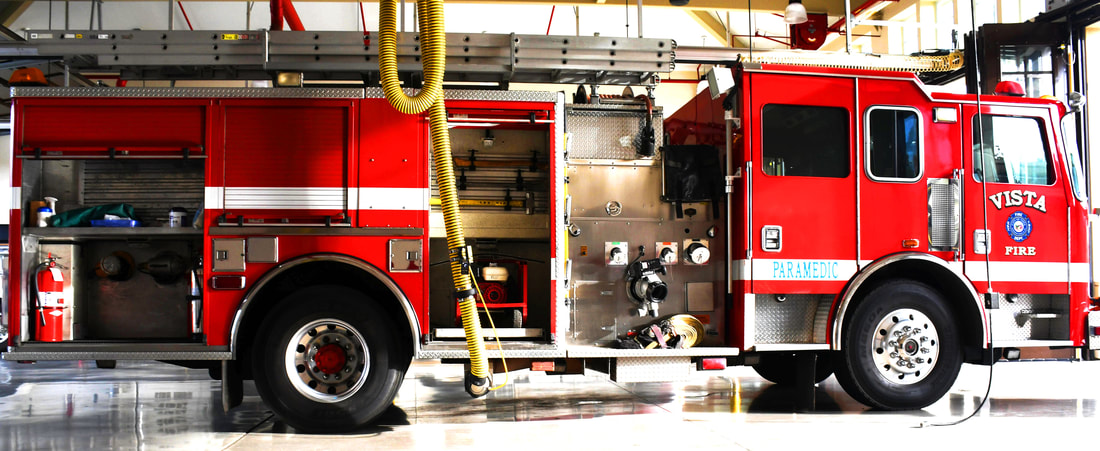 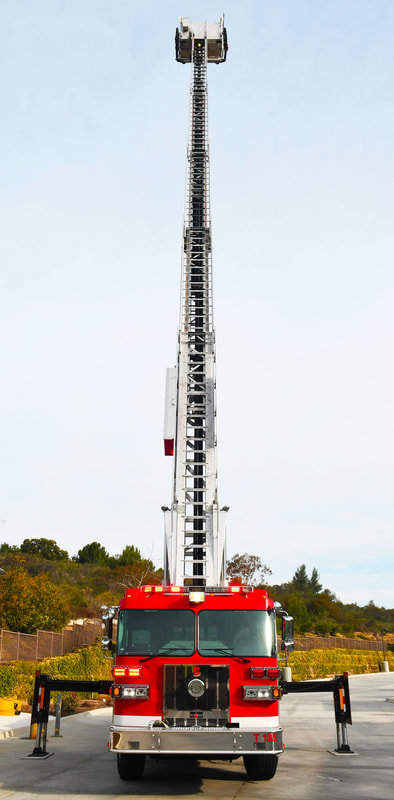    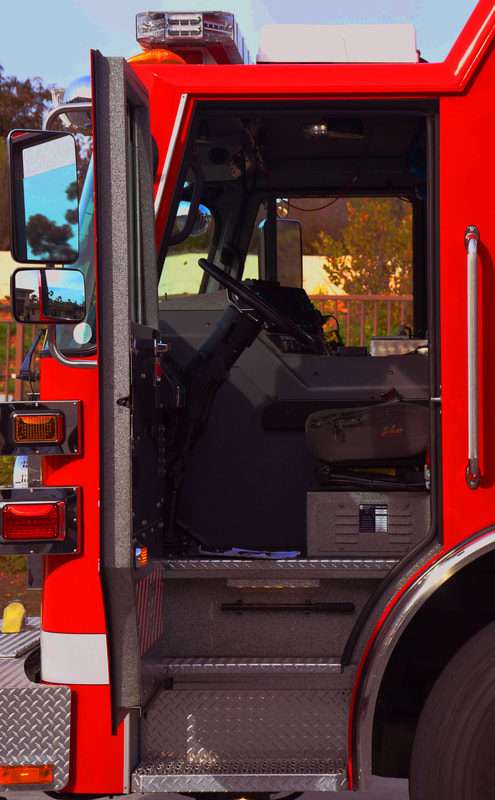  Being a firefighter looks like a lavish life but it's not easy. The fire station is filled with many significant resources but it's like living like a rich person (sort of). They only have two whole day shifts (48 hours) and four non-working days. They use the engine most of the time because it's the only truck with a ladder in the area, which is the most important truck there is. There are three people who are in the truck: two the in the front and one in the back. The engineer and captain are in the front while the other person sits by themselves in the back. Every morning the engineer cleans the hoses and checks that the truck is working properly. They are all required to workout in order to stay in shape and maintain strength in order to do their job properly with no hassle. They each have their own bedroom that they stay in for those two days, as well as offices. My favorite part was the four refrigerators, definitely filled with food. Each fridge goes with each shift of people. Of course I had to ask if I can have their skillful looking kitchen, but unfortunately they said no. No matter the time of day, they have to respond to every call, even in the middle of the night. Even though they only work 48 hours a week, they are the busiest of the busy.
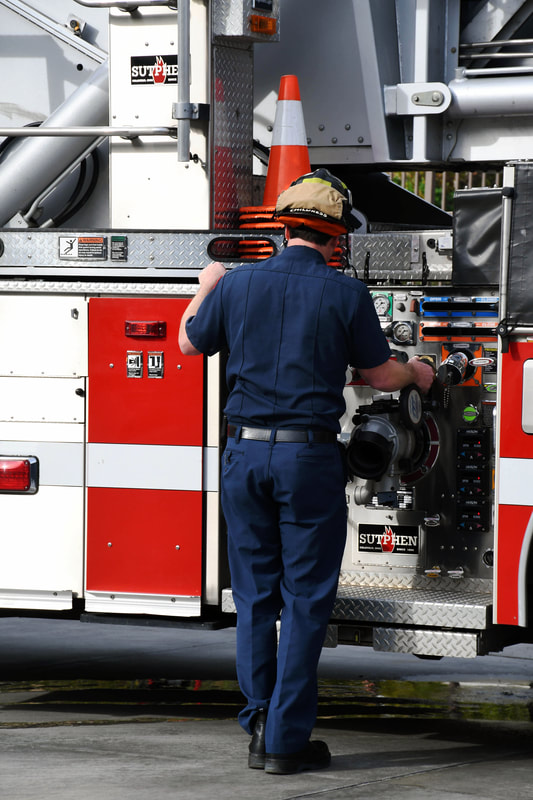
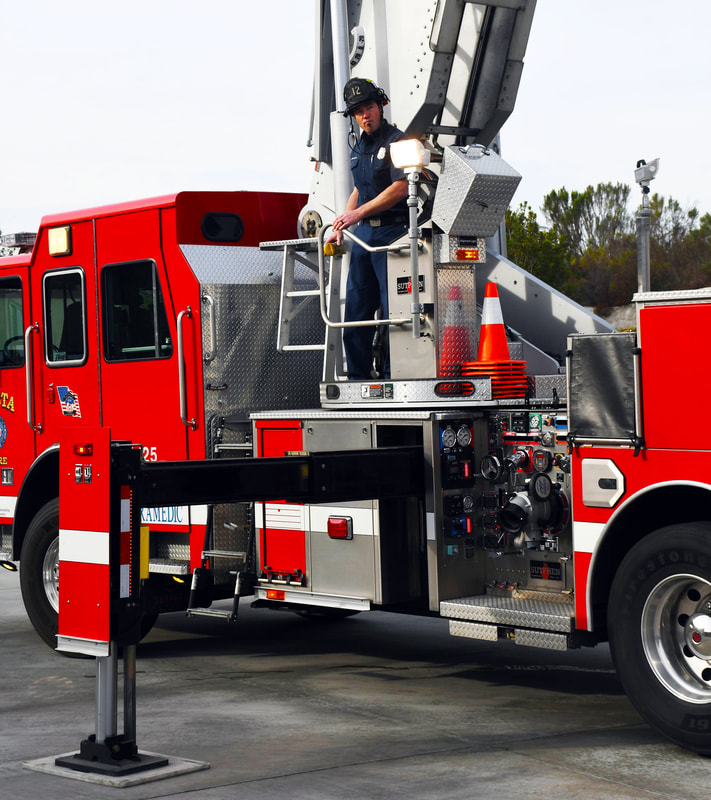
My favorite part of photographing there was definitely the kitchen. Who doesn't like food? No one! I actually enjoyed photographing everything because everything in a fire station is significant. After talking with Tom Franklin, I made sure to put all aspects of a firefighter and the fire station into my photography. There was never a dull moment in when learning new things and capturing my new knowledge. In the future, I desire to capture live actions from the firefighters when they are on call. Seeing them in action and risk their lives would definitely be the life changing experience everyone goes through. Also, I would like to witness and go through what it feels like to be a firefighter while they are on their shifts, like being with them for the whole 48 hours they are on shift. I believe this will have me better understand the struggles they go through and the impact it has on their lives. Set your camera to P setting. In the menu, go to the video symbol and scroll down until you see Time-Lapse Movie. Set the interval to how many seconds is between each photo taken and then how long you want the camera to take pictures for. I had exposure smoothing on, so I recommend to have it on. Before starting, set your camera in a beautiful view that you would like to see to be moved. Use a tripod to keep it stable and in the same position the whole time, adjust height and angle if needed. Then press start and it will automatically start the photo shooting.
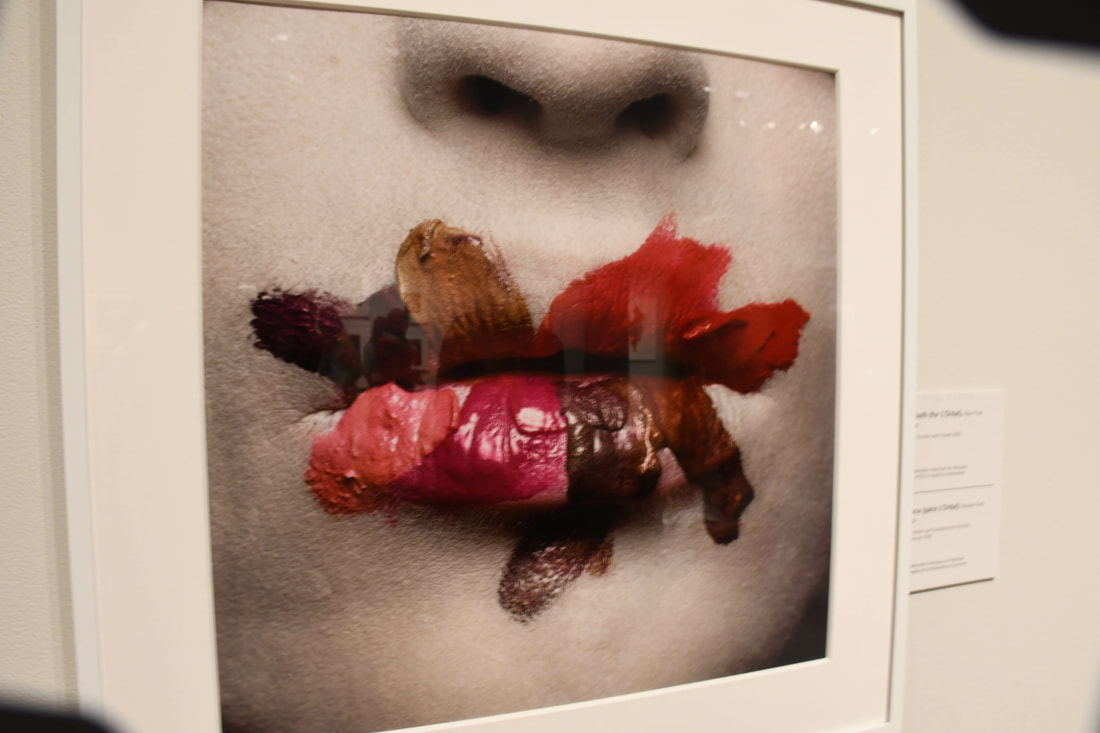
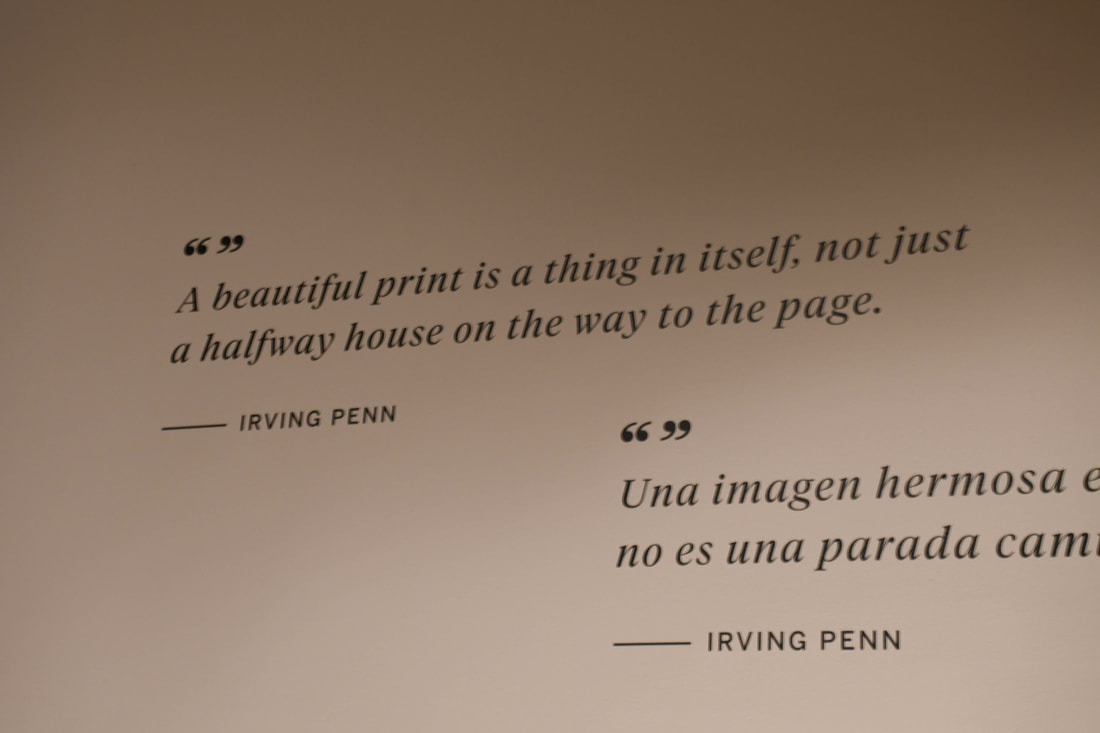
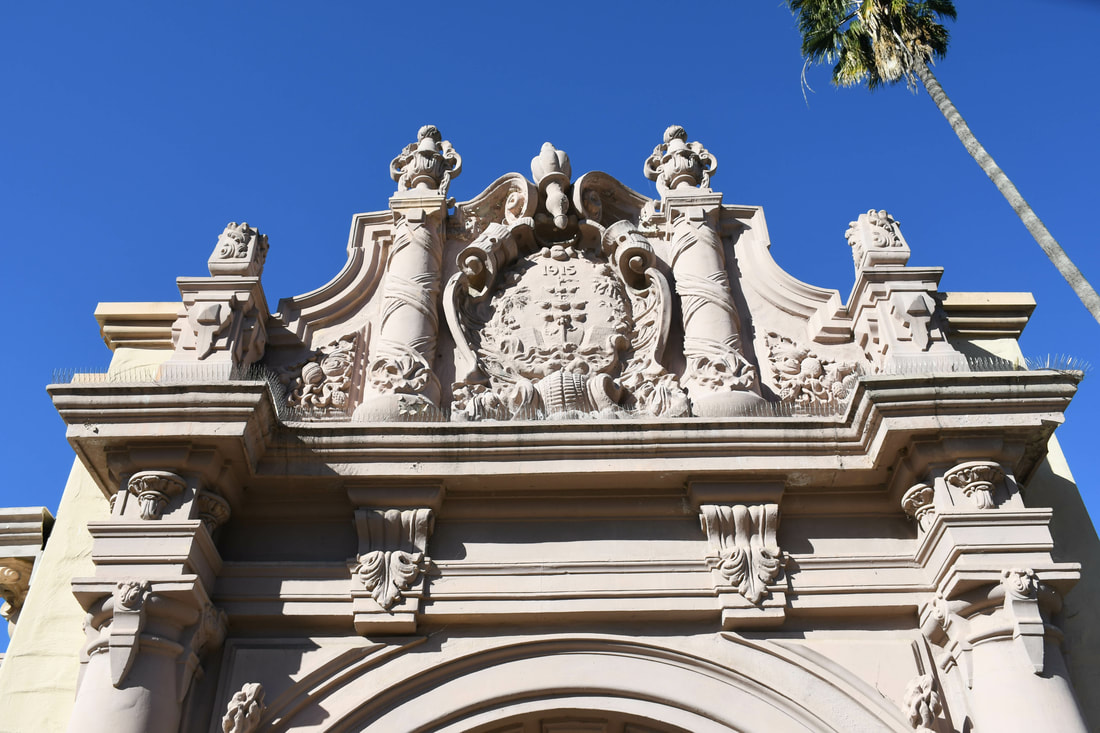
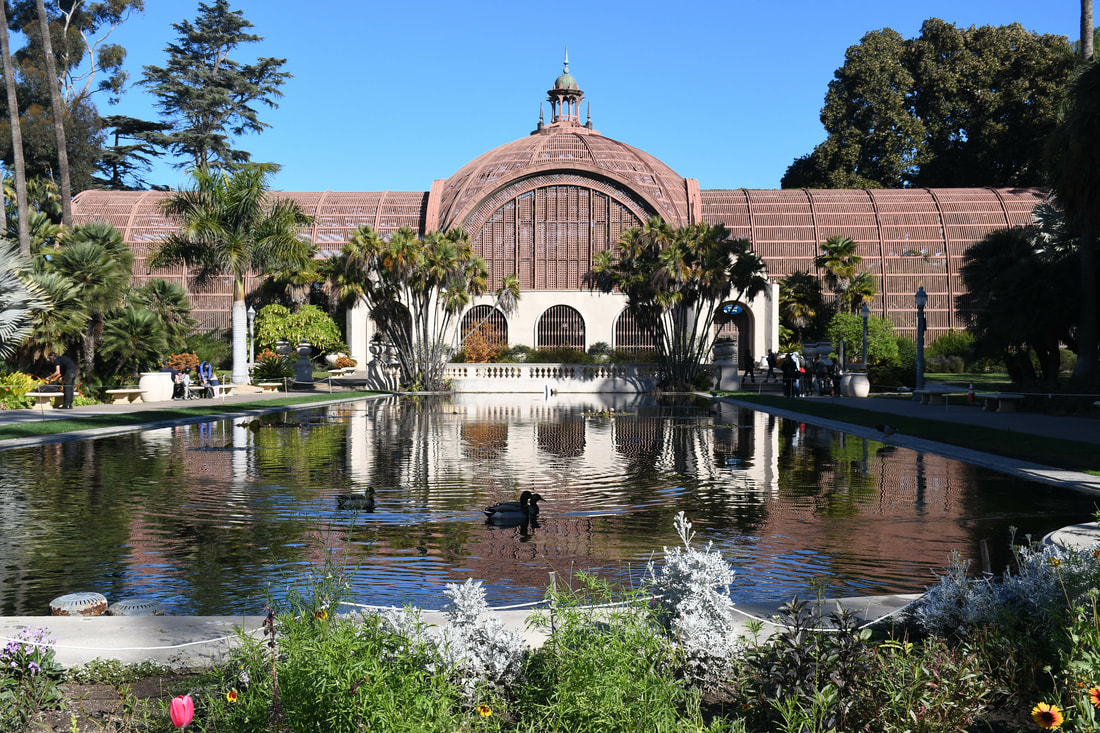
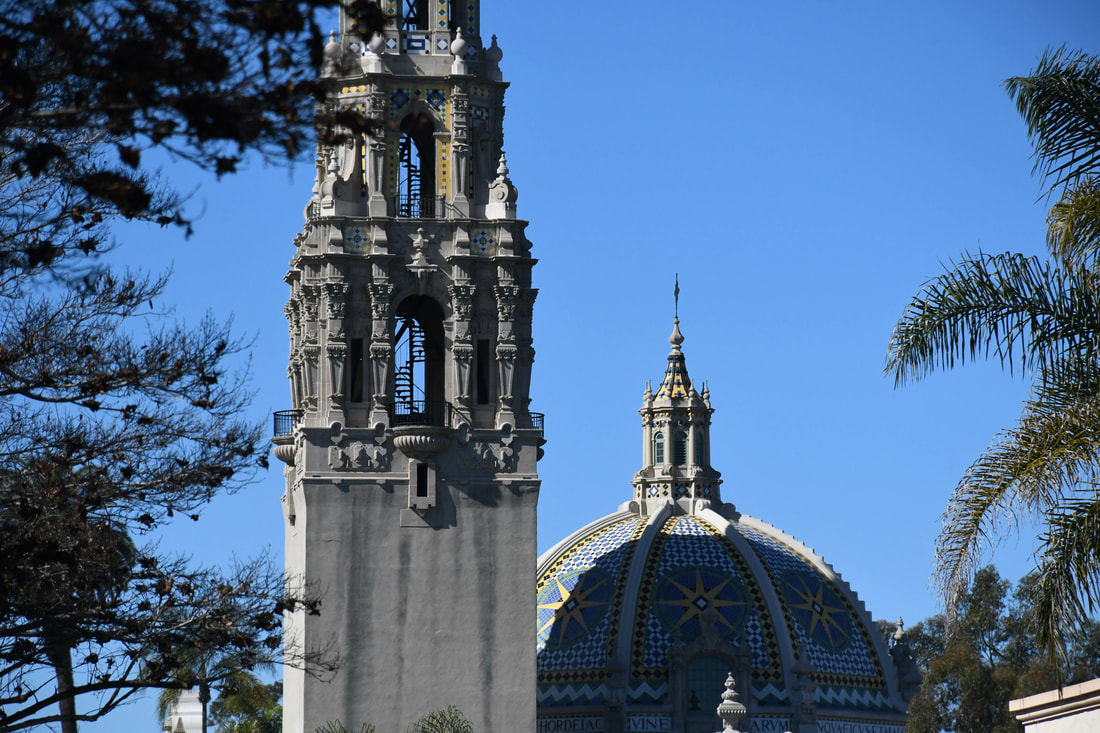
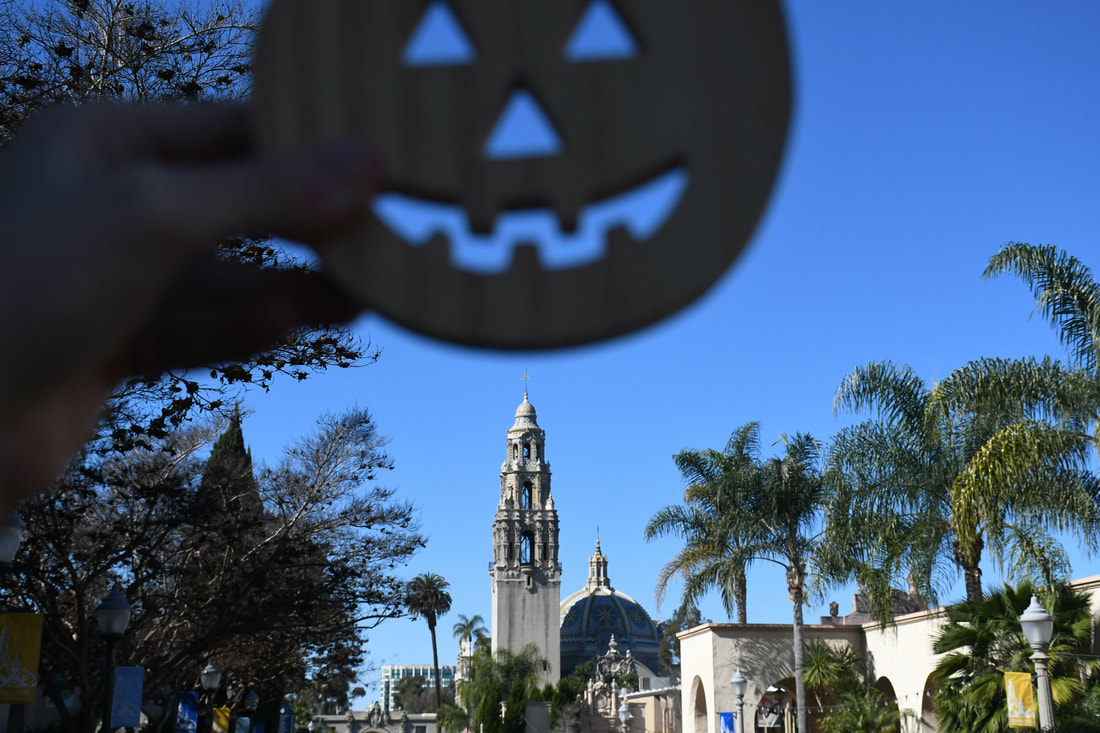
When you download the movie from the camera to iMovie, create a new movie (not a trailer) and choose the movie downloaded from the camera. Go to the Title tab on the top and choose any title style for the opening of the movie. Drag whatever title style you like to the timeline on the bottom and put it in front of the clip. Name it anything you'd like, make it have a hook. It's optional to add an ending title to your clip, just drag it behind the clip this time instead of in front of it. Then, for audio go to the Audio tab a pick whatever sound effects you'd like to add to your video. You can also use your own audio, like your music, to make it your own. Drag the audio to below the clip and titles. Adjust the audio to the ending of everything on top of it. You can add a theme to it if you'd like, but it would better without all the extra effects. Import it anywhere on your computer or download it as a file (not an image). I liked that we got to use iMovie for the first time in the class, which I hope we continue using for the remainder of the school year. I learned how to make an interval movie using the camera, which was really amazing. I'm sure I would use it a whole lot more often now. I would like to do this anywhere: at a party of people dancing, of cars passing, of the sky, etc. It'd be so fun to play around with it for a bit and see what else I can do with time-lapse movies. In Balboa Park, I went to Museum of Photographic Arts (MOPA), learning about the style and photographic techniques of Irving Penn. I learned that Irving Penn always put a sense of poison in his photographs, somewhere and somehow. Also, he loved making jokes for advertisement photographs. This will inspire me to add a sense of difference in my photographs every now and then that will capture audience's attention. During the workshop at MOPA, I wanted my photographs to be more natural so I used nature in my photographs. I really enjoyed learning about another photographer's style and techniques. Also, I mostly enjoyed viewing the new sights at Balboa Park. 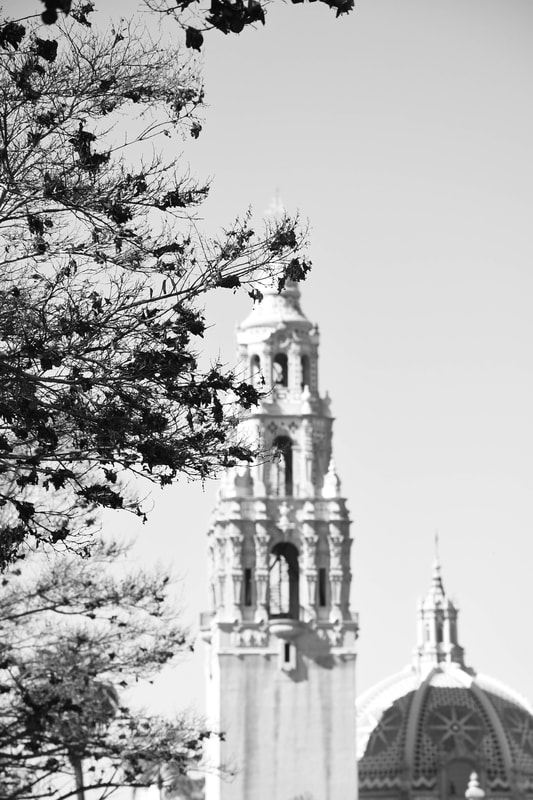 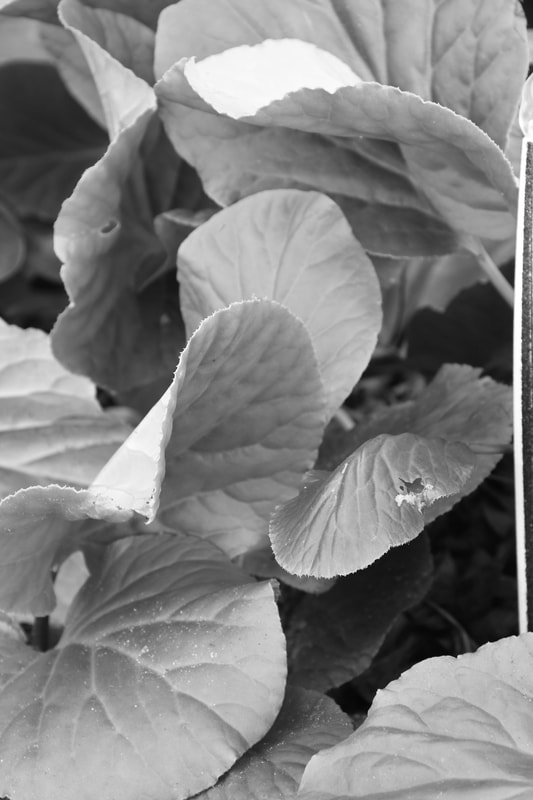
To create a focal point GIF, have your model stand somewhere, anywhere. Then, you're going to take seven or so different photos of different zoom lengths. The first length is when there is no zoom and the last length is the full zoom length. The more you zoom in the more steps you have take backwards to get the whole models face. Try to be in the same position and only move backwards, not changing your perspective. In photoshop, open all seven photos, not in a stack, but as separate layers. Then, position all photos so all the heads of the model are in the same position. Next, go to Window and click on Timeline. On the bottom, make sure all the photos are seen and create an animated video of all seven photos. Make the view of each photo 0.3 seconds. Click the play button and it will show all seven photos consecutively. To save, go to File --> Export --> Save for Web (Legacy), and as a Render Video. The one thing I learned about focal length is that it's very difficult taking the same photo of the same person in the same position at different focal lengths. It's very important to make sure each photo is similar to each other, direction and perspective wise. You can also do this with a model doing different poses as long as the rest of the settings are the same. It could be so much fun to do more with focal points. 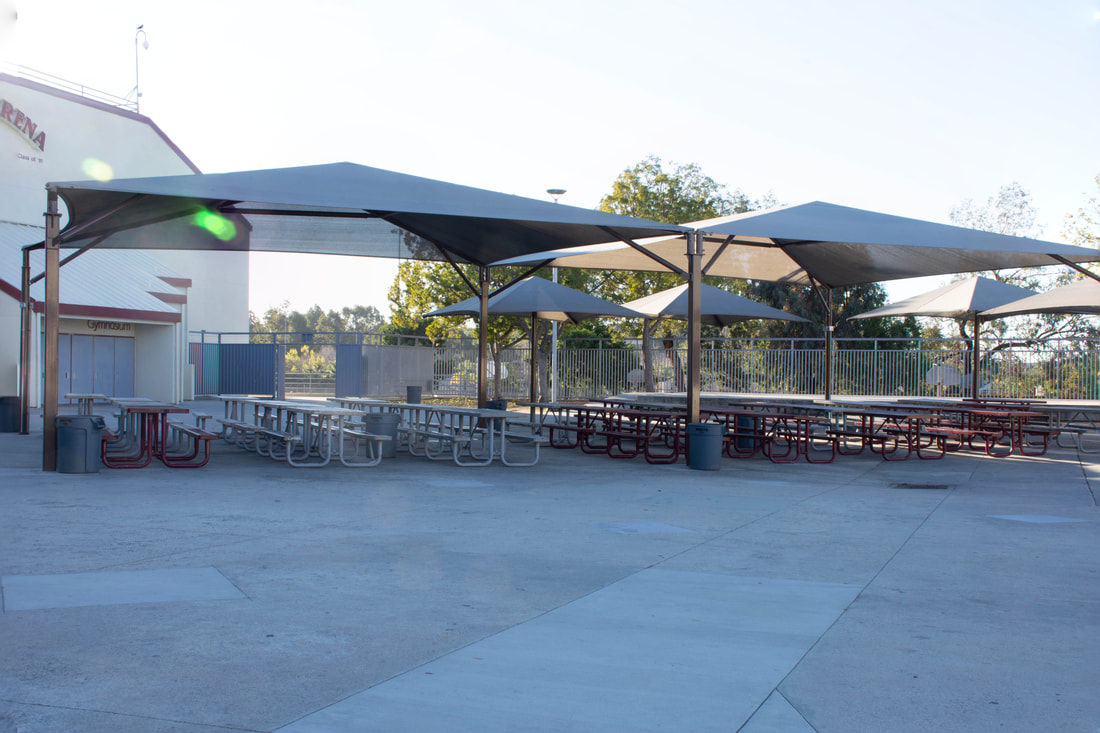 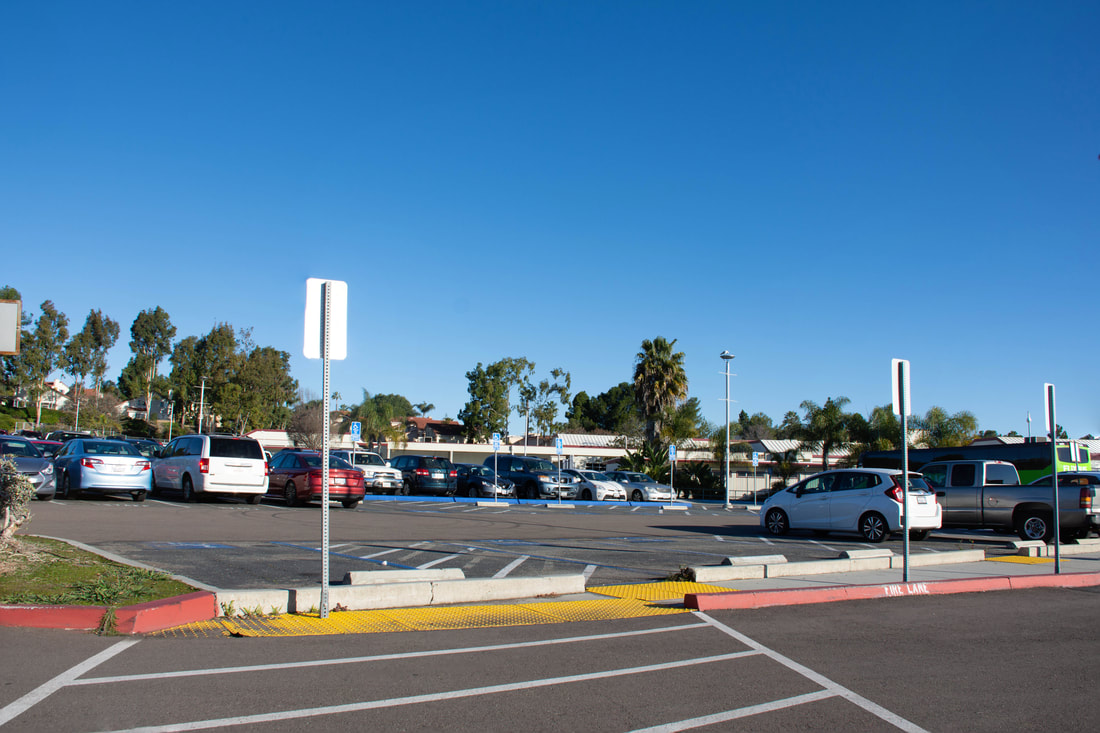    Grab your camera and a tripod (required). Set the camera to manual mode. The ISO, on a nice sunny day, is 100 and Aperture f/8. When the camera is on the tripod, find a landscape view that has a foreground, middle ground, and back ground. Turn the camera to Live View, it will be very helpful to preview the view so you're not moving the camera. Using only the focus dial, focus on the foreground of the view and take the shot. Then, again only using the focus dial, take the middle ground and background. Continue taking photographs like this with different views.
In photoshop, go to File and down to Scripts and to Load Files into Stacks. From there, browse and click all photos (3) and click the box that attempts to automatically align the images (this is very important). If you don't click the box, the photos will be disoriented and the photo will not look good at all. From there, click on all layers and to go to Edit and Auto-Blend Layers. This will combine all layers to make final the image more focused everywhere. Save as photoshop, then merge layers and save as a jpeg. Focus stacking is used as a better way to take photographs of landscapes because the whole photo is focused compared to one photo being focused on one part of the view.  I chose the Fine Books & Collections magazine because I've always wanted to own a bookstore with a cafe in it. I love books with all my life, and I would like to show it somehow. Books interest me because they are full of information, facts and opinions, imaginations, and dreams. They suck in me their world and I feel like I'm part of the book itself when I read it.
To emulate the magazine cover style, I first looked at many many fonts that looked similar to the font of the logo of the magazine. For the photo cover, I found a vertical photo of books on bookshelves to set the scene. Taking a photo of myself, I wanted to show off my book to show that I'm part of the background and that I connect with the magazine itself. I used many different font sizes, they're all Serif. The logo, subtopics, and main topic is all different font styles. I figured a variety for the magazine will look unique and different. To stand out of the dark background, I made the subtopics and main topic white and the logo green and bolded with black to stand out more against the light on the top. I've always wanted to own a bookstore with a cafe because I just really love books and have dreamed of owning a small vintage bookstore. I've always wanted to go to one so the next best thing would be owning one. It will always be a lifelong dream to visit one and in the end owning one. 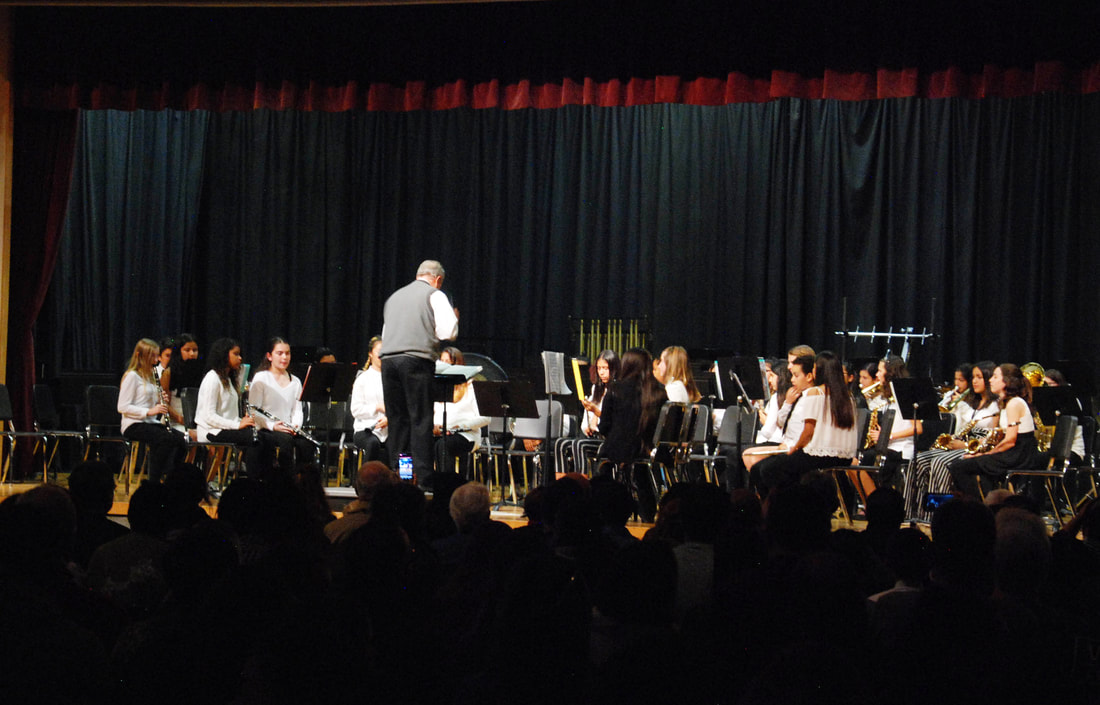 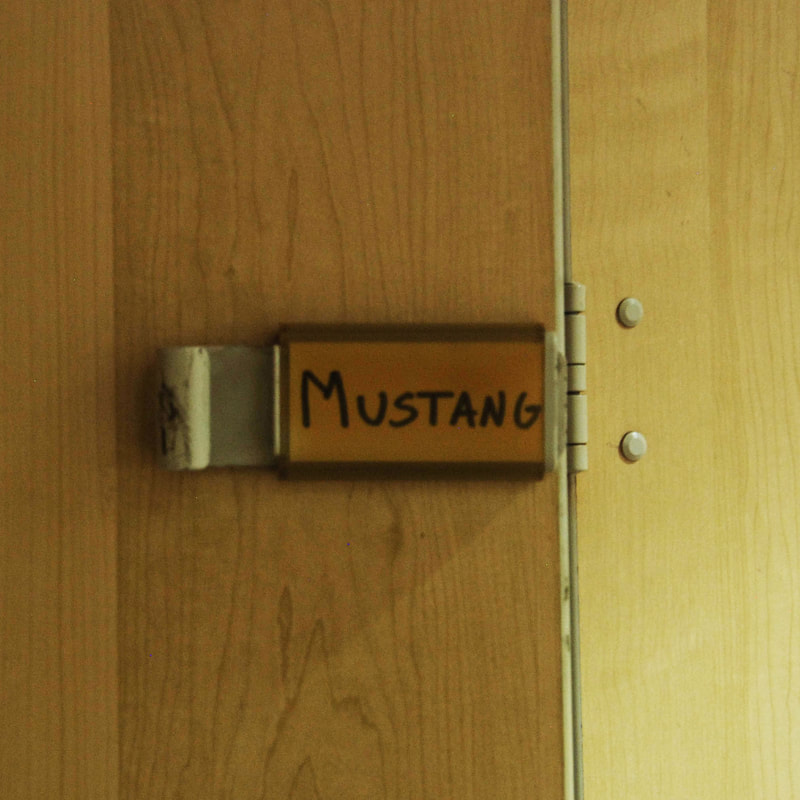 On December 13, 2018 I attended a holiday band concert at Madison Middle School. There was an intermediate and advanced band performing at different times. I was given special access by the band teacher, Mr. David Fennell, to photograph the band room and practice as well as getting on stage and photographing up close- as long as I wasn't walking between the students. 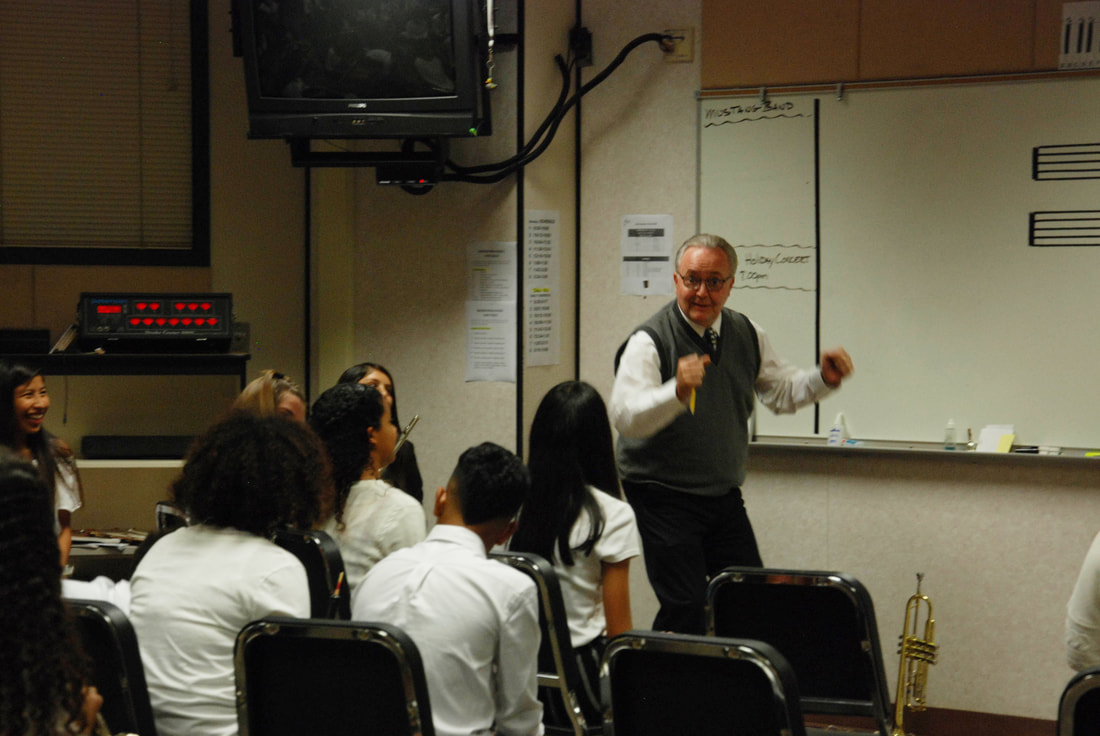 Mr. Fennell is very fun and hilarious. He likes to make fun of students, but not in a hurtful way. I made sure to photograph the part where he was demonstrating to a student how to sit in a chair. Kids enjoy how comical he is, and so did I. 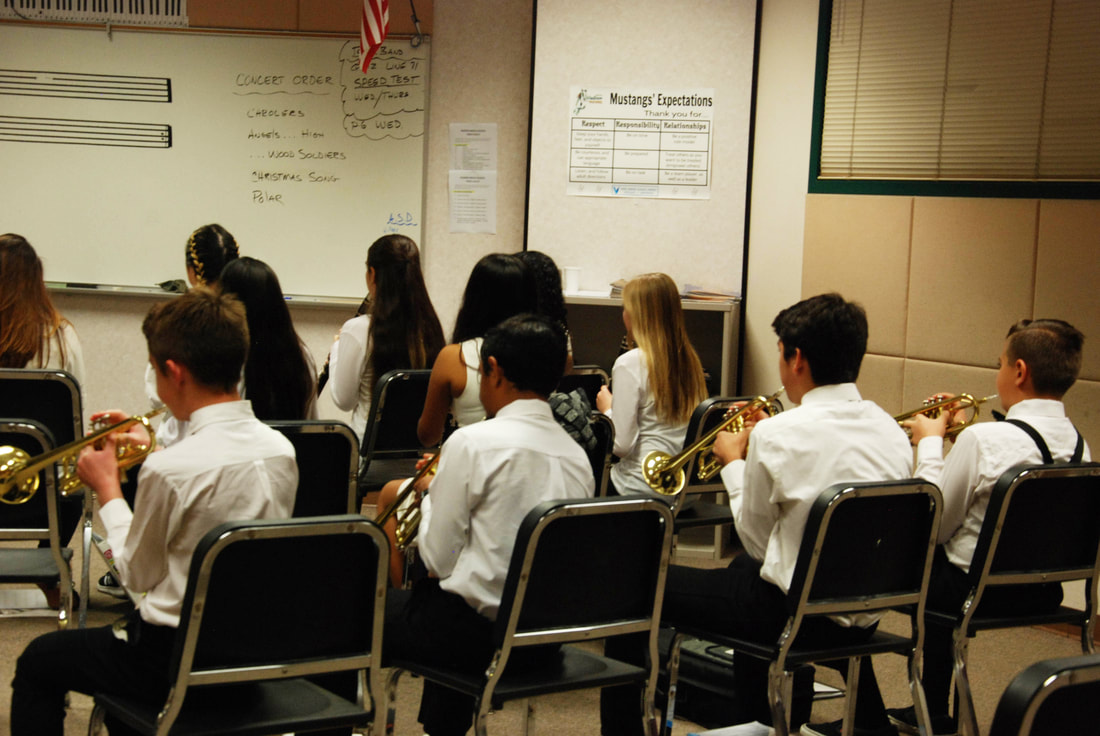 In the band room before the concert started, only intermediate band was able to warm up and practice their notes a little bit. The advanced band kids- also known as Mustang band- didn't get to warm up at all. They were in the gym (where the concert took place) and were just chilling in there as if they don't have to perform that night at all.  Even just hearing them warm up, I was impressed with their skills. They were all serious and dedicated to their instruments. Speaking of instruments, I saw many different kinds: clarinets, oboes, trumpets, saxophone, flutes, etc. There were other instruments I didn't know the name to but they were impressive.  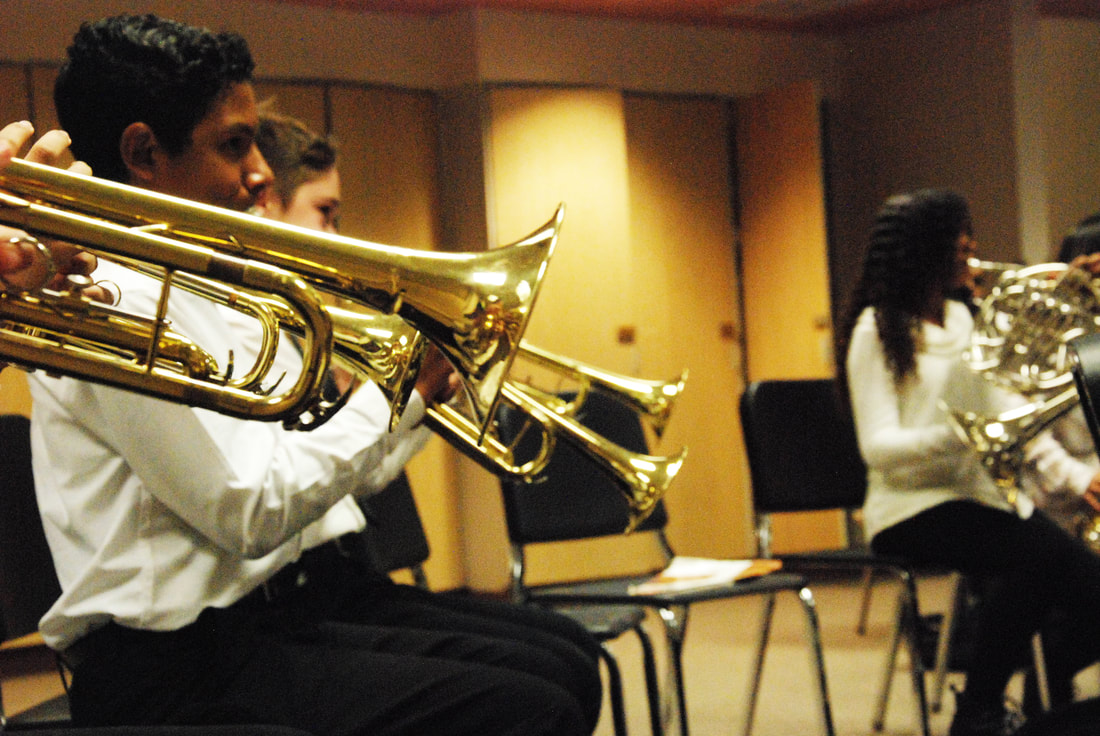 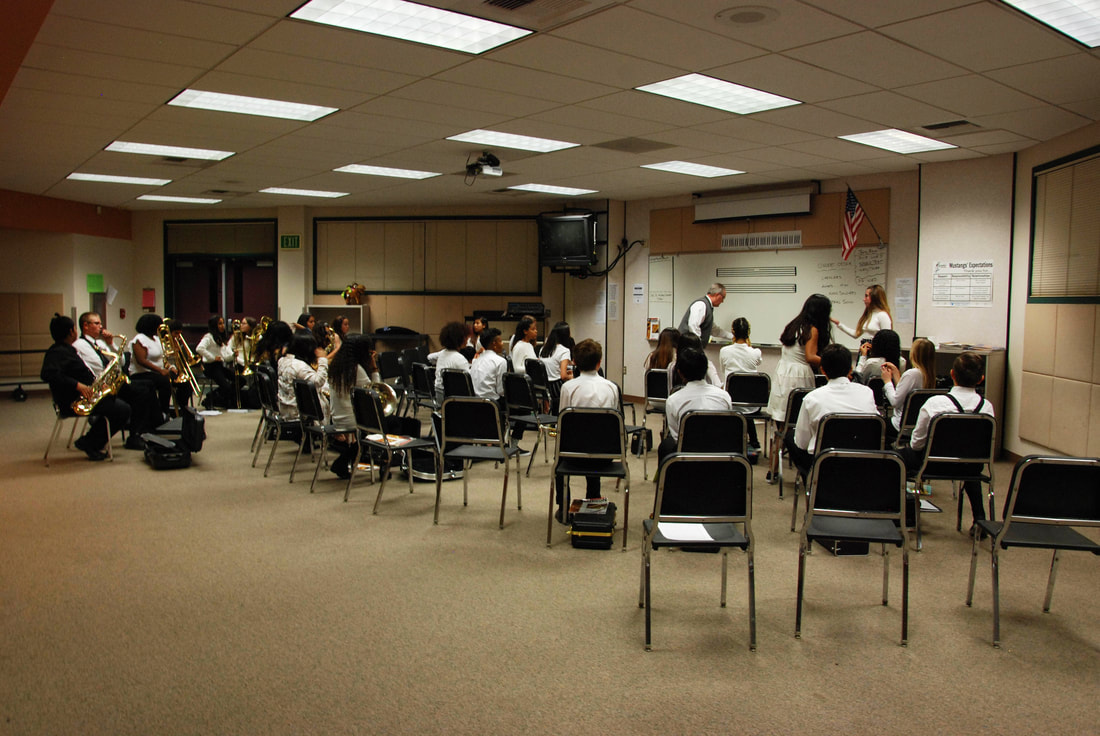 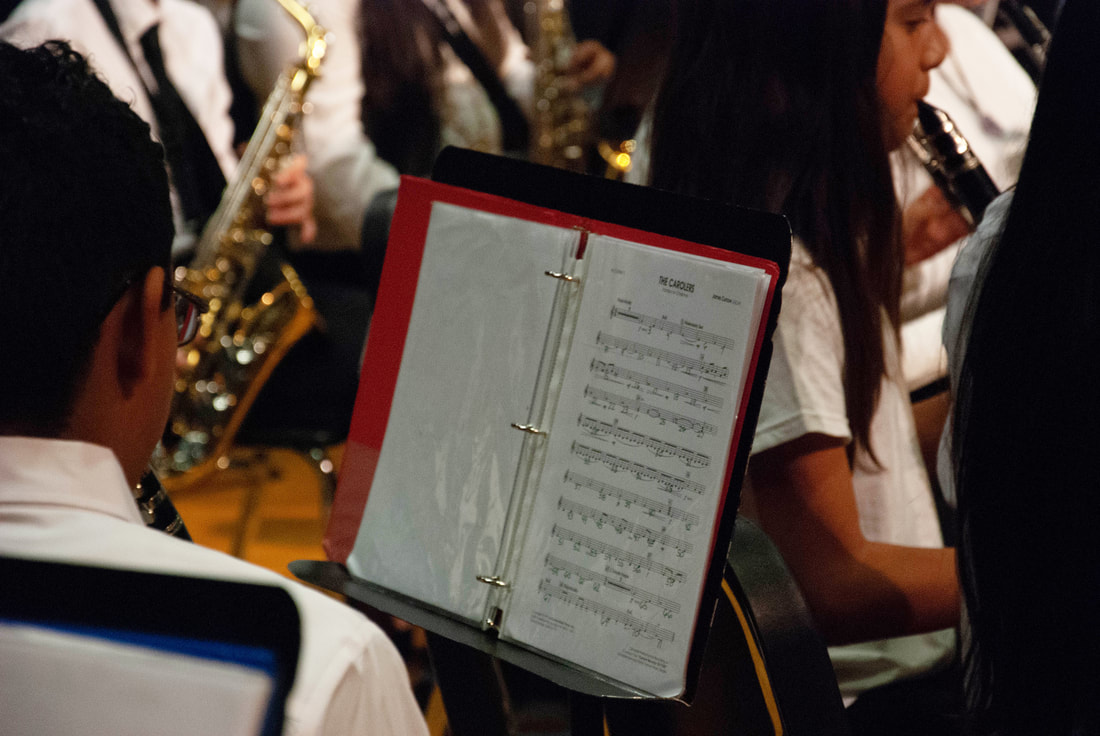 I saw their sheet music and I did not know how to read it. But then again I'm not a musician so of course I couldn't read it. I was even more impressed about the way the students read the music easily as they were playing. 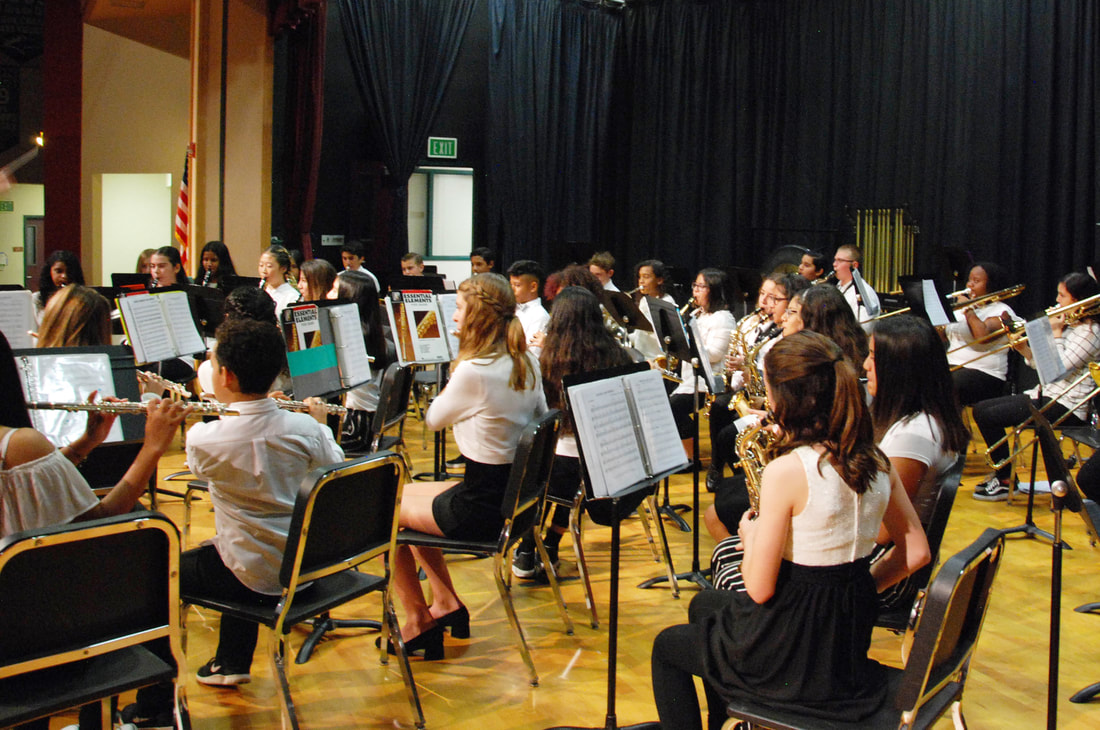 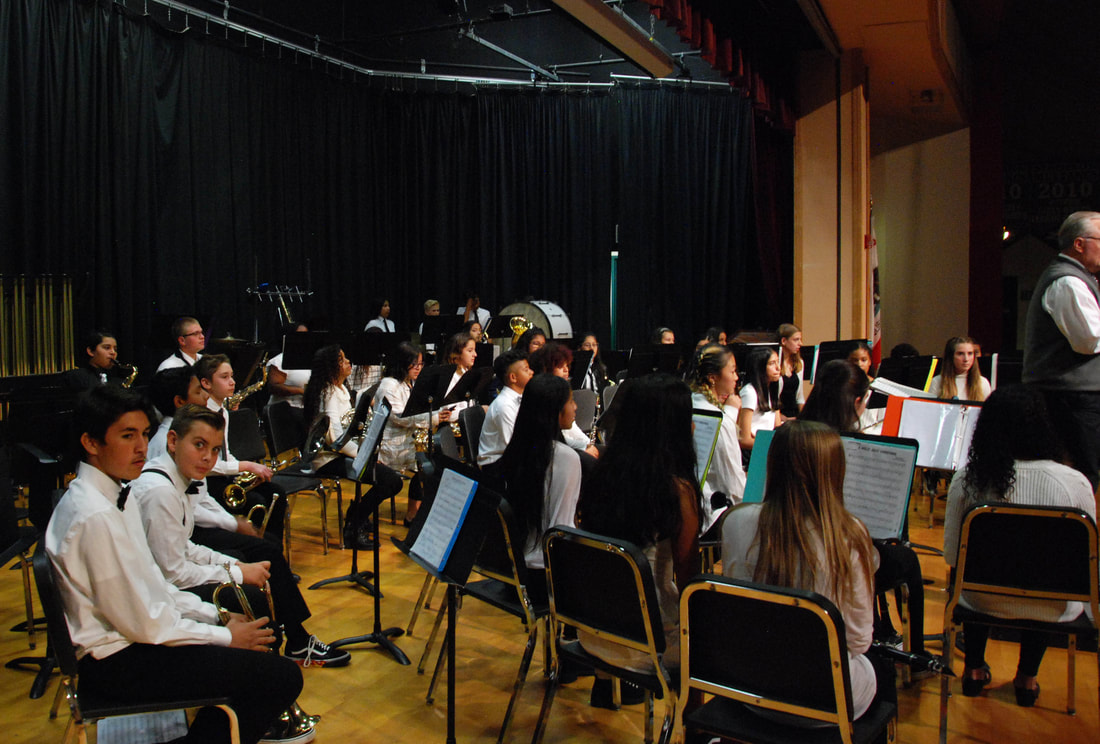 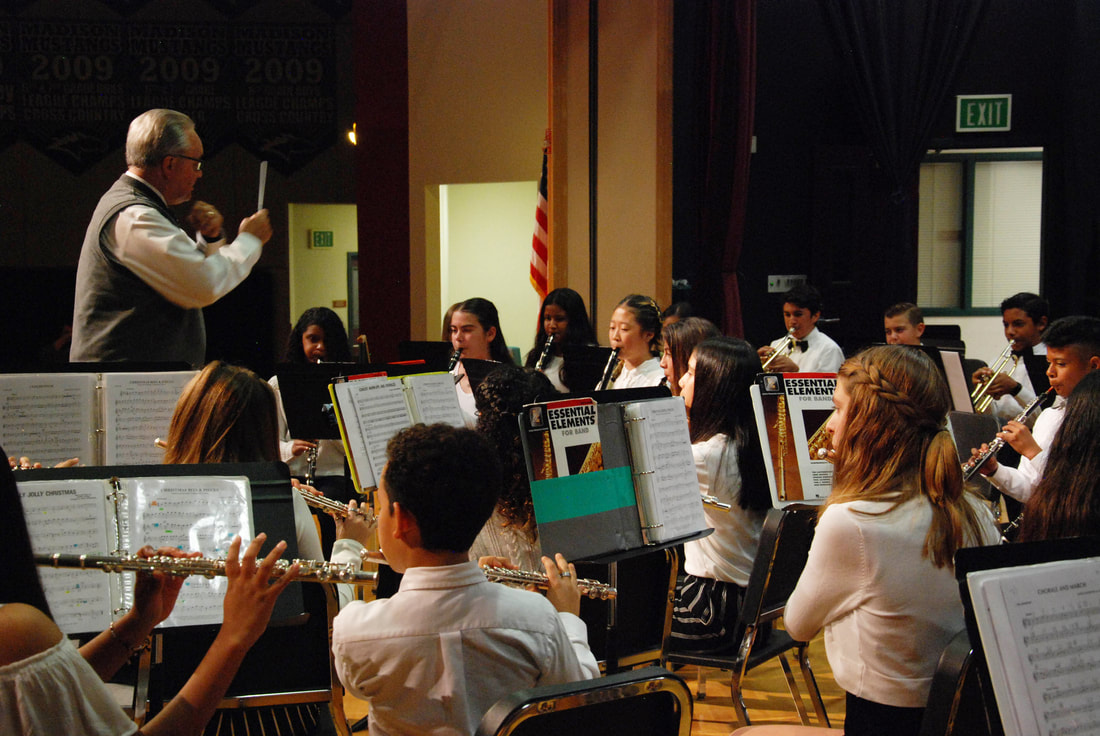 The intermediate band's performance was phenomenal. They are very well organized and in sync with each other. Mr. Fennell had to give a few small pointers here and there but other than that they were perfect! The music they performed was beautiful and in the holiday spirits. After their performance, many people stood for them and the applause was loud. I enjoyed every second of their performance- even though I was taking photographs. 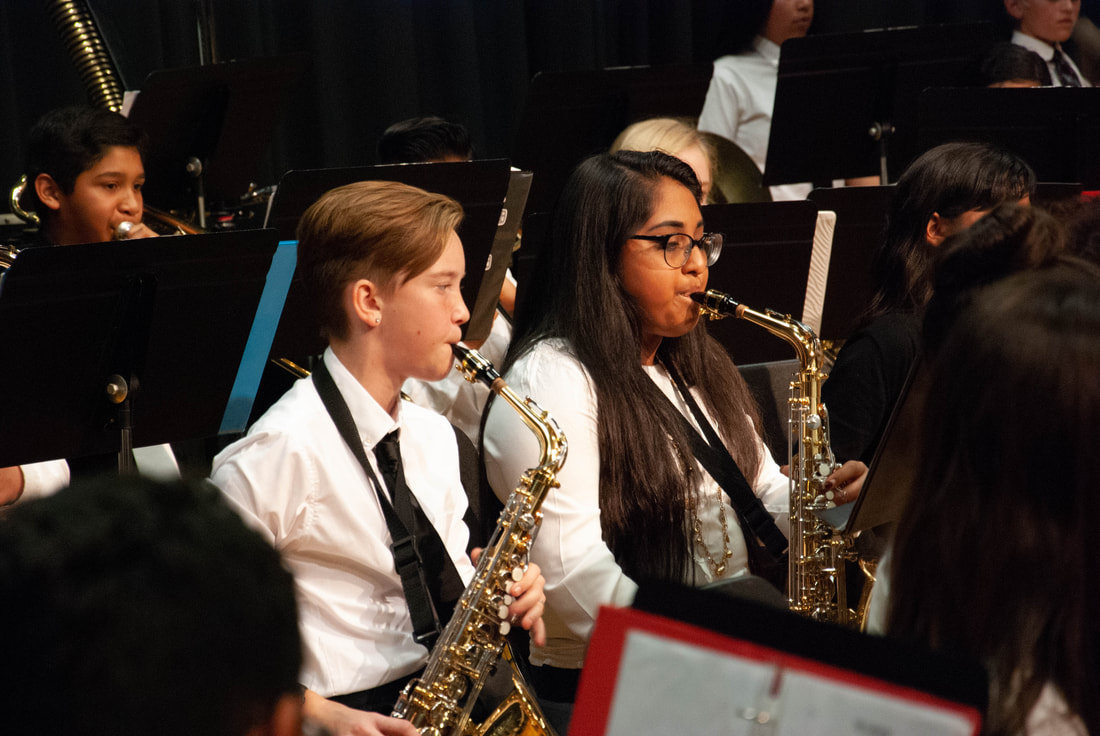 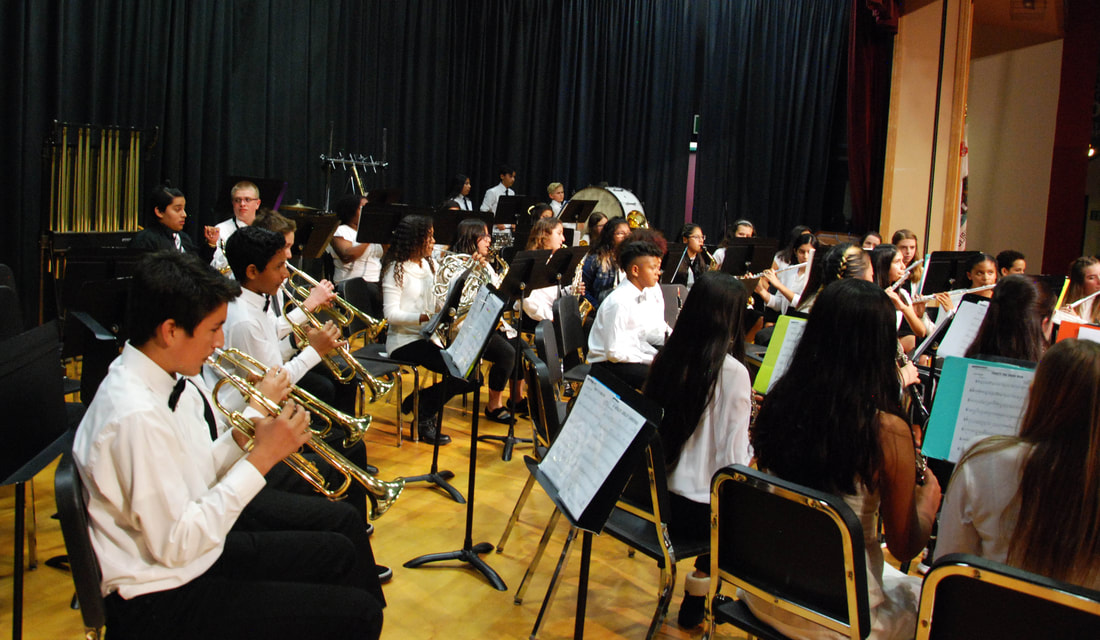 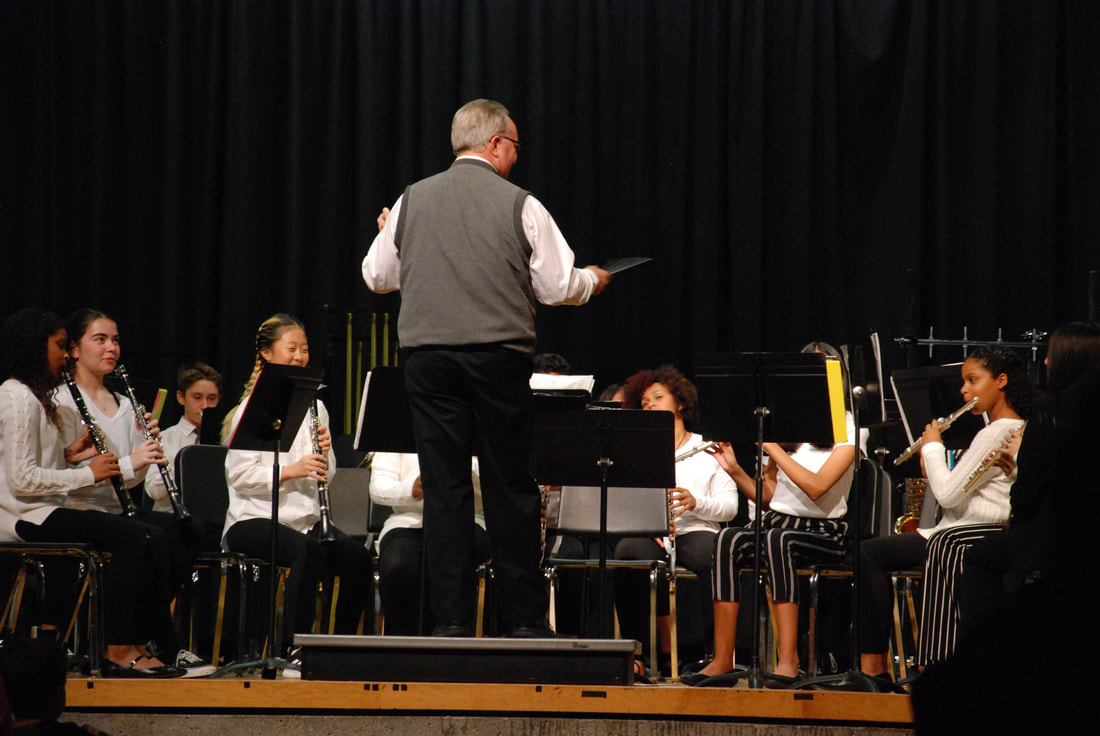 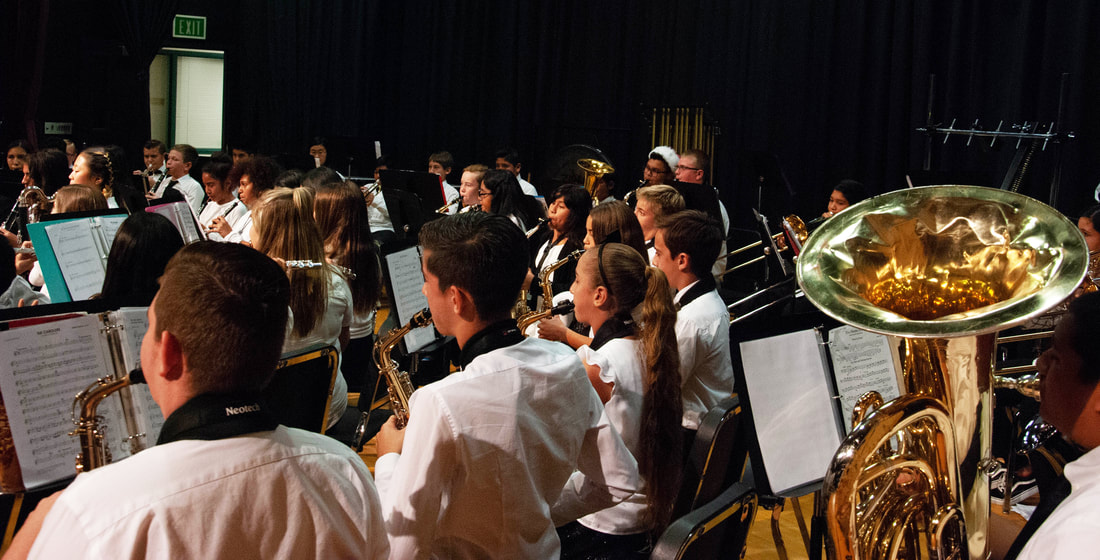 After the intermediate band came the Mustang band. There was a lot more students and the stage was filled. There was not a single vacant chair. The Mustang band performed more difficult songs than intermediate band. I was even more blown away. 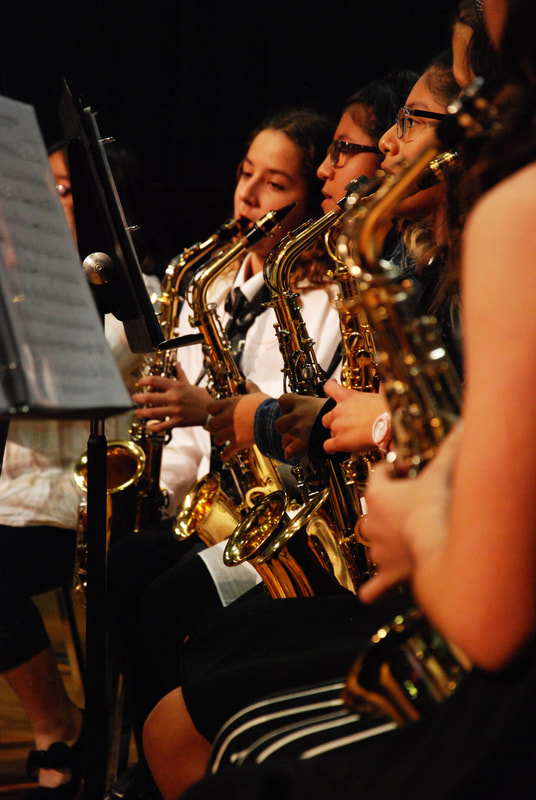 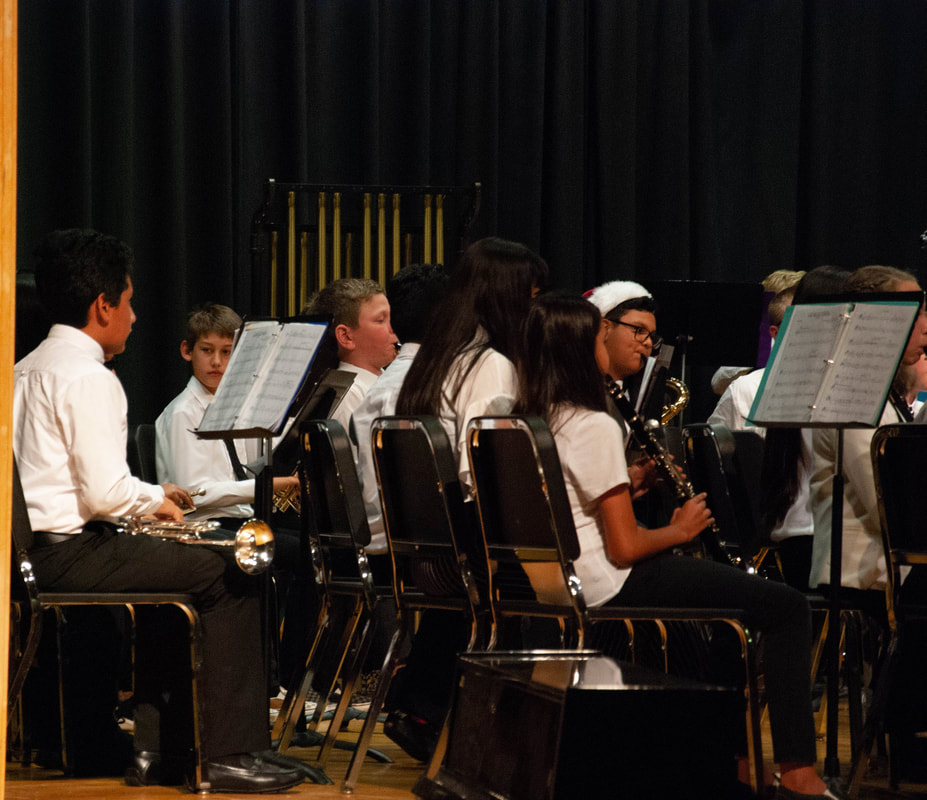 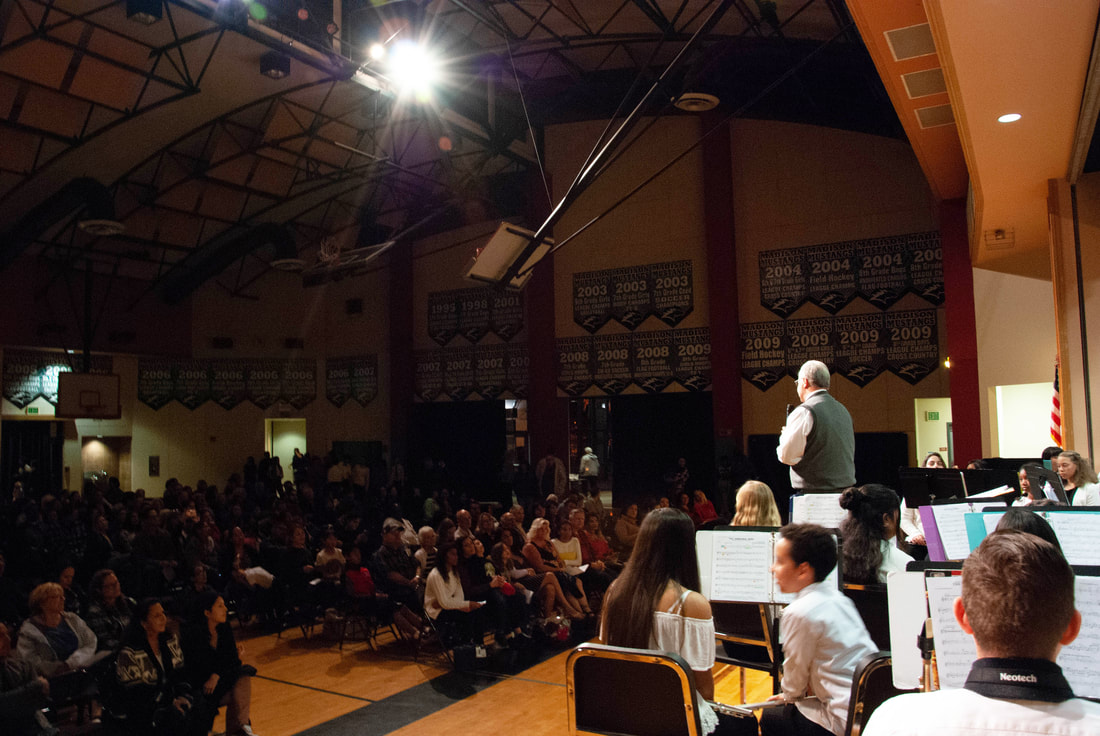 I don't know how all the students dealt with performing in front of everyone. There were so many people in the crowd and the lights on them was so bright and heated. I anticipate that they were nervous but they didn't show it. They were all very professional and calm as they were performing. 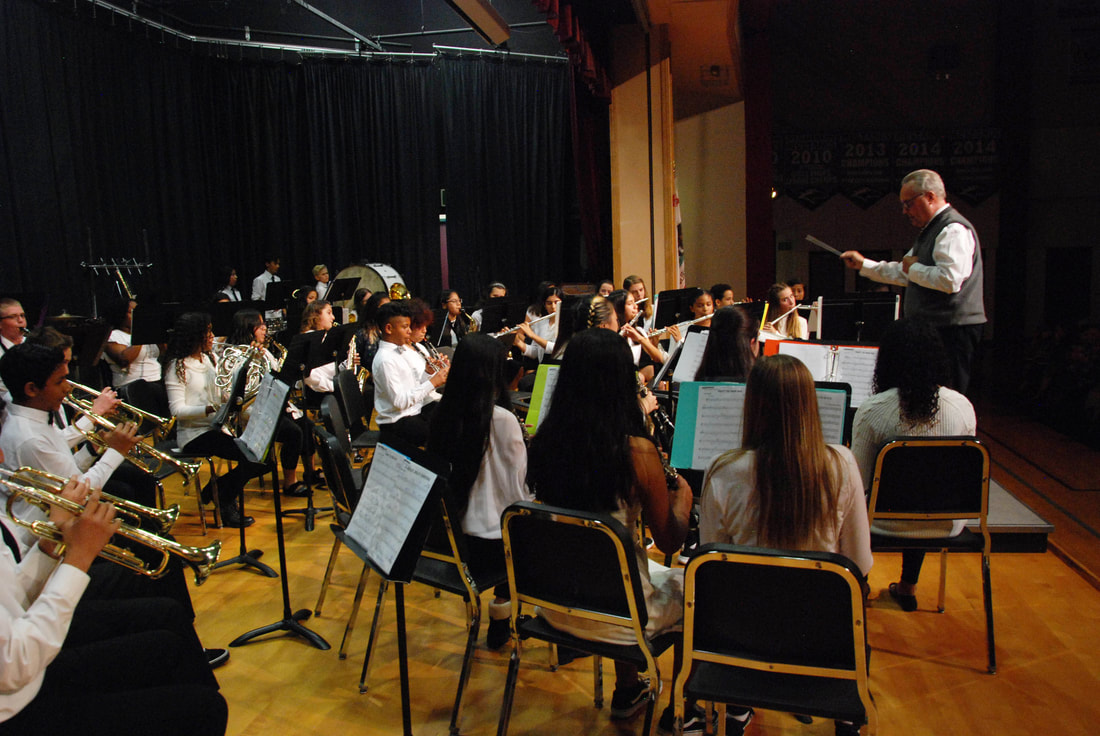 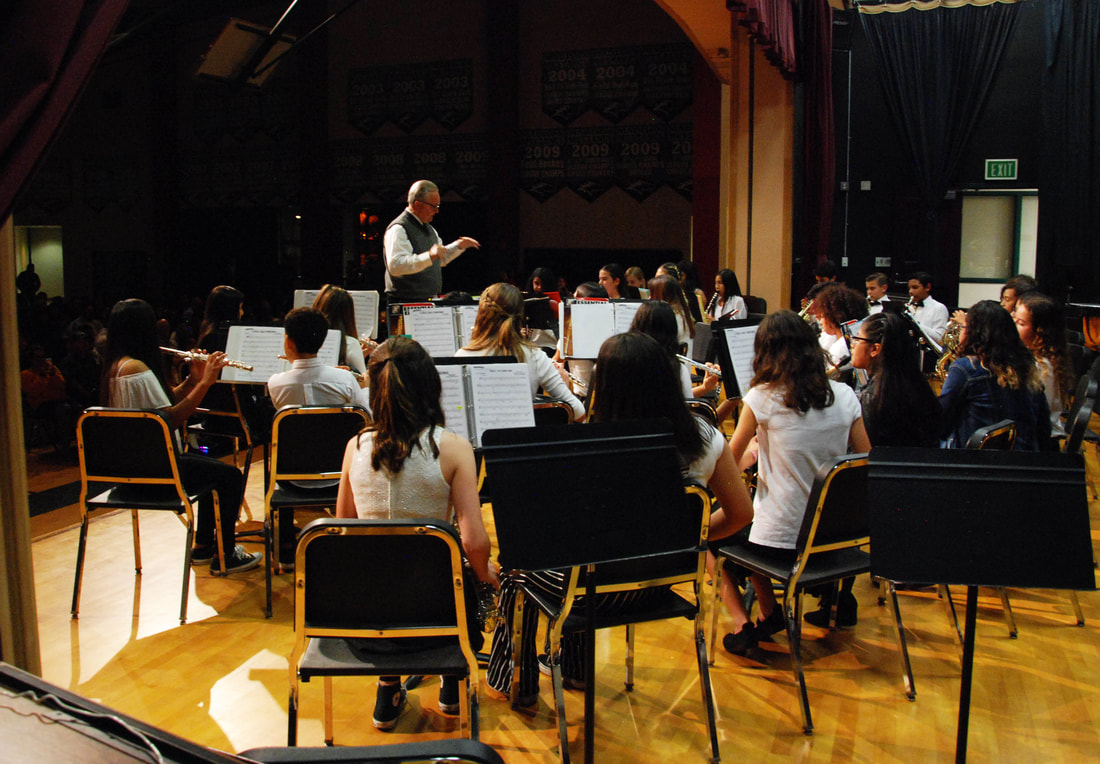 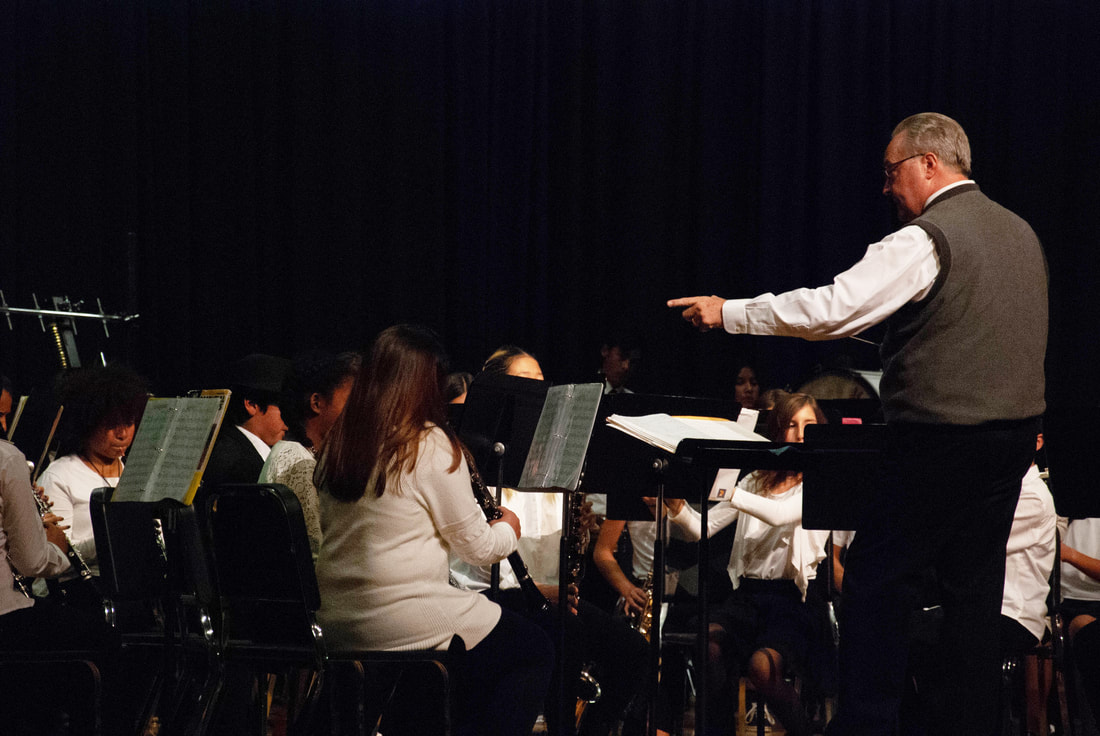 My ultimate favorite song, overall, was when The Christmas Song by Nat King Cole was performed. It was generally beautiful and I had to stop taking photos just to listen to how beautiful and harmonious it sounded. When the Polar Express was performed, I saw that the whole audience was in awe. 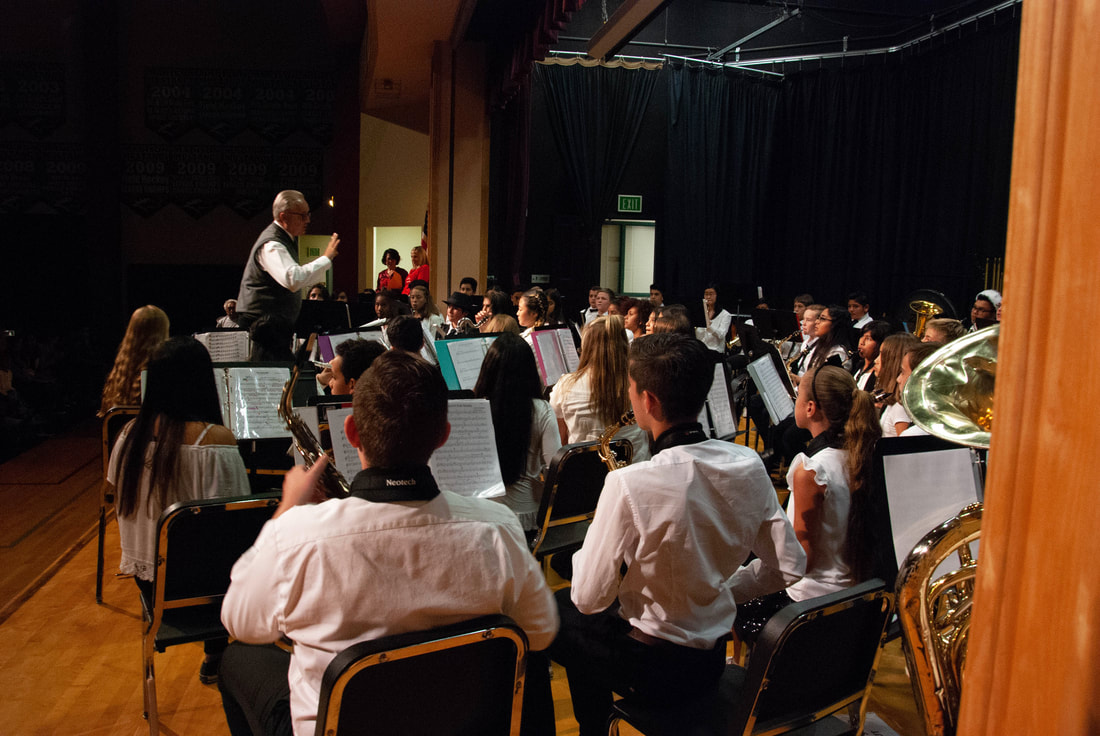 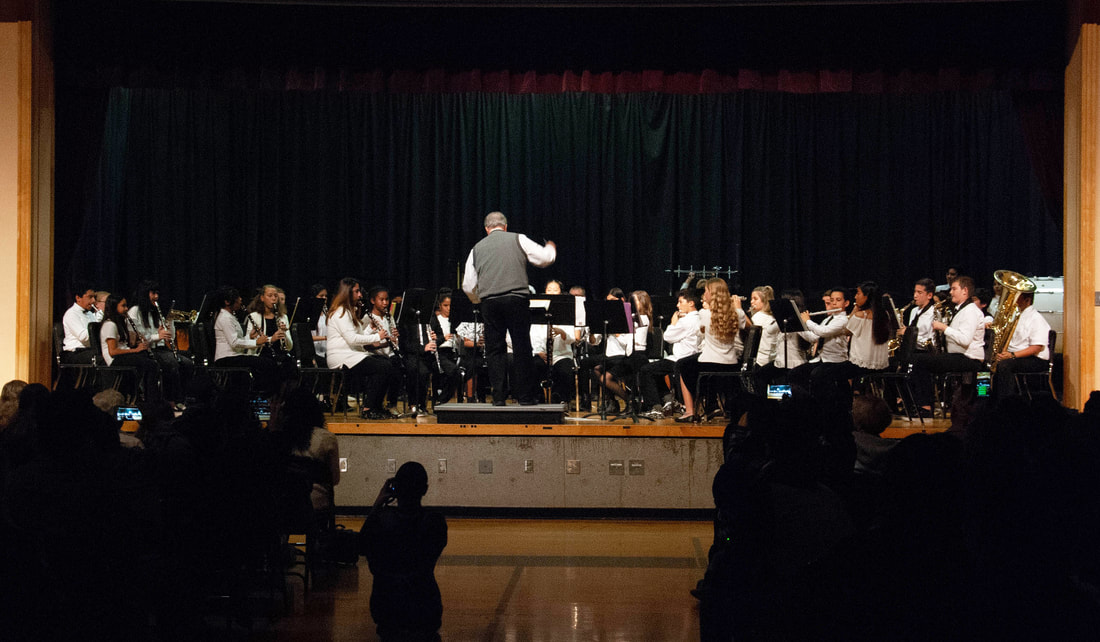 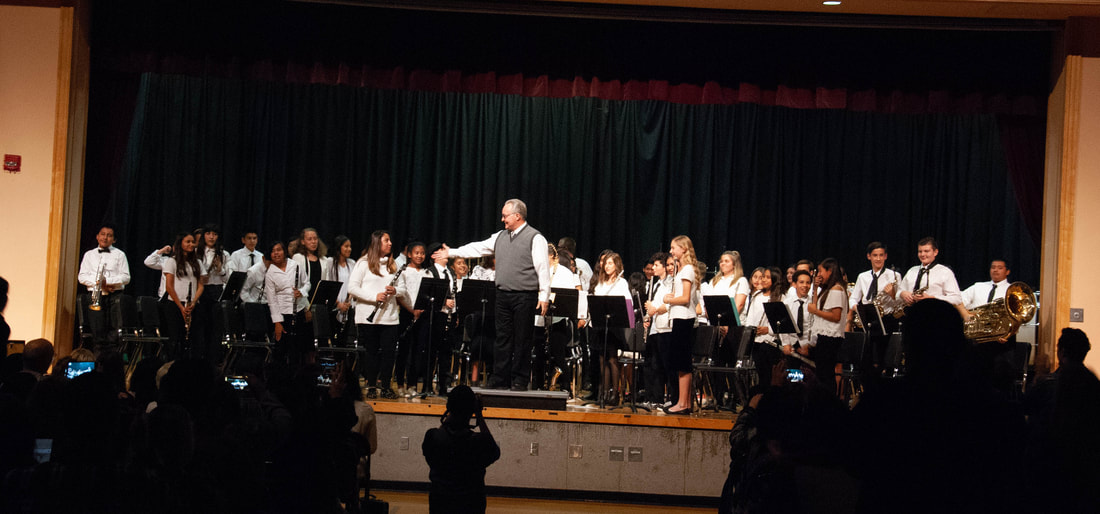 Even though I was busy photographing the entire event, I enjoyed myself. Everything was music to my ears- literally.
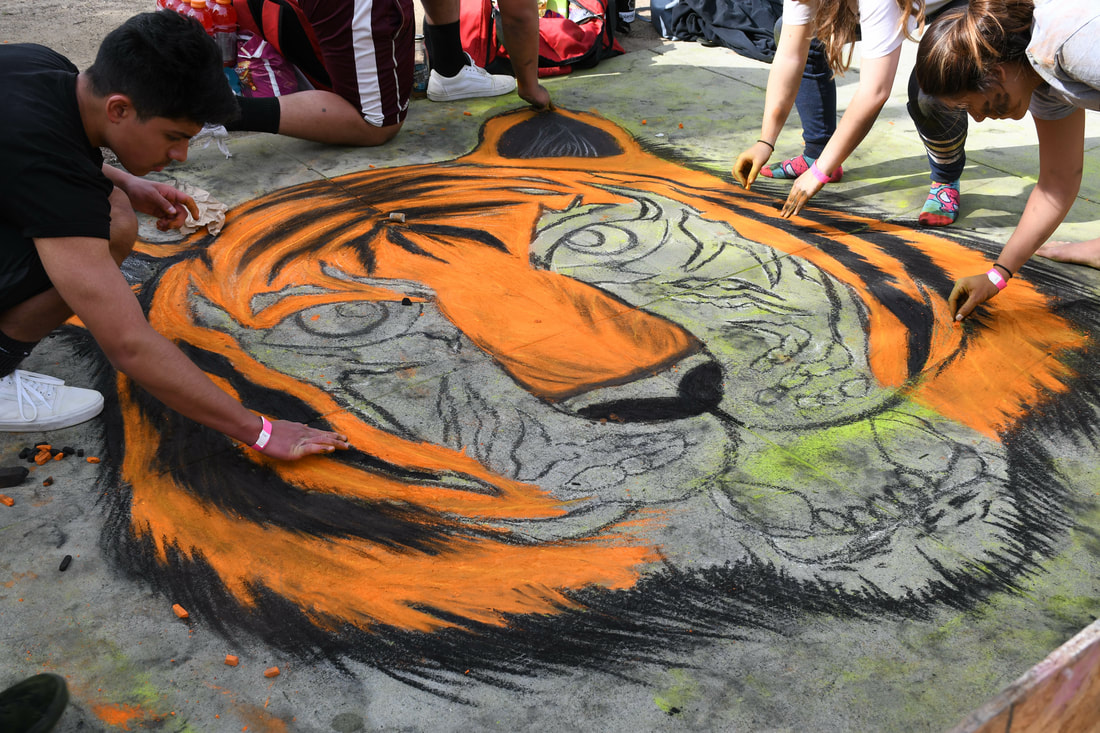
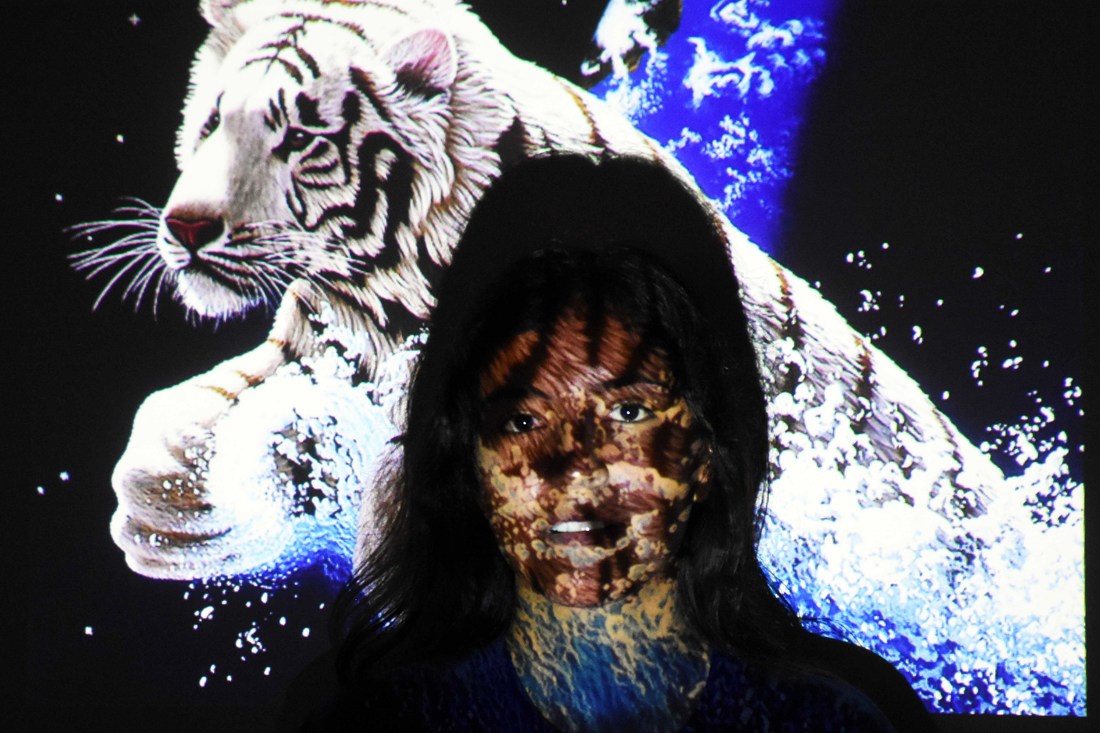 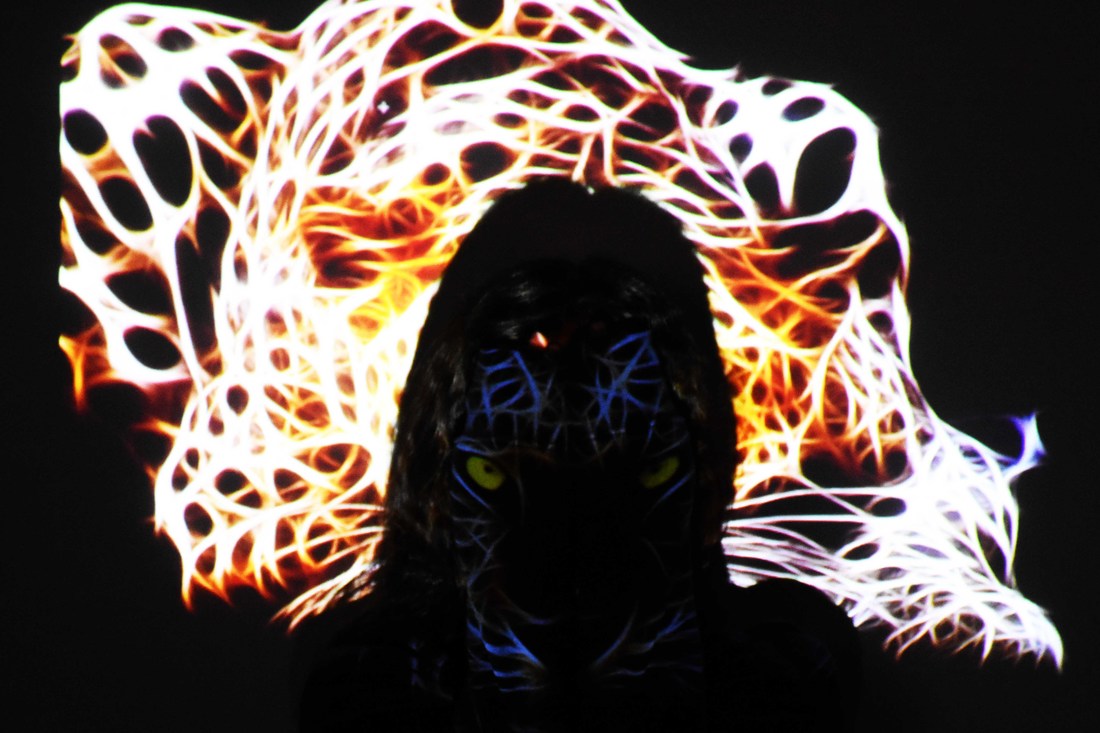 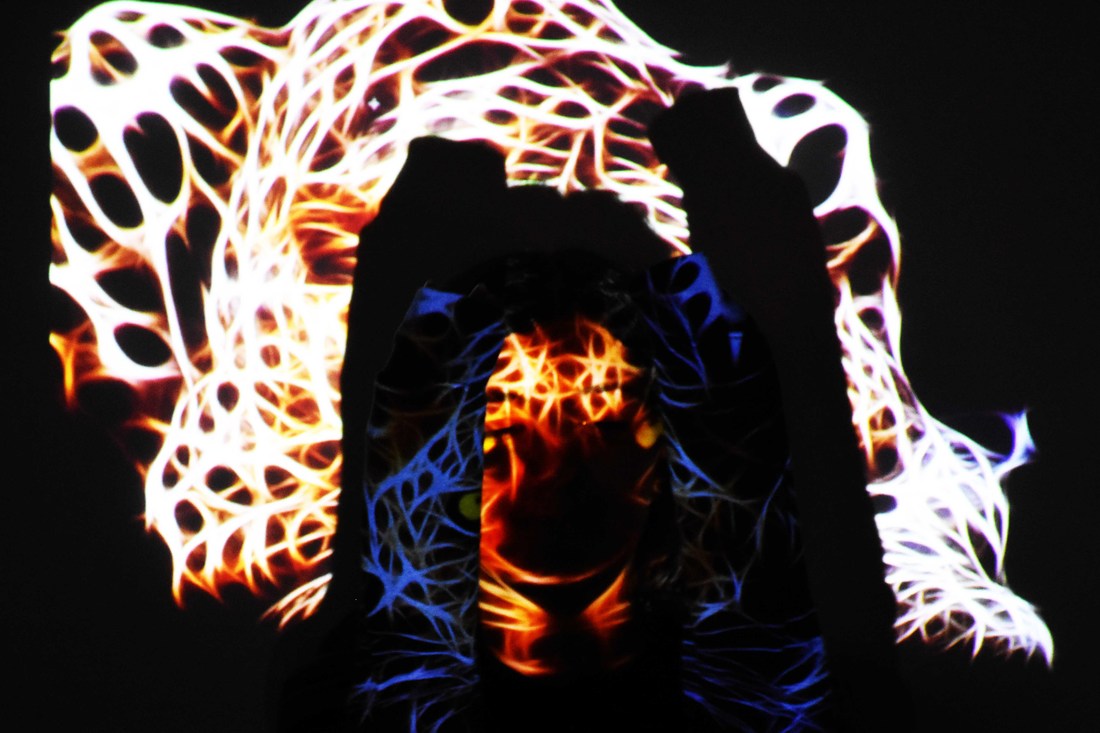 I chose many images to be projected onto my models face. but I like the ones with the tiger. When photographing these, be careful of keeping everything and everyone still, as well as making sure all images projected are clear and big enough. I find it cool that the eyes of the tiger is seen on my models face and arms. Also, the tiger print is printed on her face making her look like a tiger herself.
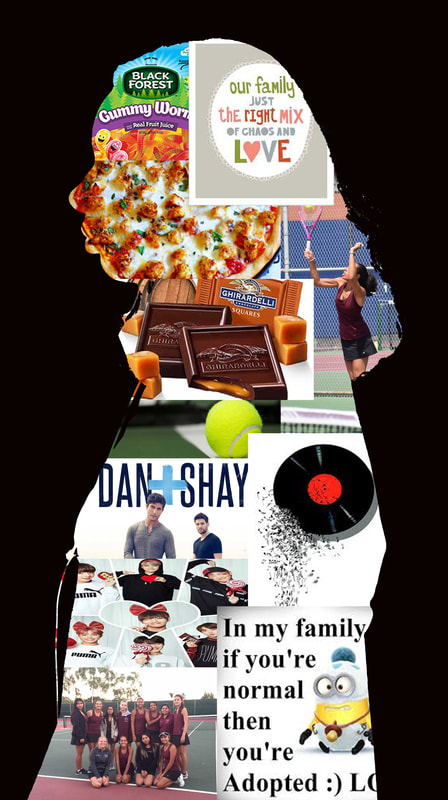 Everything that I added to my head signifies who I am and what I like. I adore gummy worms (preferably black forest), caramel (and peppermint) Ghirardelli chocolates, and chicken parmesan thin crust pizza. Music, tennis, and family is the highlight of my life that I can never live without. "In my family, if you're normal then you're adopted." I love BTS because their dancing and songs are amazing. Dan + Shay are the ones I listen to when I'm sad or need to calm down; their music is heart warming and admirable.
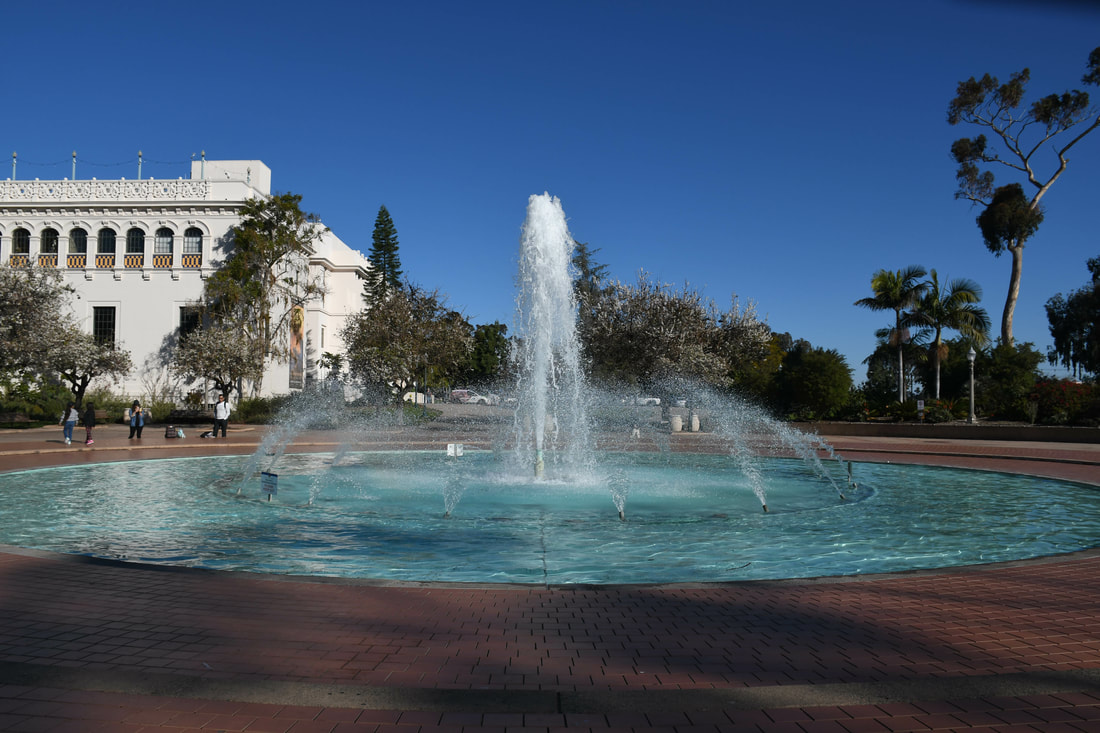
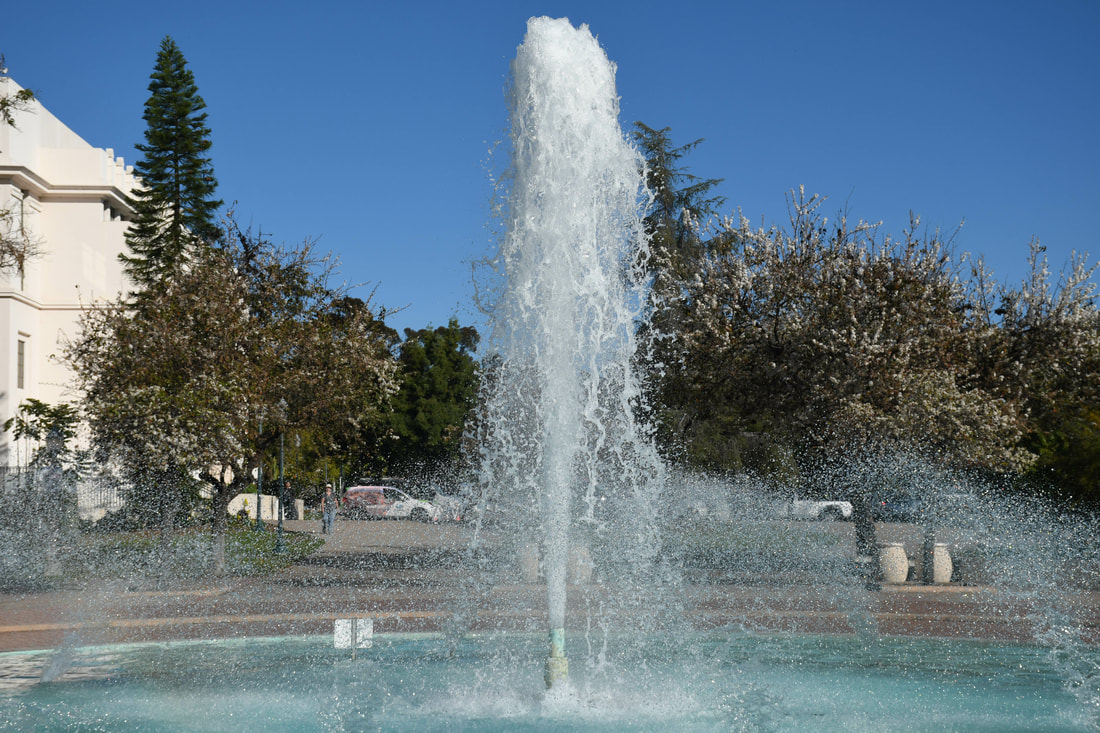
 This panorama is an HDR panorama. I took 5 separate photos changing the exposure to -1.0, -0.5, 0, +0.5, and +1.0. I did that for every part of the panorama, resulting in 25 photographs in total. Then in photoshop, I first merged each part of the panorama into HDR photos. Next, I took each each HDR photo and merged them into a panorama. I cropped my panorama when there is white spaces around the panorama until there is no spaces seen, only the panorama. The one thing I learned about doing HDR panoramas is that it takes time and patience. It's not easy doing them the first time and they will not always come out how you want them to but it works out in the end.   For normal panoramas, there is not that much work to do compared to HDR panoramas. When taking the photos for panoramas, always use a tripod. Just move the camera around, but when moving it make sure to overlap a specific part of the last photograph so when you merge them in photoshop they will merge (almost) perfectly. Be sure to do this for all 5 photos for the panorama. Like for HDR panoramas, just crop the white space until there is no white space seen.
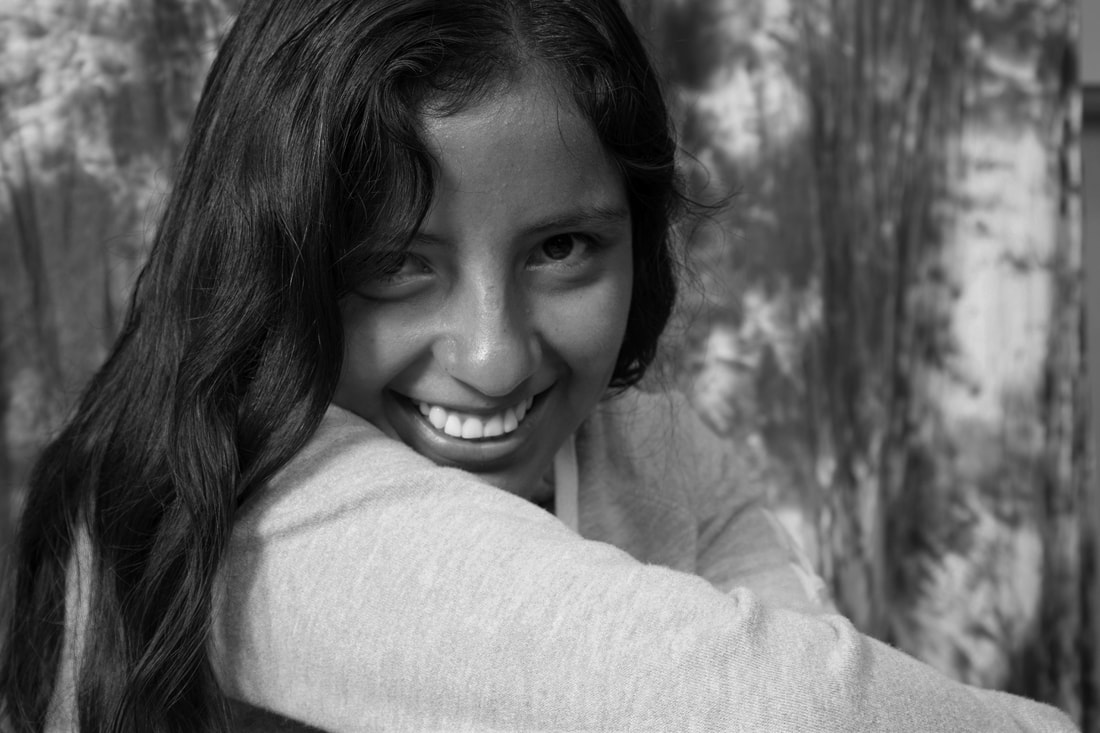
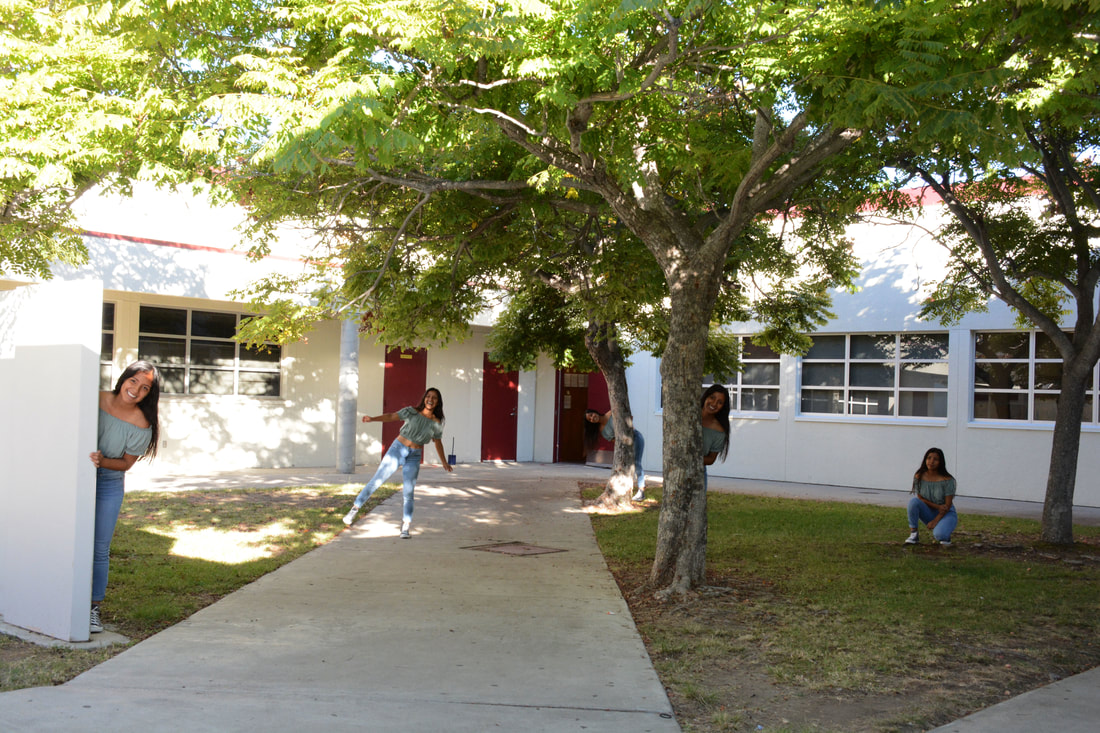 This one girl is able to have fun even though she is a student struggling with her grades and college applications. She somewhat hides behind the trees and walls because she is hiding away her true feelings and emotions. However, there are times where she has the strength to walk out of the dark and show herself to the world and just enjoy life as it is before she ventures out into the open air.
 This photo is a signature photo. It shows where my focus of the situation is, which is the environment of a home. The use of electronics is more evident in a family's home. 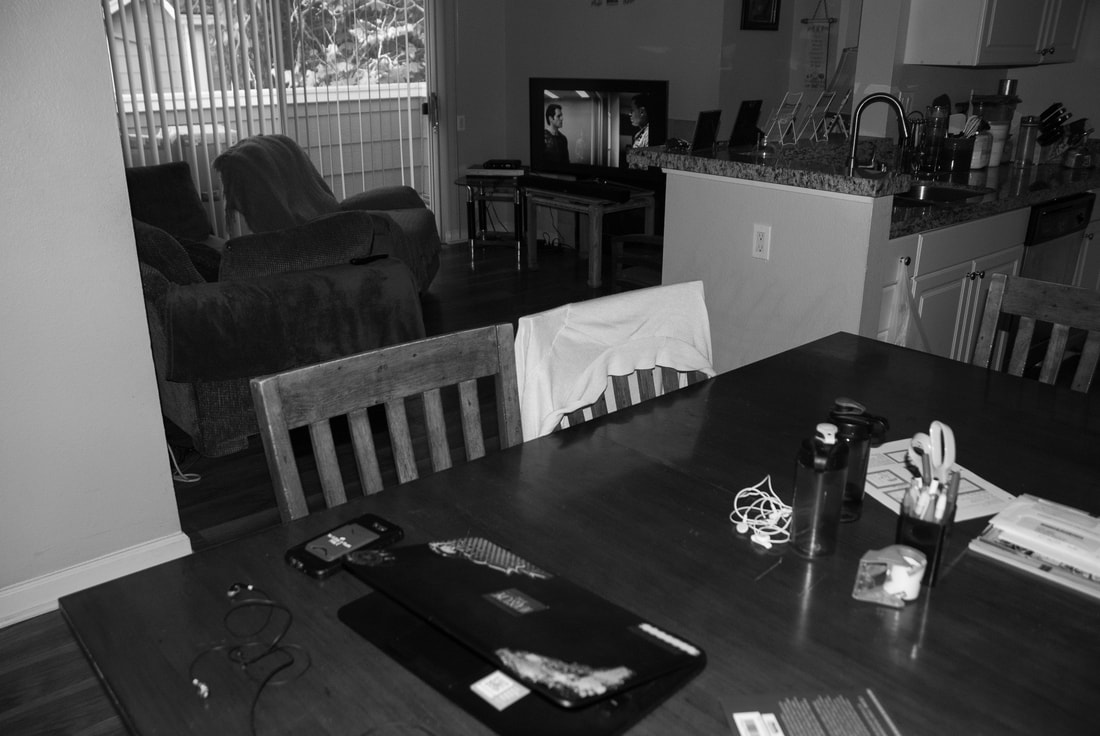 This is an establishing shot. My focus is in the home of a family. There are many electronics being seen but not necessarily used and left around the house. However, when they are used, more than one device is used at the same time.  This is the close-up photograph of the use of technology. People use more than one electronic device at the same time for different reasons when they can use the same device for those reasons. 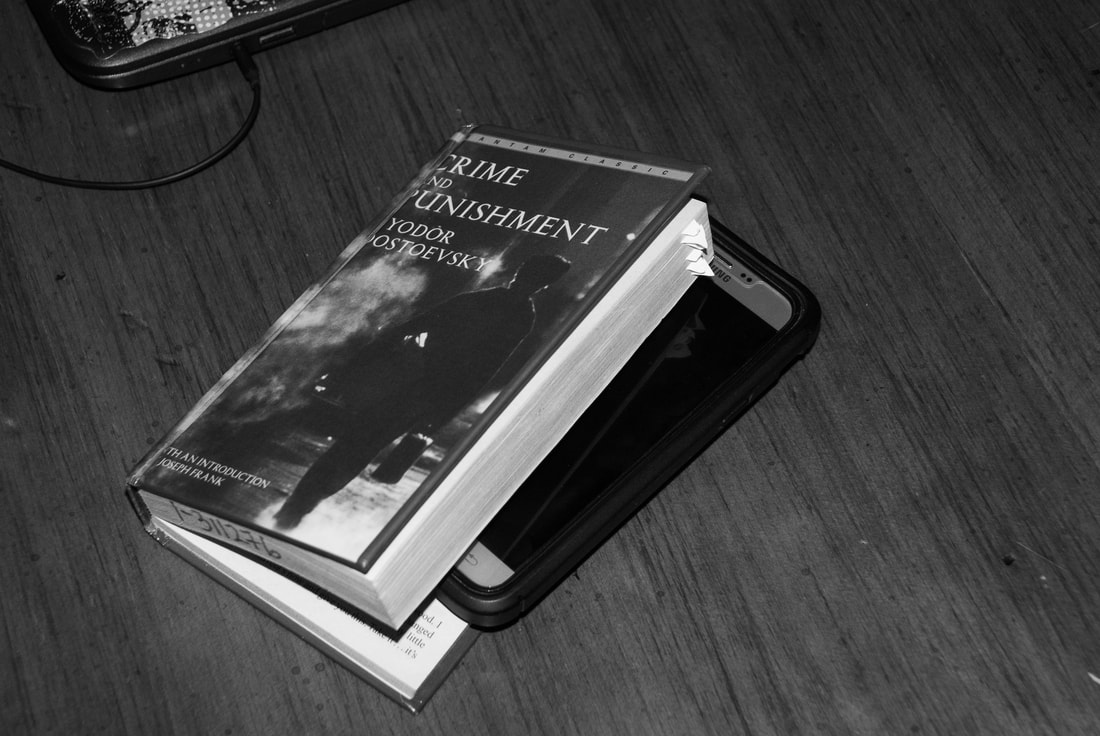 This is a clincher photograph. There are pros of technology, but with pros there are also cons. People rely on electronics too much and that distances them from the real world. People don't interact in person anymore, don't read actual books anymore, they freak out when they don't have their phones, and they forget the most important things in life. 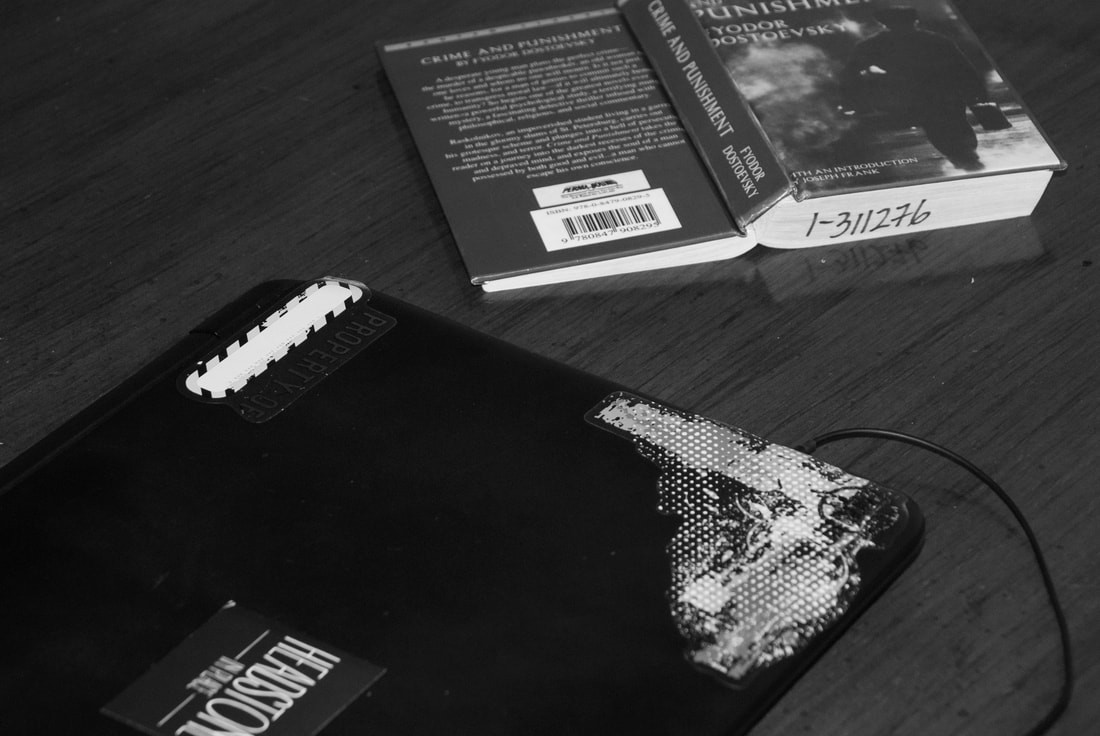 There are less people reading books and more using technology. Instead of reading actual books, they read on their phones. Doing this a lot tends to make people forget what reality feels like without technology.
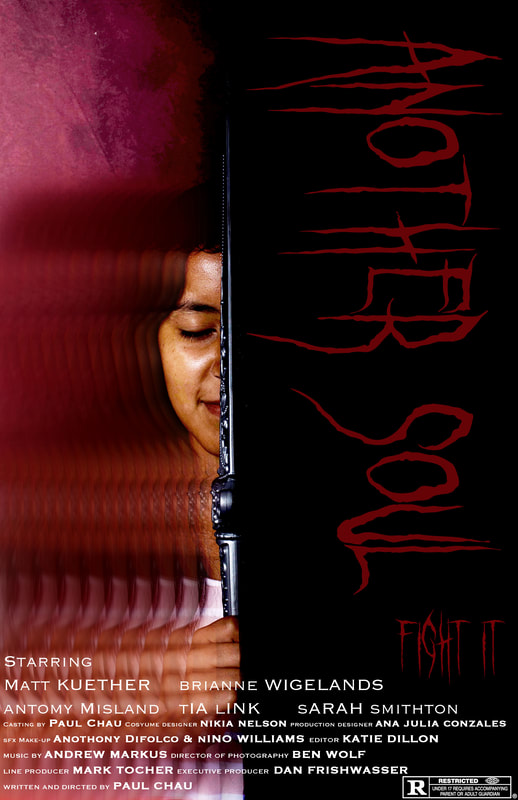 To get my horror movie poster, I first experimented in the studio with the lights and what I could do using a sword. One of the lights accidentally didn't go off but the other did, so I got half of my model's face and the other was complete black. I decided to use that photo, even though she's smiling when I wanted her to have a straight face as it is a horror film but I figured the smile makes it creepier. In photoshop, I darkened the black half of the photo to make it pitch black and I added contrast to her skin tone against the backdrop. To get the repeated pattern, I went to the mixer brush tool and decided to repeat/shadow everything besides her face to show something scary or creepy, like her soul coming out of her body. I searched for a movie that has anything to do with souls and I found Another Soul that goes perfectly that represents the sword, luckily it came out in 2018. I searched the movie's stars and creators and added them. For my font, I went to dafont.com and found this perfect, creepy font for my poster. My two word description of the movie was only made out of instinct and I didn't want to over think it.
 In the photo of Litzy, I have used lighting on the left and on the front but turned off the light from the right, which is called side lighting. I did that in order to get shadow on one side of her face. Because the magazine photo was in black and white, I made hers into black and white. I did this to get similar vibes.
Her hair on the left is highlighted by the light from the left. It is also the darker aspect of the photo. I adore her hair because, to me, it is the most beautiful part of the photo. Some of her hair covers her eye on one side and the other side does not and that represents identity. This is a photograph of the Fibonacci series because it follows the overlay of the Fibonacci spiral. Pinecones are a part of nature that follow the spiral and series at the bottom of the pinecone. 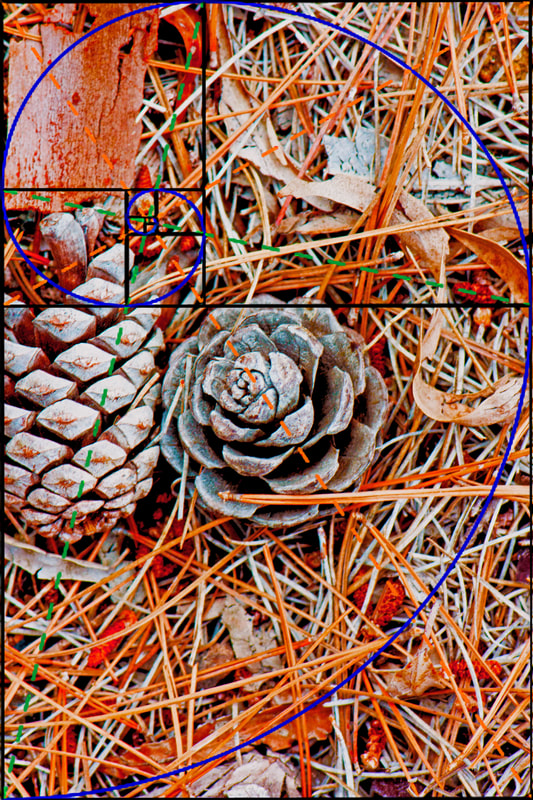 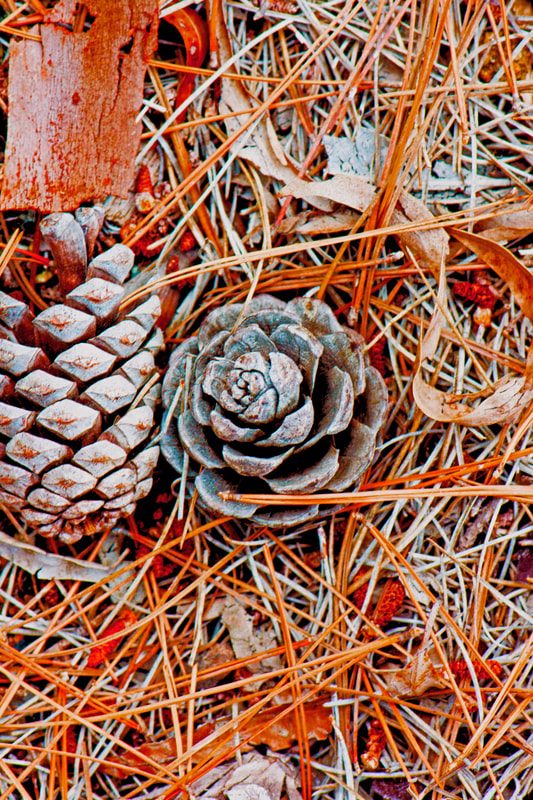 This photograph follows the composition rule of the rule of thirds. This is because the focus of the photo is on the far right of the photo. 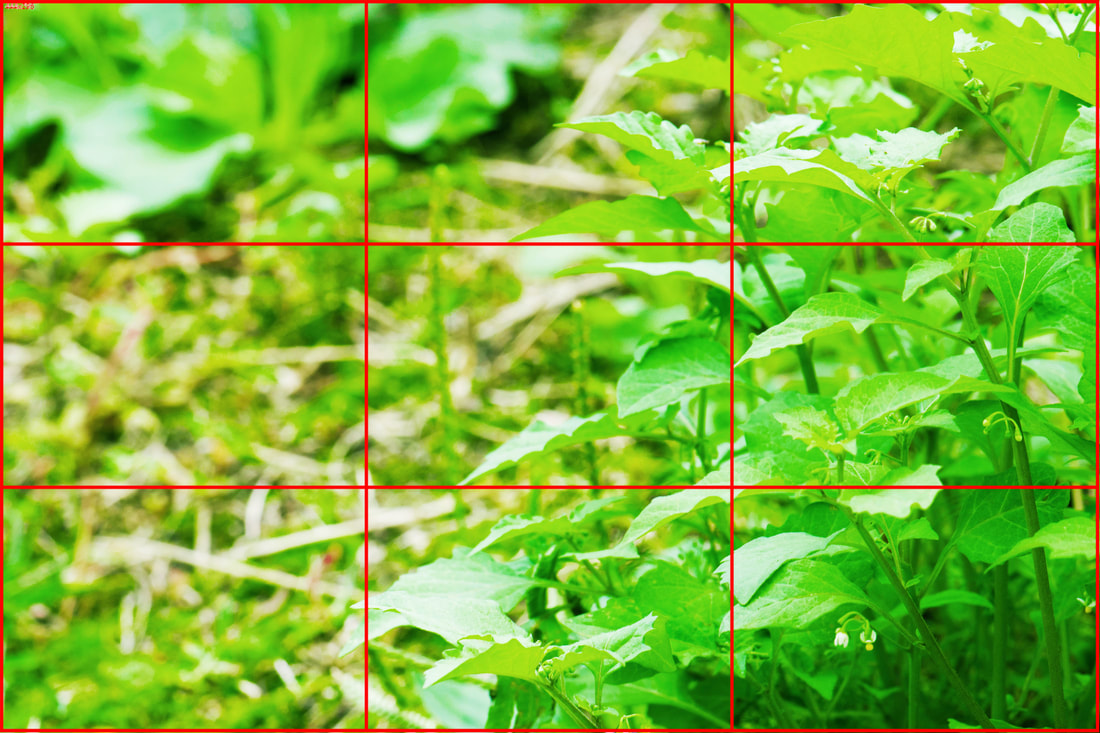 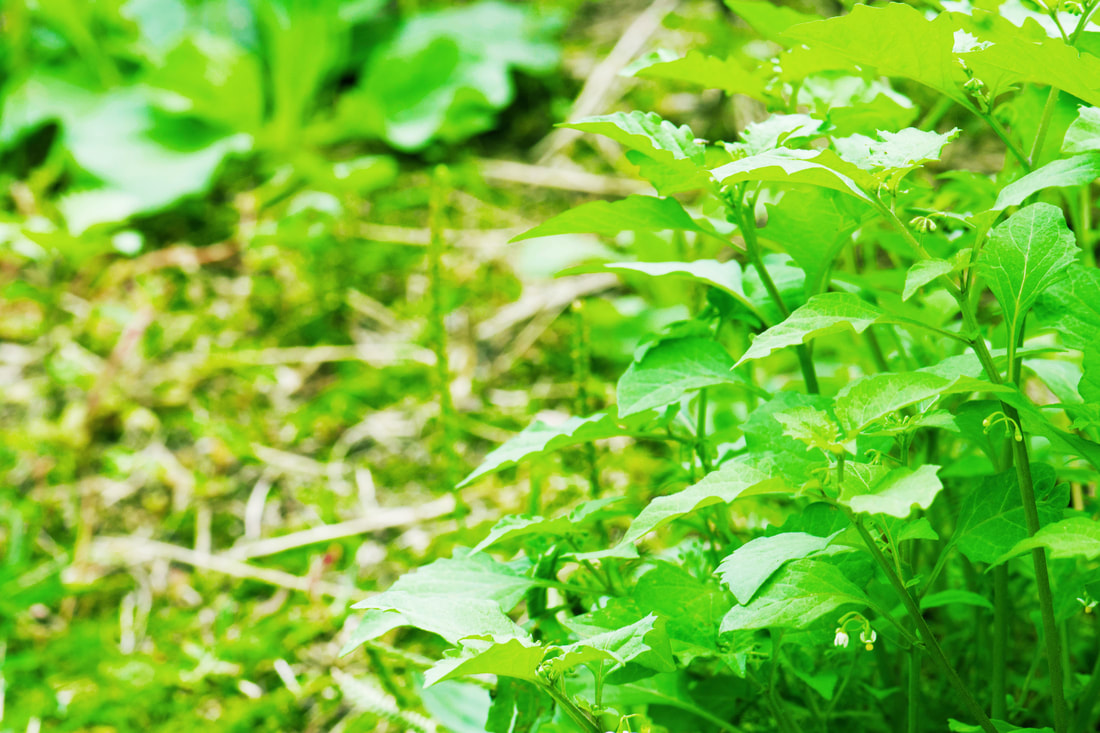 The photograph is the composition rule crop because it's a zoom in of the leaf and it shows lots of details of the leaf. 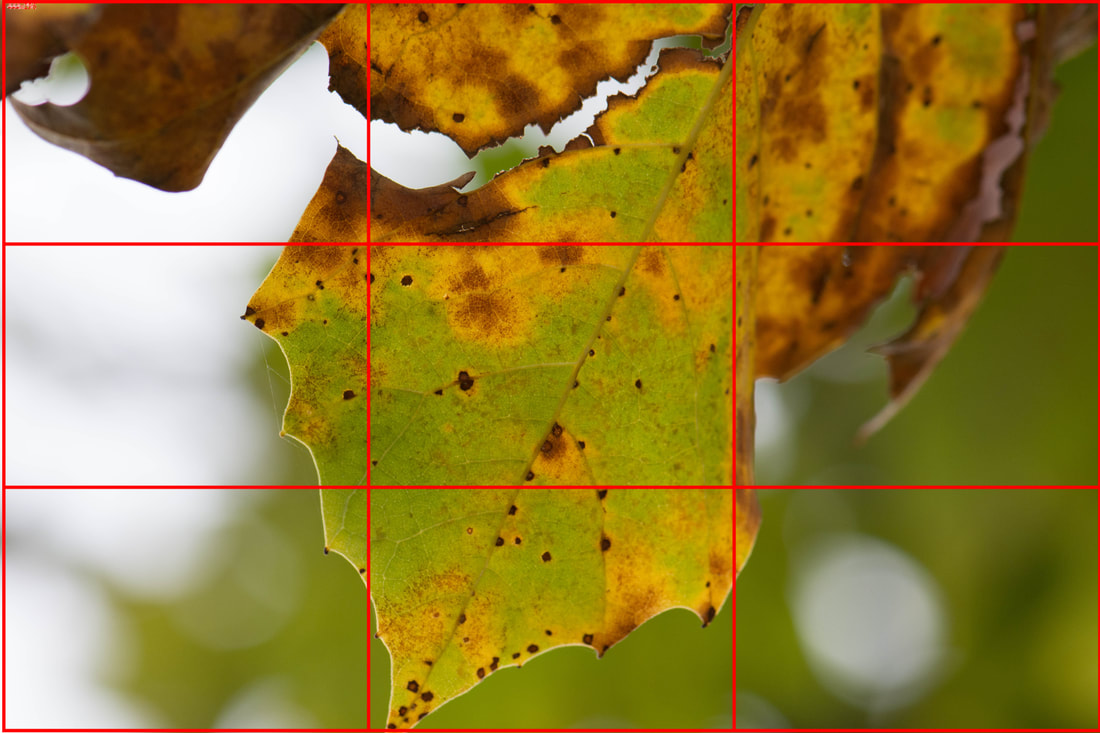  The photograph is the composition of framing. The pole is framing the light post on the wall, making it the main object of the photograph. 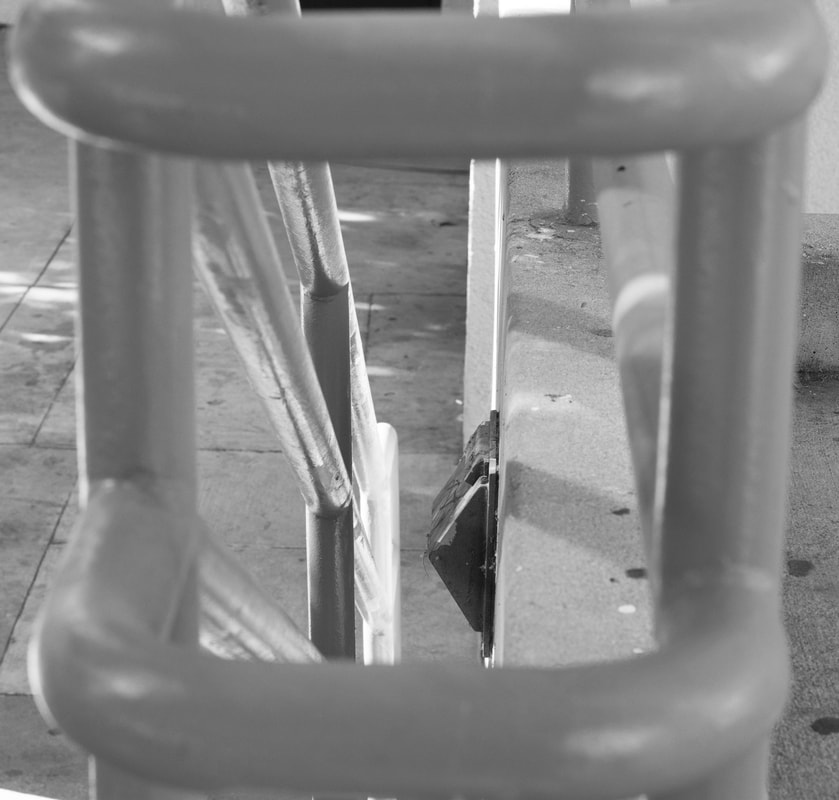 The photograph is of the leading line composition because the roots of the tree travel up to the bottom of the tree it connects to. 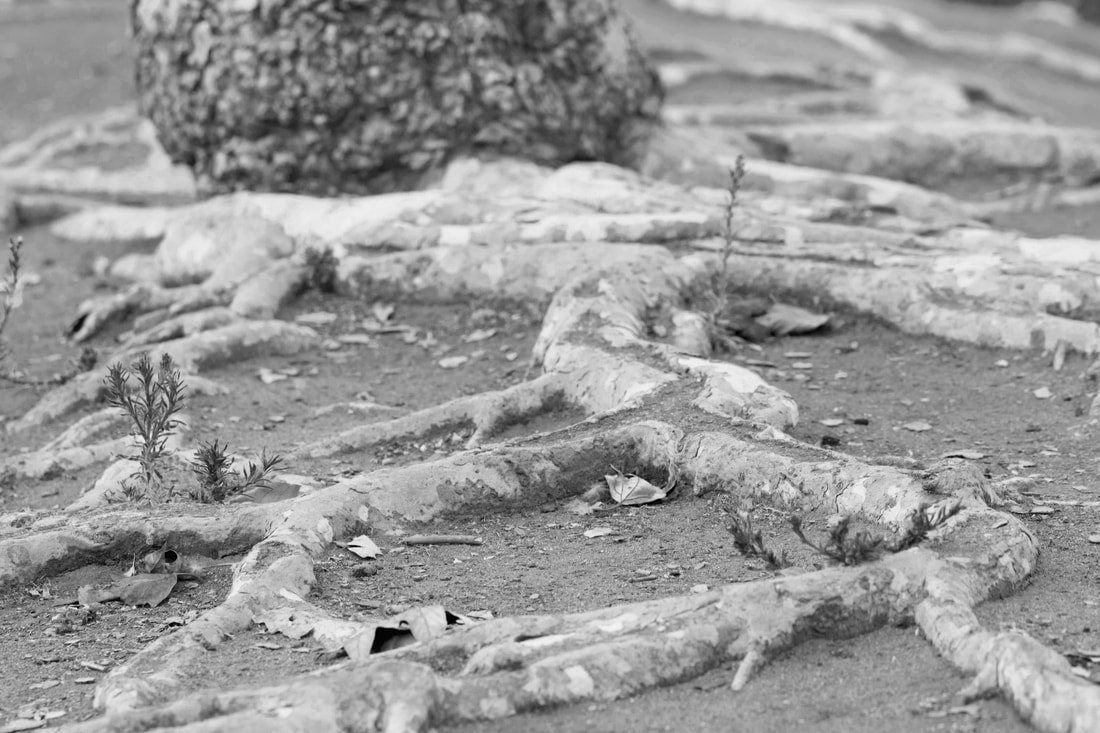 The photograph is of the symmetry composition because the tree is similar on both parts of the branches. 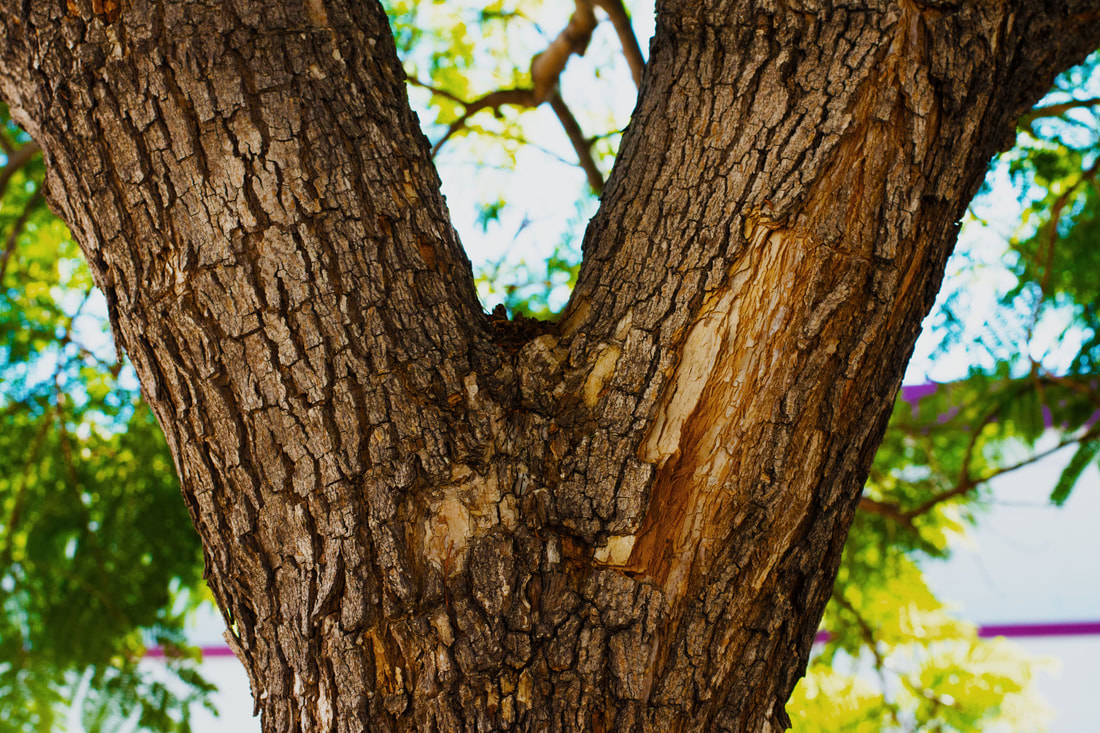 |